


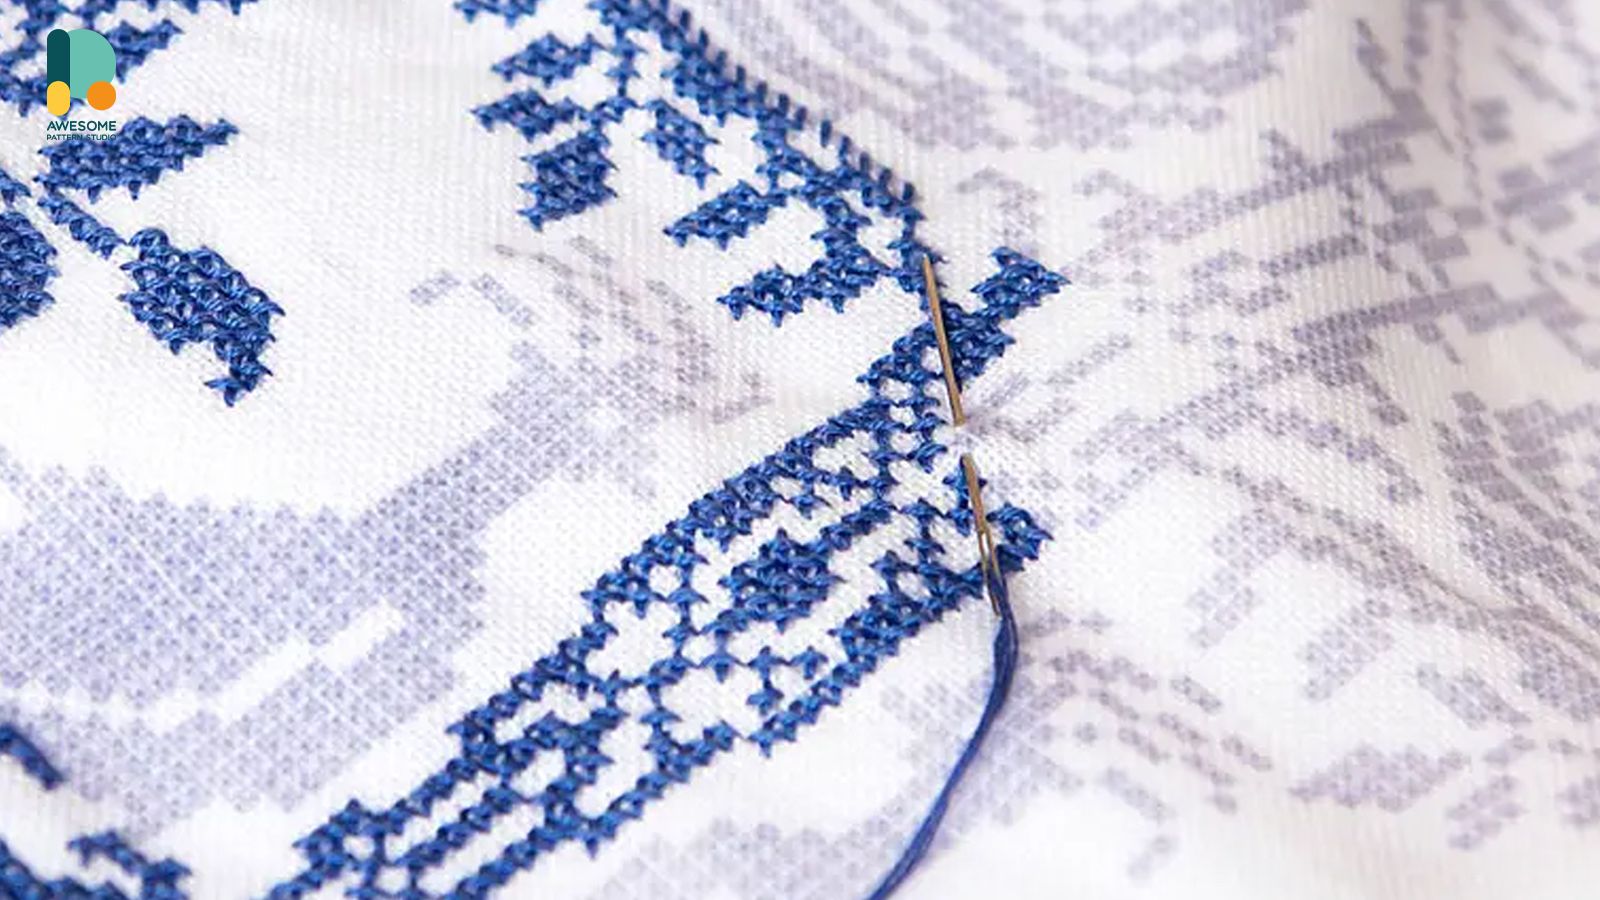
MATERIALS YOU'LL NEED:
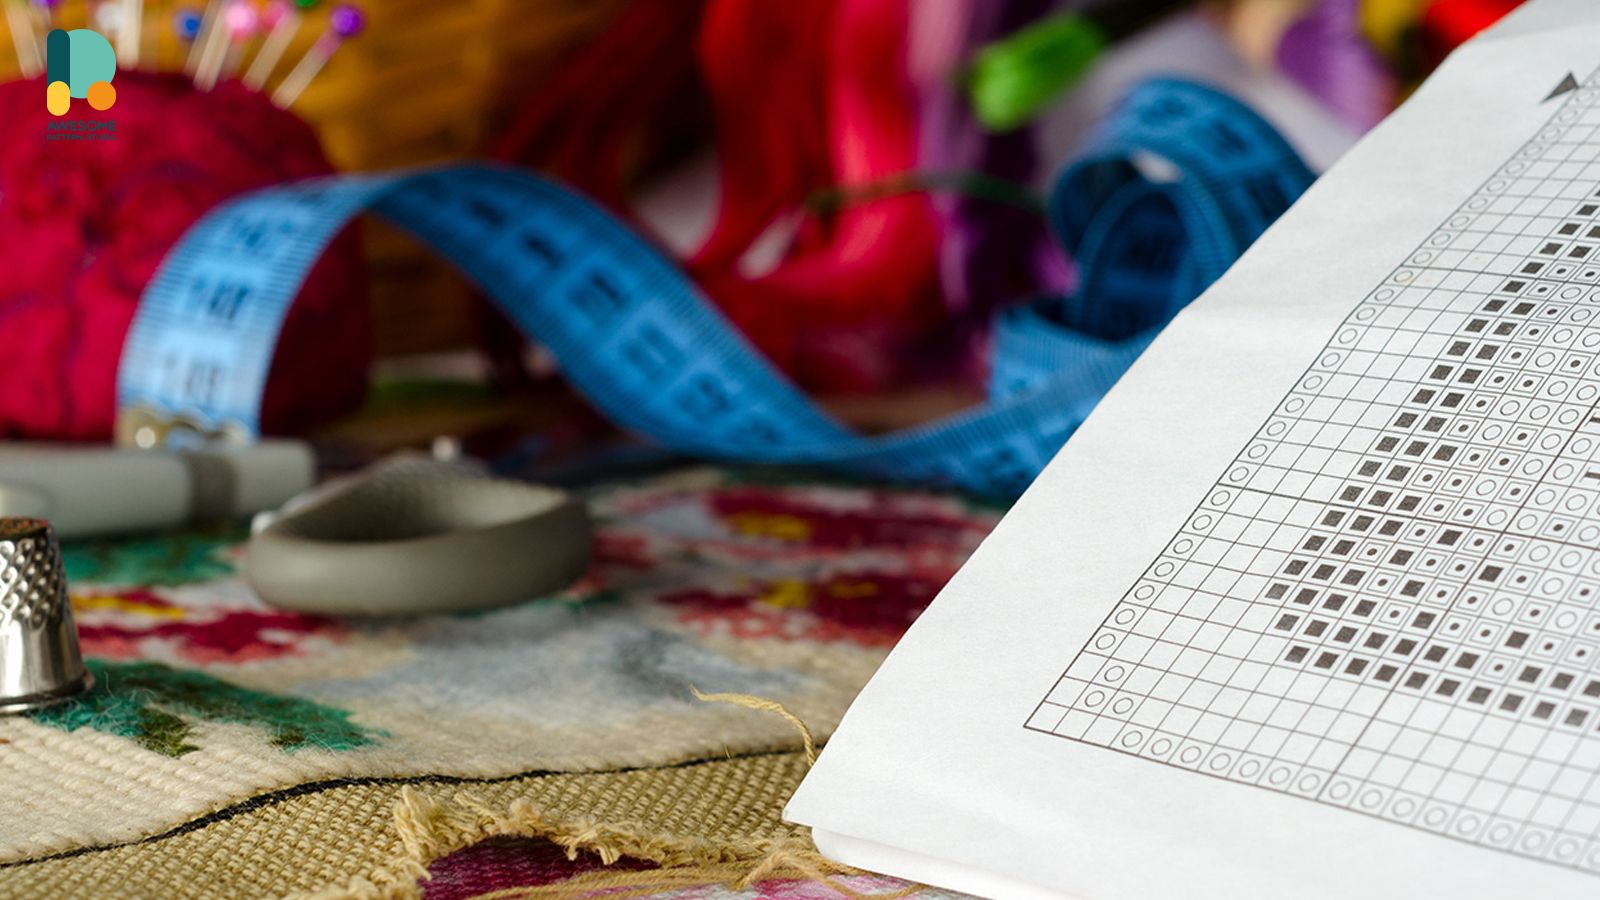
Before you begin, make sure you have the following materials ready:
- Stamped cross stitch kit: Choose a kit that matches your desired design. It typically includes a piece of fabric with a stamped pattern, threads, and a needle.
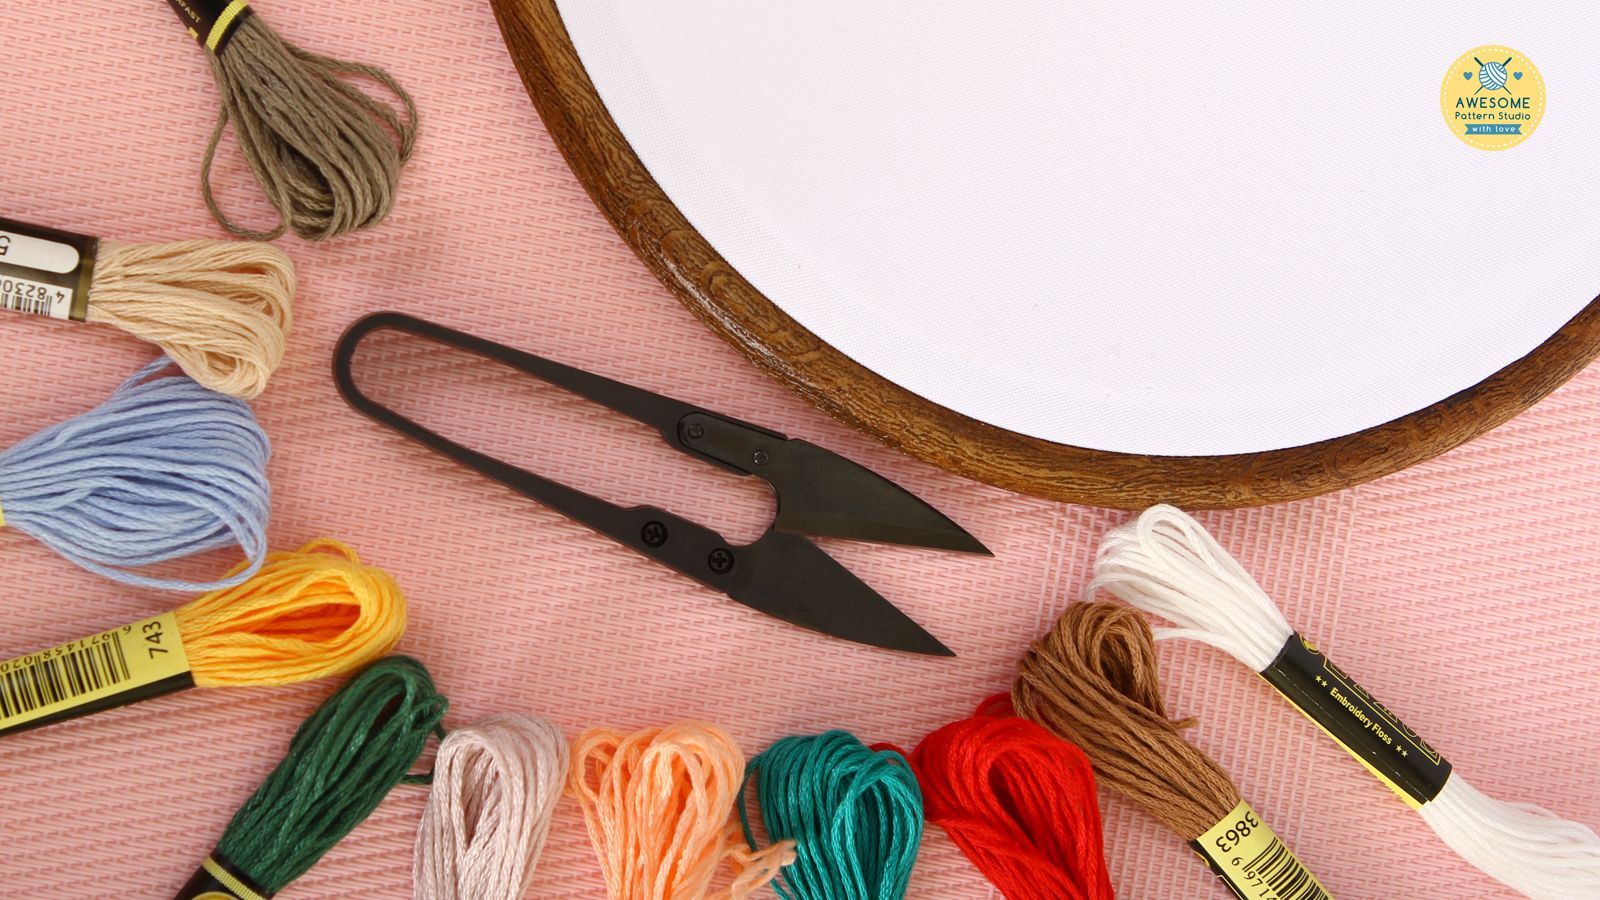
- Embroidery hoop: This will help keep your fabric taut while stitching.
- Embroidery scissors: Sharp scissors for cutting the threads.
- Embroidery floss: A cotton thread commonly used for cross stitching.
- Thimble (optional): Protects your finger while pushing the needle through the fabric.
STEP 1: PREPARE YOUR FABRIC AND THREADS
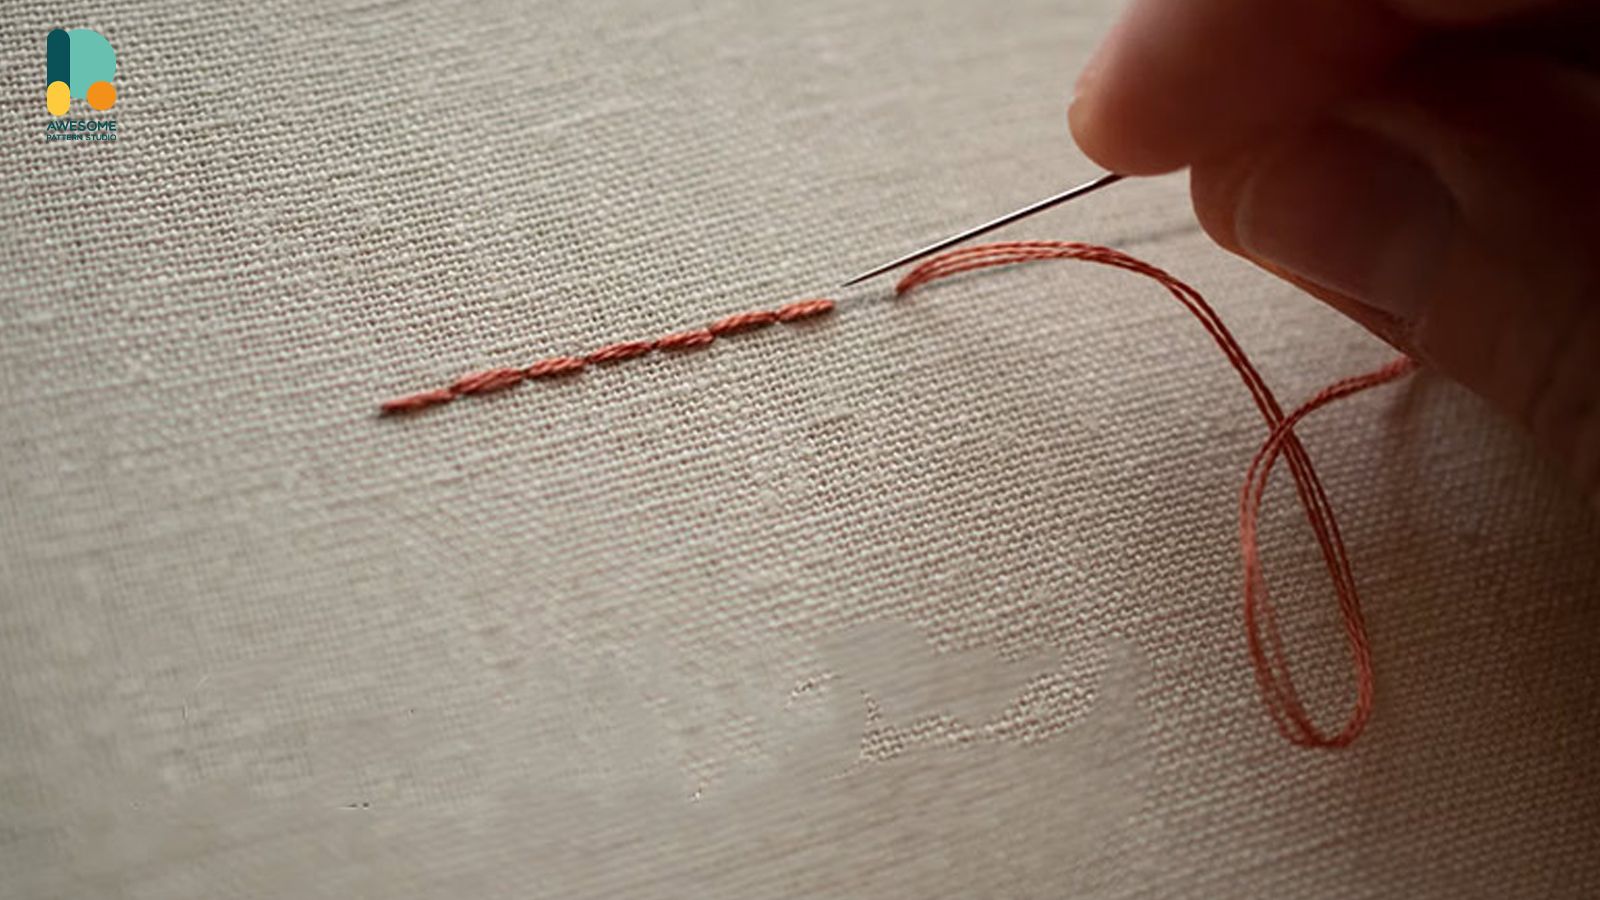
Start by preparing your fabric and threads:
-
Unfold your fabric and remove any wrinkles by ironing it on low heat.
-
Separate the embroidery floss into individual strands. Most kits use two strands, but you can adjust them according to your preference.
STEP 2: FIND THE CENTER OF THE FABRIC
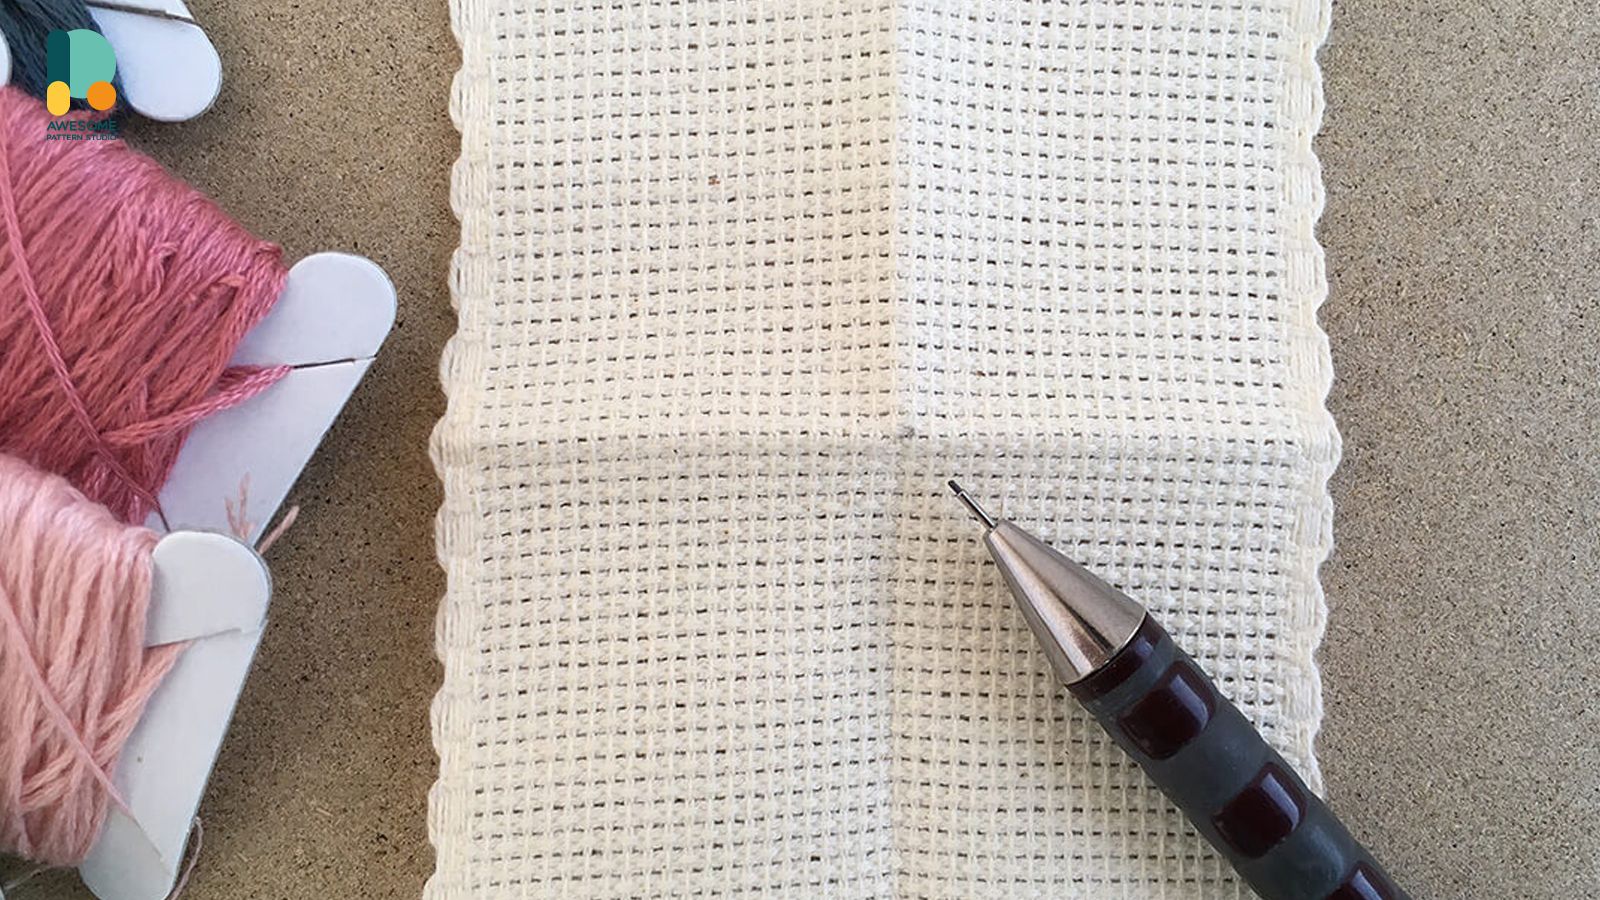
Locating the center of the fabric is crucial for ensuring your design is symmetrical. Follow these steps to find the center:
-
Fold your fabric in half horizontally and vertically, creasing it lightly.
-
The intersection of the creases is the center of your fabric.
STEP 3: SECURE THE FABRIC IN THE HOOP
To begin stitching, secure your fabric in the embroidery hoop:
- Loosen the screw on the embroidery hoop and separate the two rings.
- Place the fabric over the smaller ring, ensuring the stamped pattern is centered.
- Press the larger ring over the fabric, sandwiching it between the rings.
- Tighten the screw to hold the fabric taut.
STEP 4: START STITCHING
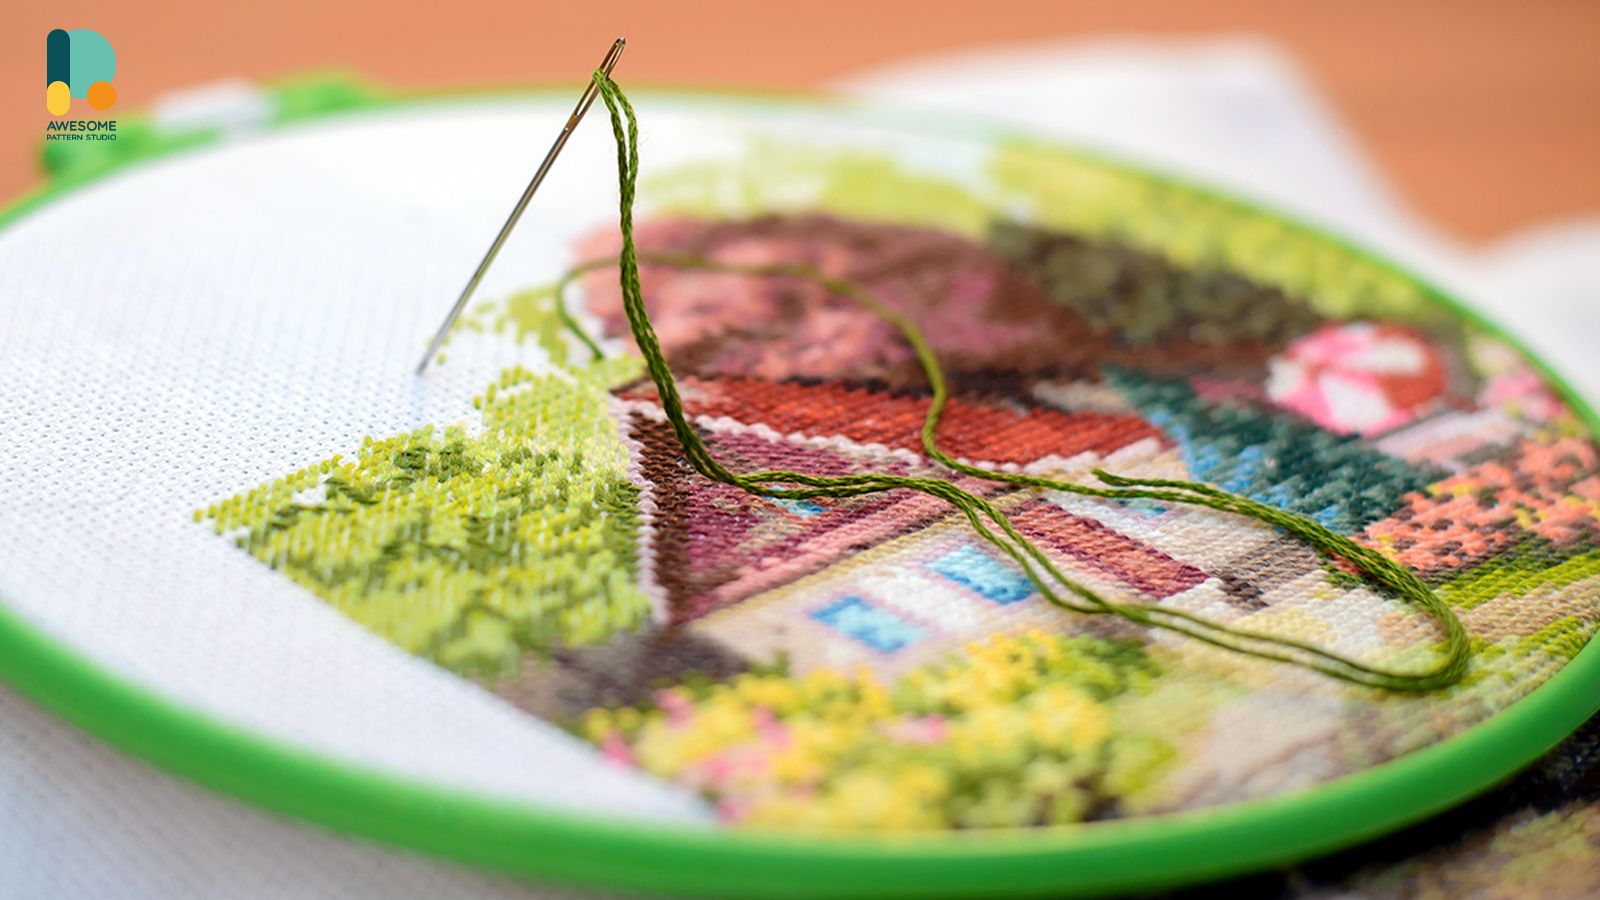
Now it's time to start stitching! Follow these basic cross-stitch instructions:
-
Thread your needle with one strand of embroidery floss.
-
Begin from the back of the fabric and pull the needle through.
-
Locate the first stamped symbol on your fabric and position the needle at the corresponding corner.
-
Insert the needle diagonally to the opposite corner, forming a cross.
-
Pull the needle through and repeat to complete the first stitch.
-
Continue stitching each symbol according to the stamped pattern, following the cross-stitch technique.
STEP 5: HANDLING CORNERS AND DETAILS
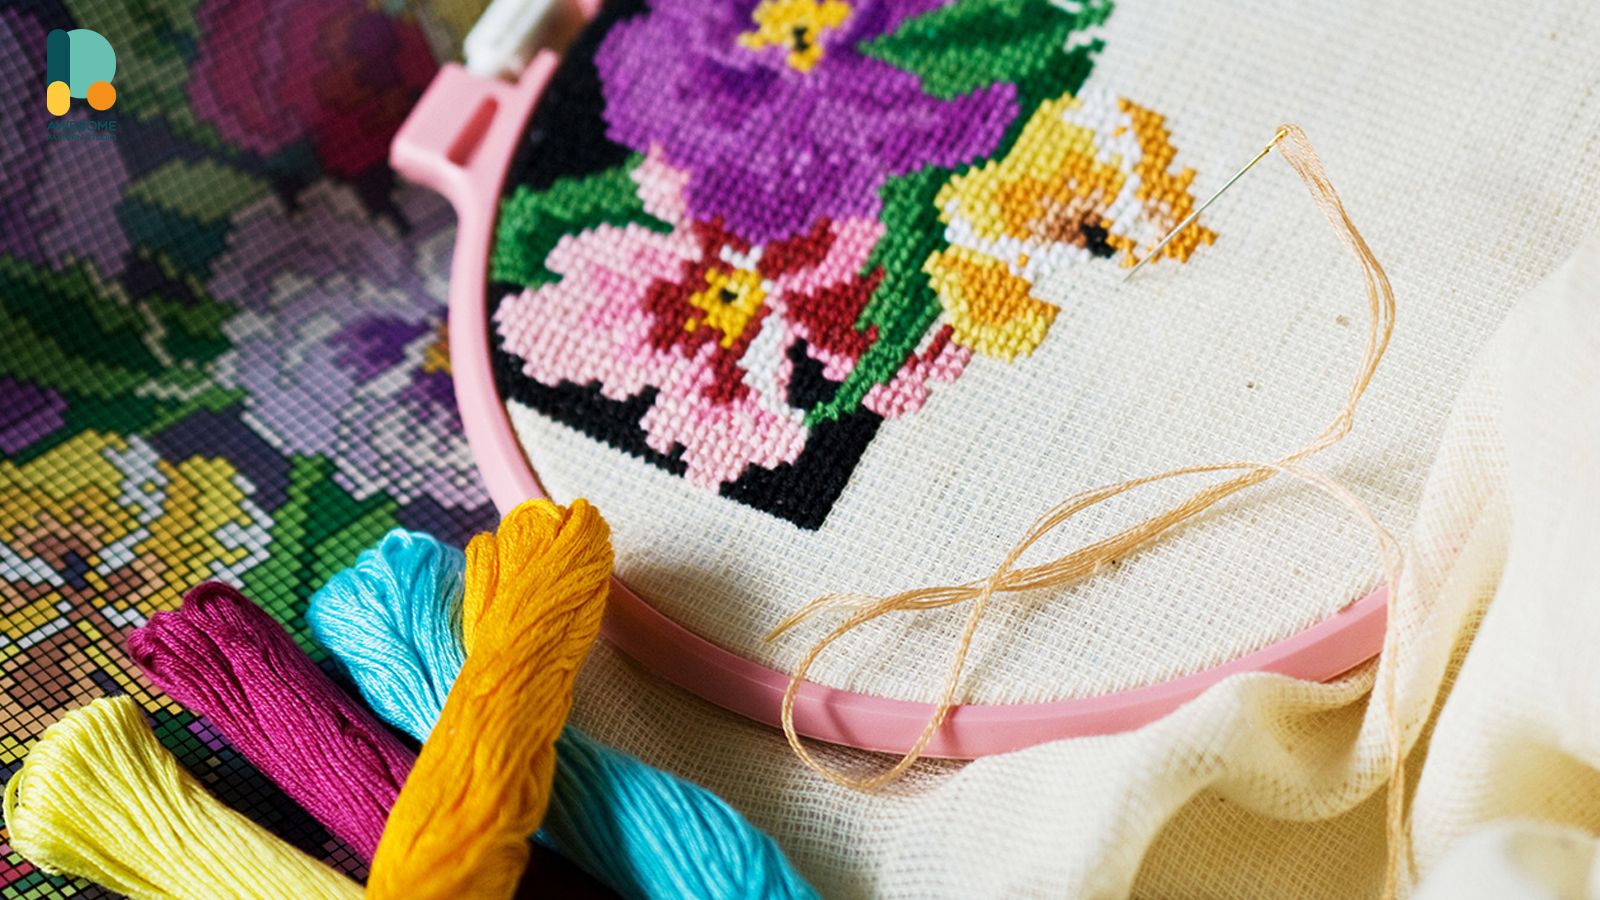
When you encounter corners or intricate details in your design, you may need to adjust your stitching technique:
-
For corners: Stitch until you reach the corner, then anchor your thread with a tiny stitch. Turn your fabric and continue stitching in the new direction.
-
For details: Use single stitches or backstitches to add smaller elements, such as outlines or fine lines.
STEP 6: FINISHING TOUCHES
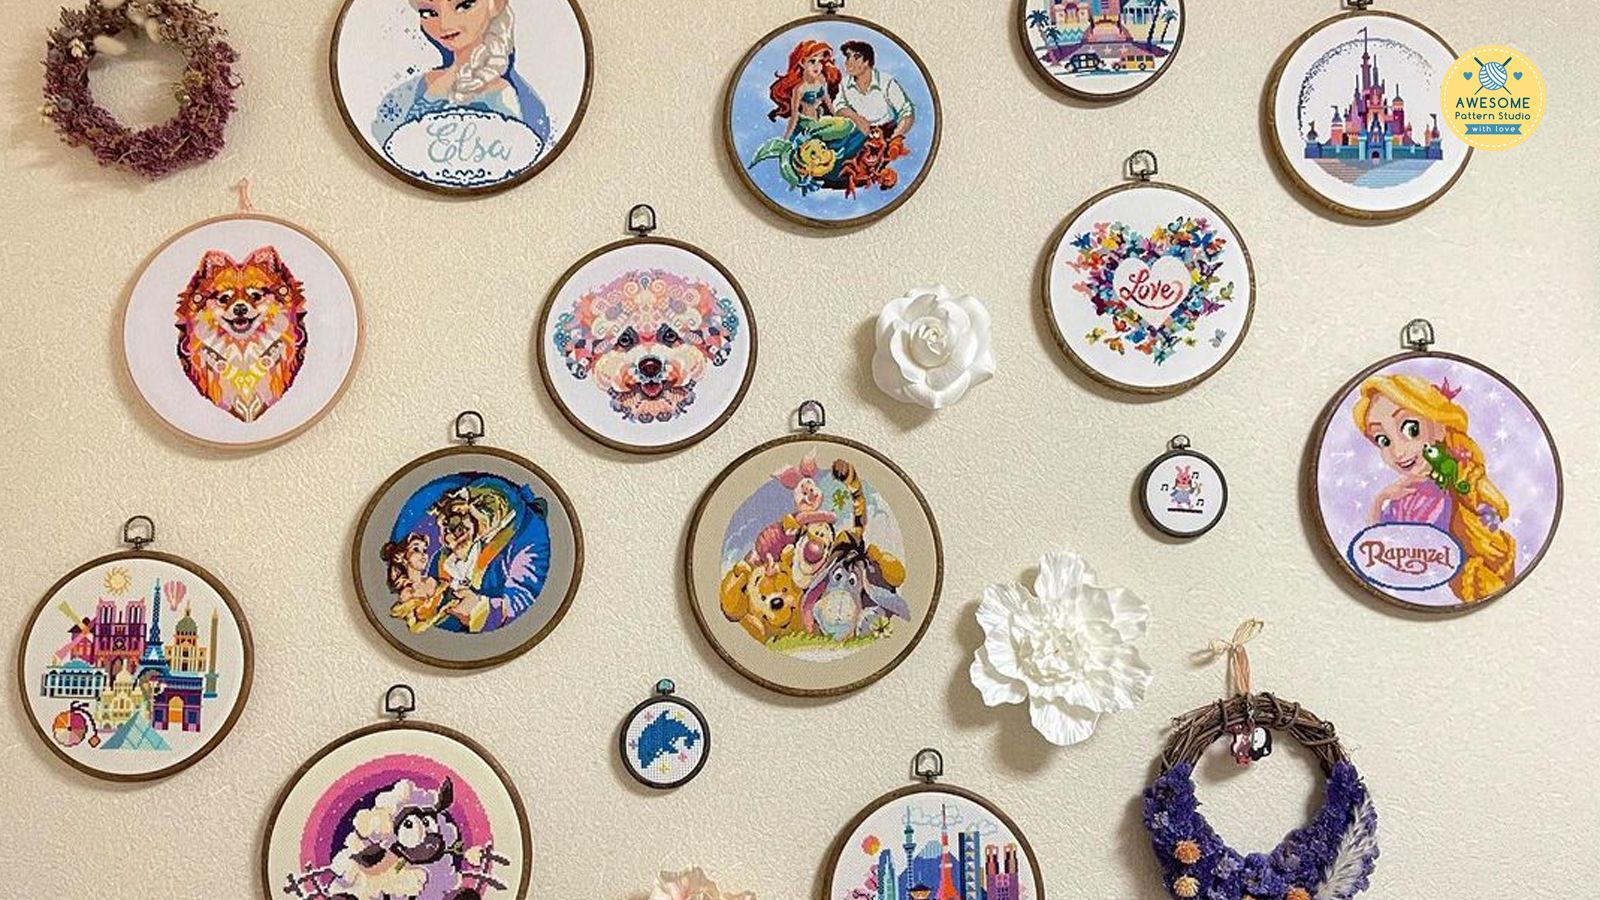
Once you've completed your cross-stitch design, it's time to add the finishing touches:
- Secure any loose threads at the back of your fabric by weaving them under the stitches.
- Gently wash your finished piece to remove any markings from the stamped pattern.
- Allow it to air dry or iron it on low heat, if necessary.
- Frame your stitched piece or turn it into a functional item, such as a pillow cover or a wall hanging.
Congratulations! You've successfully learned how to stitch a stamped cross stitch. With patience and practice, you can create beautiful and intricate designs using this versatile embroidery technique. Remember to choose a design that speaks to your creativity and enjoy the process of bringing it to life stitch by stitch. Happy stitching!