



UNDERSTANDING THE DIFFERENT TYPES OF EMBROIDERY PATTERNS
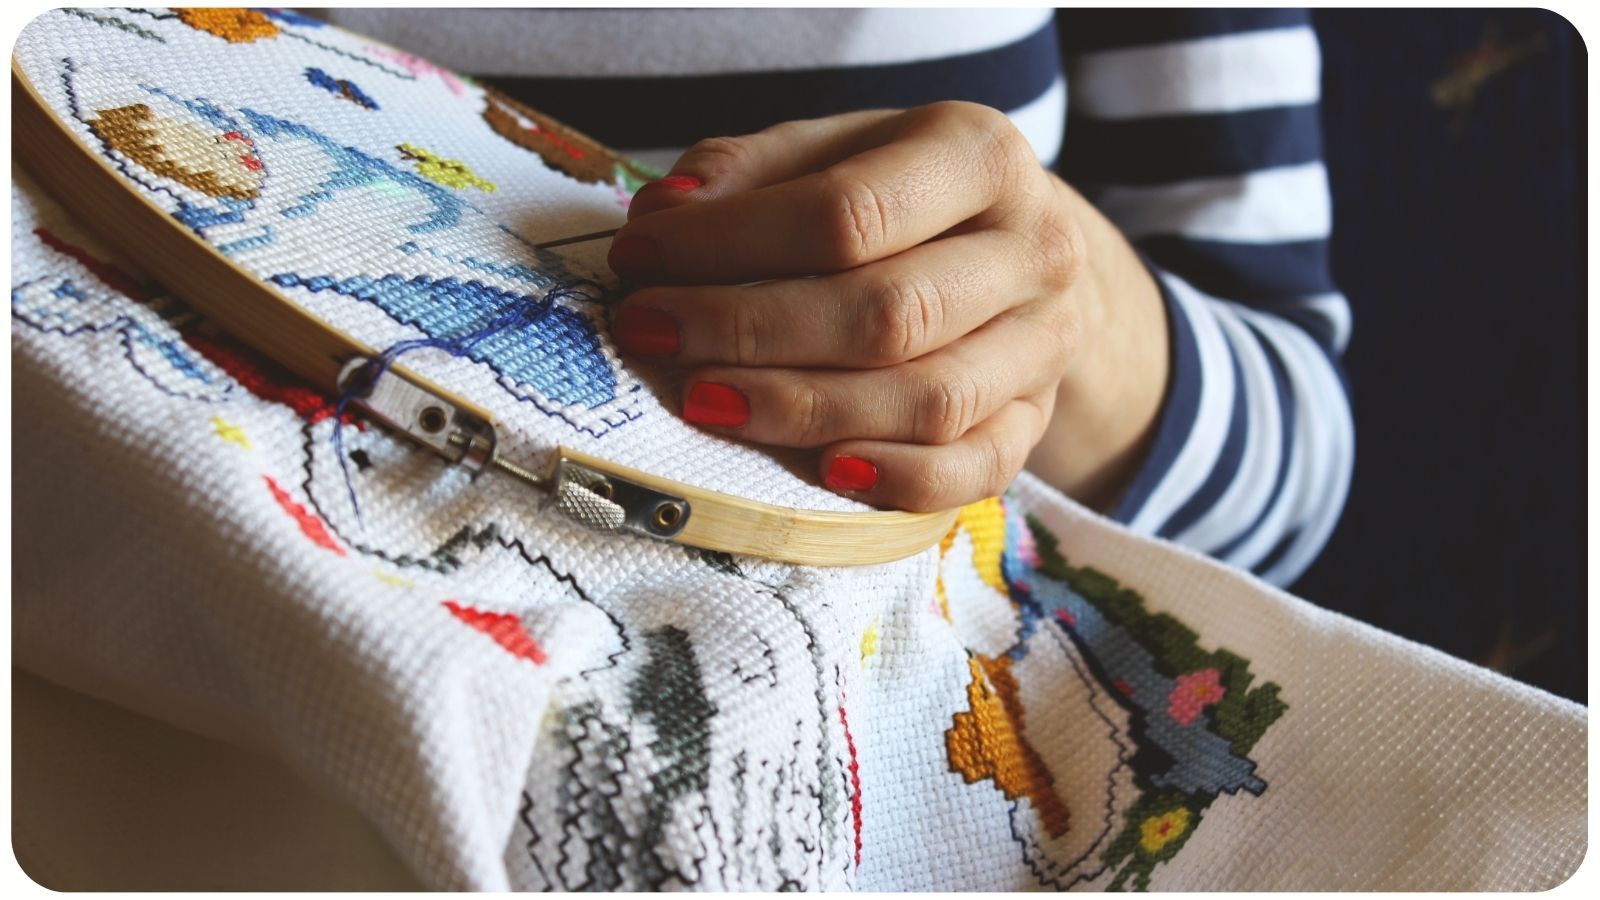
When it comes to embroidery, patterns come in many forms. You can purchase pre-made patterns that are ready to transfer, or you can create your own custom designs. These patterns might be digital files that you print out yourself or physical patterns included in kits.
- Pre-made Patterns: These are ideal for beginners, as they provide a clear, professionally designed template to follow.
- Custom Designs: For those who want to create something truly unique, custom designs offer limitless possibilities. However, they require a more nuanced approach to transfer onto fabric.
- Digital Patterns: Easily accessible and printable at home, digital patterns offer convenience but may require specific tools for transferring.
- Printed Patterns: Often found in embroidery kits, these are usually ready to be transferred with minimal preparation.
CHOOSING THE RIGHT FABRIC FOR YOUR EMBROIDERY
Before you transfer any pattern, it’s essential to choose the right fabric. The texture, weave, and color of the fabric can significantly affect the final look of your embroidery.
- Texture: Fabrics with a smooth surface, like cotton or linen, make it easier to transfer and stitch patterns.
- Weave: A tighter weave supports finer details, while a looser weave may be more forgiving for beginners.
- Color: Light-colored fabrics are generally easier for transferring and seeing your pattern, but some methods work well on dark fabrics too.
For beginners, it’s often recommended to start with a tightly woven cotton or linen. These fabrics are easy to work with and provide a good base for learning different techniques.
ESSENTIAL TOOLS AND MATERIALS NEEDED
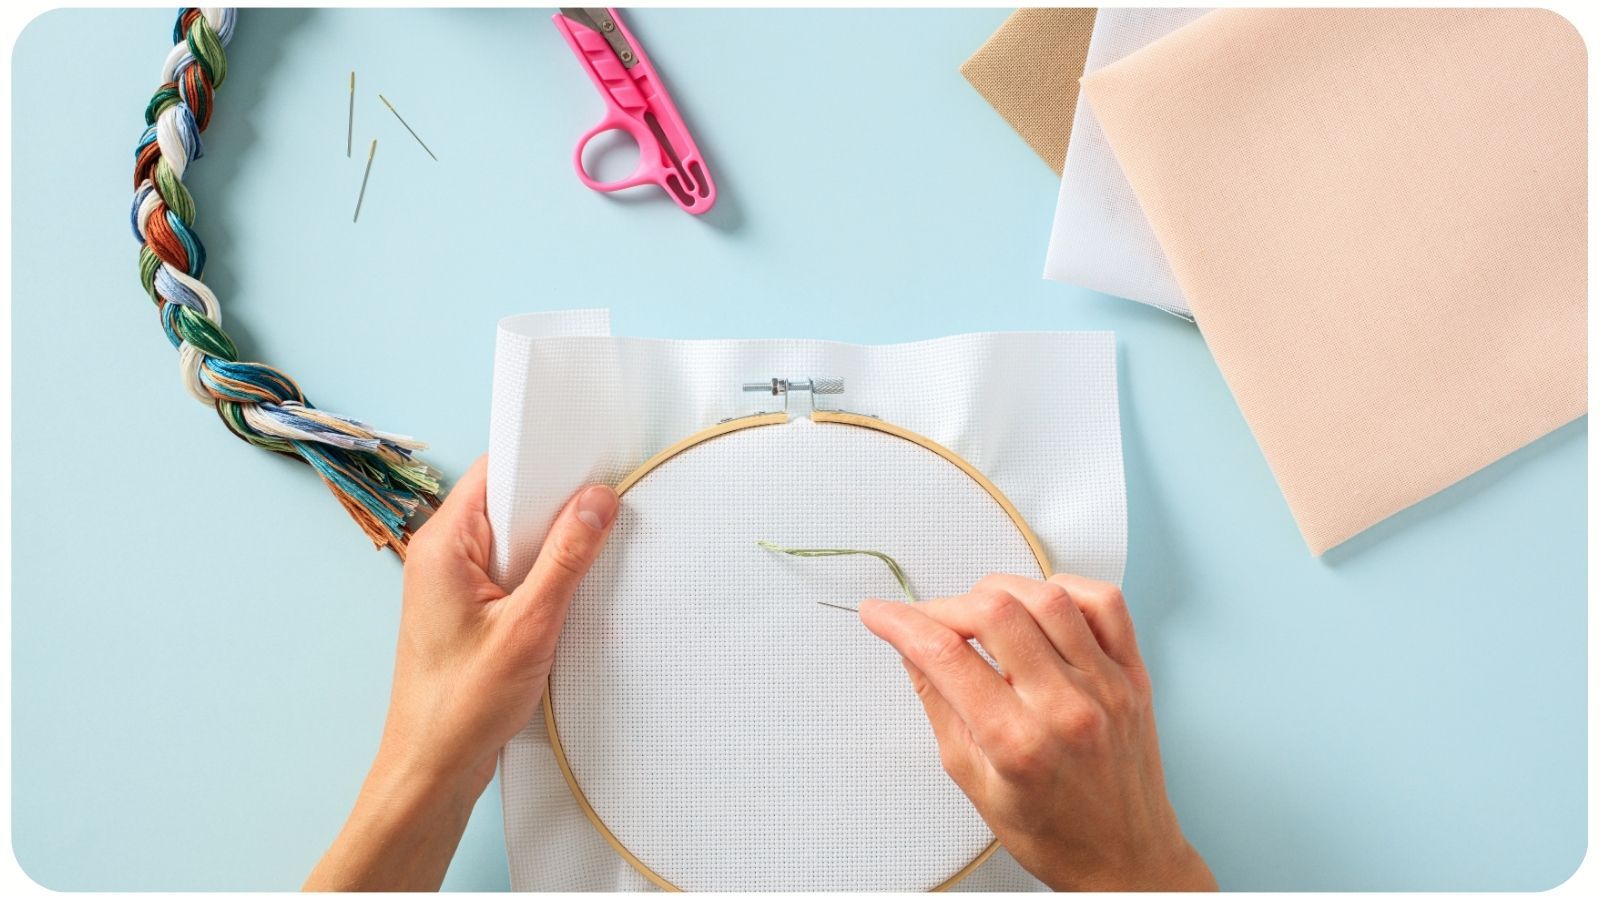
To successfully transfer a pattern to fabric, you’ll need a few essential tools and materials:
- Needles and Threads: Depending on your project, choose embroidery needles and threads that complement your fabric.
- Embroidery Hoop: Keeps the fabric taut and easier to work on.
- Transfer Paper: A special paper that allows you to trace and transfer patterns onto fabric.
- Pens and Pencils: Fabric-safe marking tools for tracing your design.
- Tracing Tools: Lightbox or window, for when you need to trace designs directly onto fabric.
Having the right tools on hand will make the process smoother and help you achieve more accurate results.
POPULAR METHODS TO TRANSFER PATTERNS TO FABRIC
There are several methods to transfer your pattern to fabric, each with its own set of advantages and drawbacks. Choosing the right one depends on the complexity of your pattern, the fabric you’re using, and your personal preference. Here’s an overview:
- Transfer Paper: Simple and effective, best for most fabrics.
- Lightbox Tracing: Ideal for thin or light-colored fabrics.
- Iron-On Transfer: Quick and efficient, but requires precision.
- Pricking and Pouncing: Traditional method, good for detailed designs.
- Freehand Drawing: Best for simple or custom designs where precision is less critical.
METHOD 1: USING TRANSFER PAPER
Transfer paper is a go-to method for many embroiderers. It’s easy to use and works on various fabrics.
Steps:
- Place the transfer paper on your fabric with the ink side facing down.
- Position your pattern on top of the transfer paper.
- Use a pencil or stylus to trace the design, applying even pressure.
- Remove the paper to reveal the transferred pattern.
Tips:
- Ensure the fabric is smooth and wrinkle-free before transferring.
- Test the transfer on a scrap piece of fabric to ensure the lines are visible but not too thick.
METHOD 2: TRACING WITH A LIGHTBOX
If you’re working with a thin or light-colored fabric, a lightbox can be a fantastic tool for tracing patterns.
Steps:
- Tape your pattern to the lightbox.
- Place the fabric over the pattern, securing it with tape or weights.
- Trace the design onto the fabric using a fabric pen or pencil.
Alternative:
- If you don’t have a lightbox, you can use a bright window. Tape the pattern and fabric to the window and trace as described above.
METHOD 3: THE IRON-ON TRANSFER TECHNIQUE
Iron-on Transfers Are Quick And Convenient, Especially For Complex Designs.
Steps:
- Print or purchase an iron-on transfer pattern.
- Place the transfer face down on your fabric.
- Apply a hot, dry iron to the back of the transfer, pressing firmly and evenly.
- Carefully peel away the paper to reveal the design.
Best Practices:
- Ensure your iron is set to the correct temperature for your fabric.
- Avoid moving the iron during the transfer process to prevent smudging.
METHOD 4: PRICKING AND POUNCING
Pricking and pouncing is a traditional technique used for centuries, particularly in fine embroidery.
Steps:
- Prick holes along the lines of your pattern using a pin or needle.
- Place the pattern on the fabric and use a pounce pad (filled with powder) to dab over the pricked lines.
- Lift the pattern, revealing dotted lines on the fabric.
Tips:
- Use a contrasting powder color to ensure the lines are visible on your fabric.
- This method is excellent for highly detailed or repetitive designs.
METHOD 5: FREEHAND DRAWING
For simple designs or when working on unique projects, freehand drawing might be your best option.
Steps:
- Lightly sketch your design directly onto the fabric using a fabric pen or pencil.
- Adjust and refine the design as needed before you begin stitching.
Techniques:
- Practice on paper first to refine your design.
- Use a disappearing ink pen for temporary markings that can be easily corrected.
TIPS FOR TRANSFERRING COMPLEX OR DETAILED PATTERNS
Complex patterns require extra care to ensure all details are accurately transferred. Here are some tips:
- Layering: For multi-layered designs, transfer one section at a time.
- Stabilize Your Fabric: Use an embroidery hoop or tape to keep the fabric steady during the transfer.
- Highlight Key Areas: Mark critical points (like corners or curves) with extra dots or lines to ensure you maintain the design’s integrity during stitching.
HOW TO TEST YOUR PATTERN BEFORE EMBROIDERY
Before you start your embroidery project, it’s wise to test your transferred pattern:
- Test Stitching: Use a small section of the pattern to test your stitching technique and check how the transfer holds up under needle and thread.
- Review and Adjust: If you notice any issues, like fading or smudging, adjust your transfer method or tool before continuing.
COMMON MISTAKES TO AVOID DURING PATTERN TRANSFER
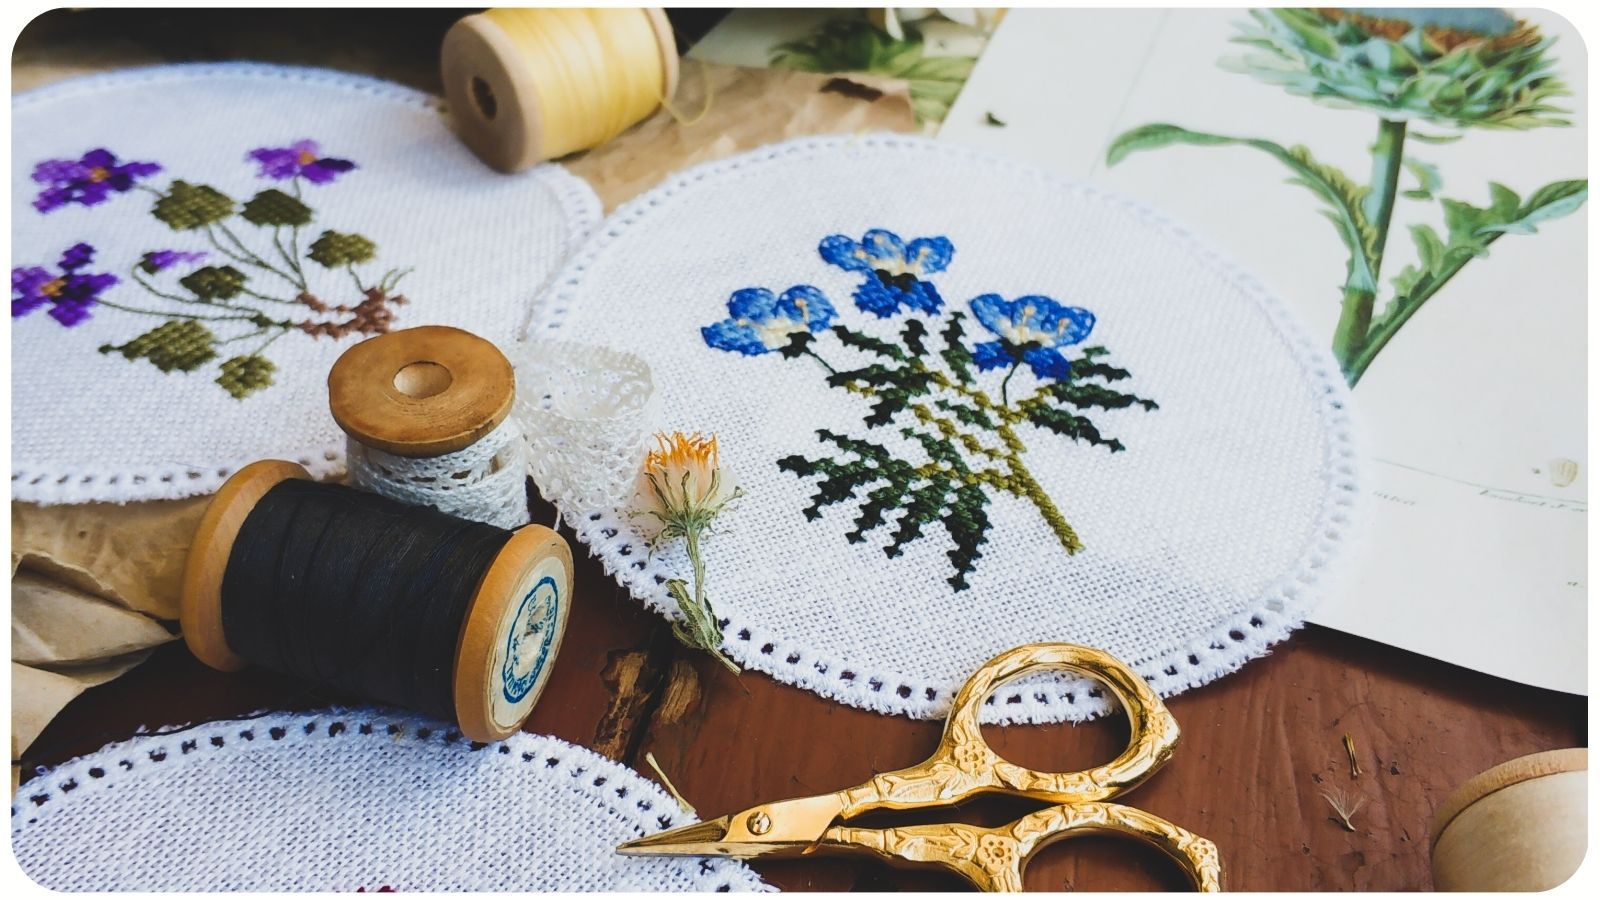
Even experienced embroiderers can make mistakes during the transfer process. Here’s how to avoid common pitfalls:
- Smudging: Always wash and dry your hands before handling fabric and tools to avoid transferring oils or dirt.
- Misalignment: Double-check the placement of your pattern on the fabric before committing to the transfer. Use guides or marks to ensure symmetry.
- Fading: Some transfer lines can fade before you finish embroidering. To prevent this, stitch over the lines as soon as possible or use a more permanent transfer method.
HOW TO REMOVE OR ADJUST TRANSFERRED PATTERNS
Mistakes happen, but they’re usually fixable:
- Erasing Lines: For pencil or light pen marks, use a fabric-safe eraser or gently dab with a damp cloth.
- Removing Iron-On Transfers: Unfortunately, these are more challenging to remove. If you need to start over, you might need to flip the fabric or place a new design on top.
- Starting Over: In some cases, it’s best to start fresh. If the transfer isn’t right, don’t be afraid to wash the fabric and try again.