


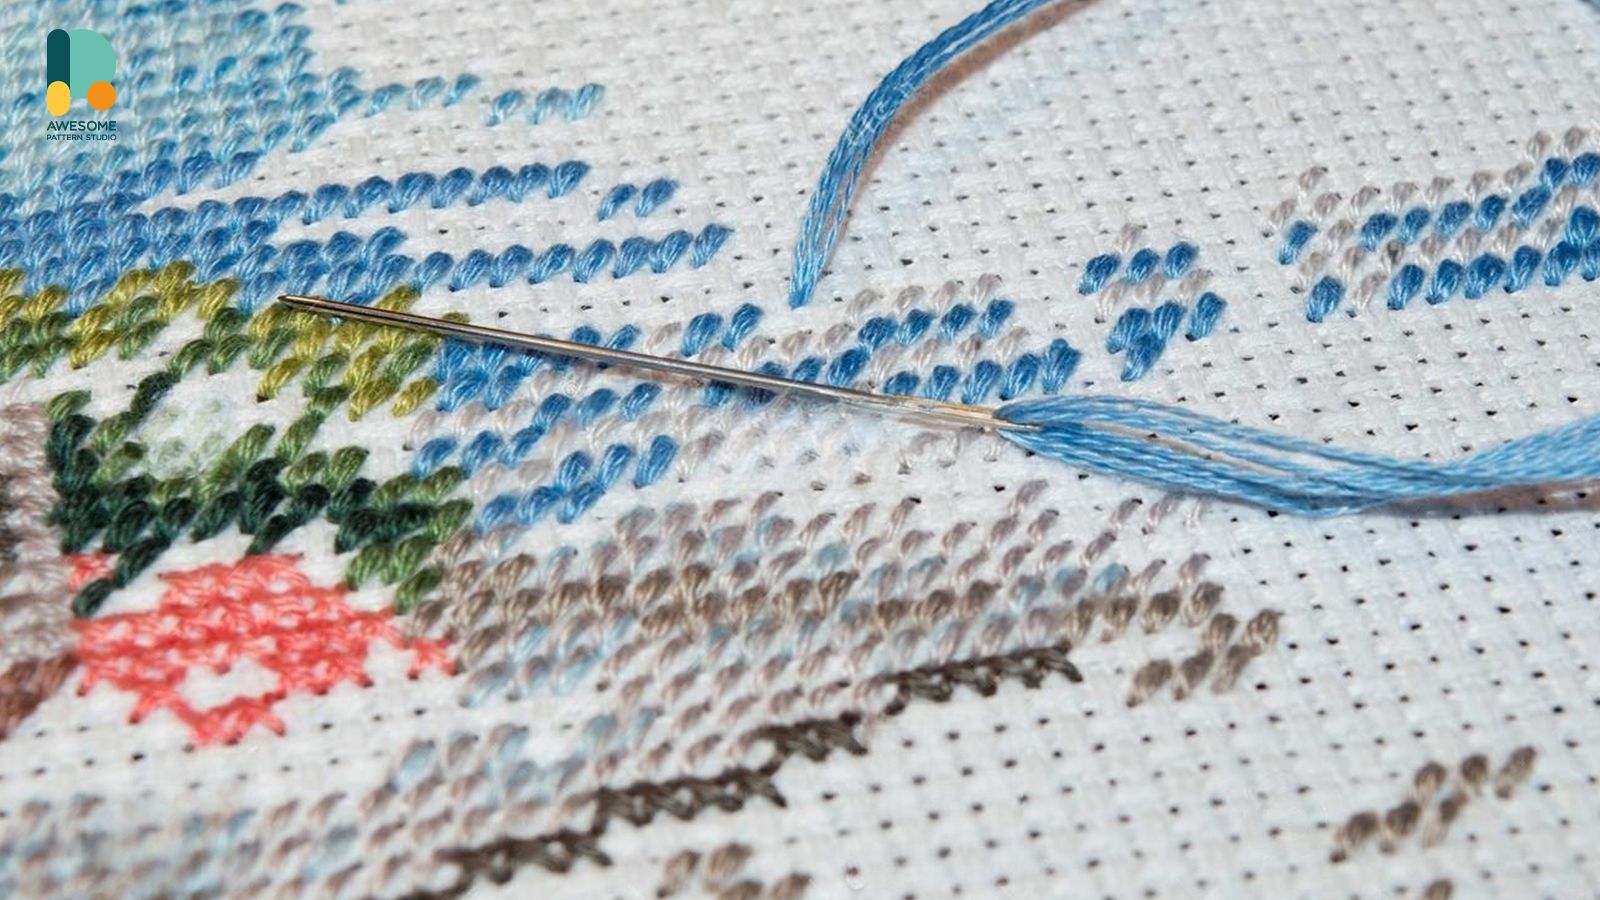
STEP 1: GATHER YOUR MATERIALS. Before you begin, gather the necessary materials:
Embroidery hoop: Choose a hoop appropriate for your project size.
Fabric: Select a fabric that complements your design and is suitable for embroidery.
Embroidery floss: Pick a color that matches your desired aesthetic.
Embroidery needle: Choose a needle with a sharp tip, suitable for your fabric and floss.
STEP 2: PREPARE THE FABRIC AND HOOP
Place your fabric in the embroidery hoop, ensuring it is taut. Tightening the hoop will prevent any puckering or distortion during the stitching process. Adjust the fabric so that the area you wish to embroider is centered within the hoop.
STEP 3: THREADING THE NEEDLE
Thread your embroidery needle with a suitable length of embroidery floss. Cut the floss, ensuring it is long enough to work with comfortably but not excessively long, as it may become tangled. Separate the floss strands according to the thickness you desire for your half-stitch.
STEP 4: STARTING THE HALF-STITCH
Bring the threaded needle up through the back of the fabric, starting at the desired location for your half-stitch.
Hold the tail of the floss securely at the back to anchor it.
STEP 5: CREATING THE HALF-STITCH
Move the needle diagonally across the fabric from the bottom left corner of your desired stitch area to the top right corner.
Push the needle back through the fabric from the top right corner to the bottom left corner, creating a diagonal line.
Ensure the floss lies flat and untwisted on the surface of the fabric.
Gently pull the thread, but not too tightly, to avoid puckering or distorting the fabric.
The diagonal stitch you have just created forms the foundation of the half-stitch.
STEP 6: COMPLETING THE HALF-STITCH
Move the needle across the back of the fabric to the starting point of the next half-stitch.
Repeat the process of creating the diagonal line, ensuring it matches the angle and length of the previous stitch.
Continue Working In This Manner until you have completed all the half-stitches required for your design.
STEP 7: FINISHING OFF. Once you have stitched all the necessary half-stitches, secure the thread at the back of the fabric. To do this:
Pass the needle under several stitches on the back of your work.
Carefully trim any excess floss, ensuring you do not cut the stitches or leave long loose ends.
TIPS AND TRICKS:
- Practice on a spare piece of fabric before working on your main project to refine your technique.
- Keep your tension consistent throughout the stitching process for even and neat results.
- Experiment with different numbers of strands to achieve various effects and textures.
- Take breaks while stitching to avoid strain and maintain your focus.
- Be patient and allow yourself to make mistakes. Embroidery is a learning process, and practice makes perfect.
The half-stitch may be a simple embroidery stitch, but its impact on your designs can be remarkable. By mastering the art of the half-stitch, you can add depth, dimension, and intricate detail to your embroidery projects. Follow the steps outlined in this article, practice regularly, and embrace your creativity. With time and dedication, you will become adept at stitching beautiful half-stitches and elevate your embroidery to new heights.