



WHY SEAL A DIAMOND PAINTING?
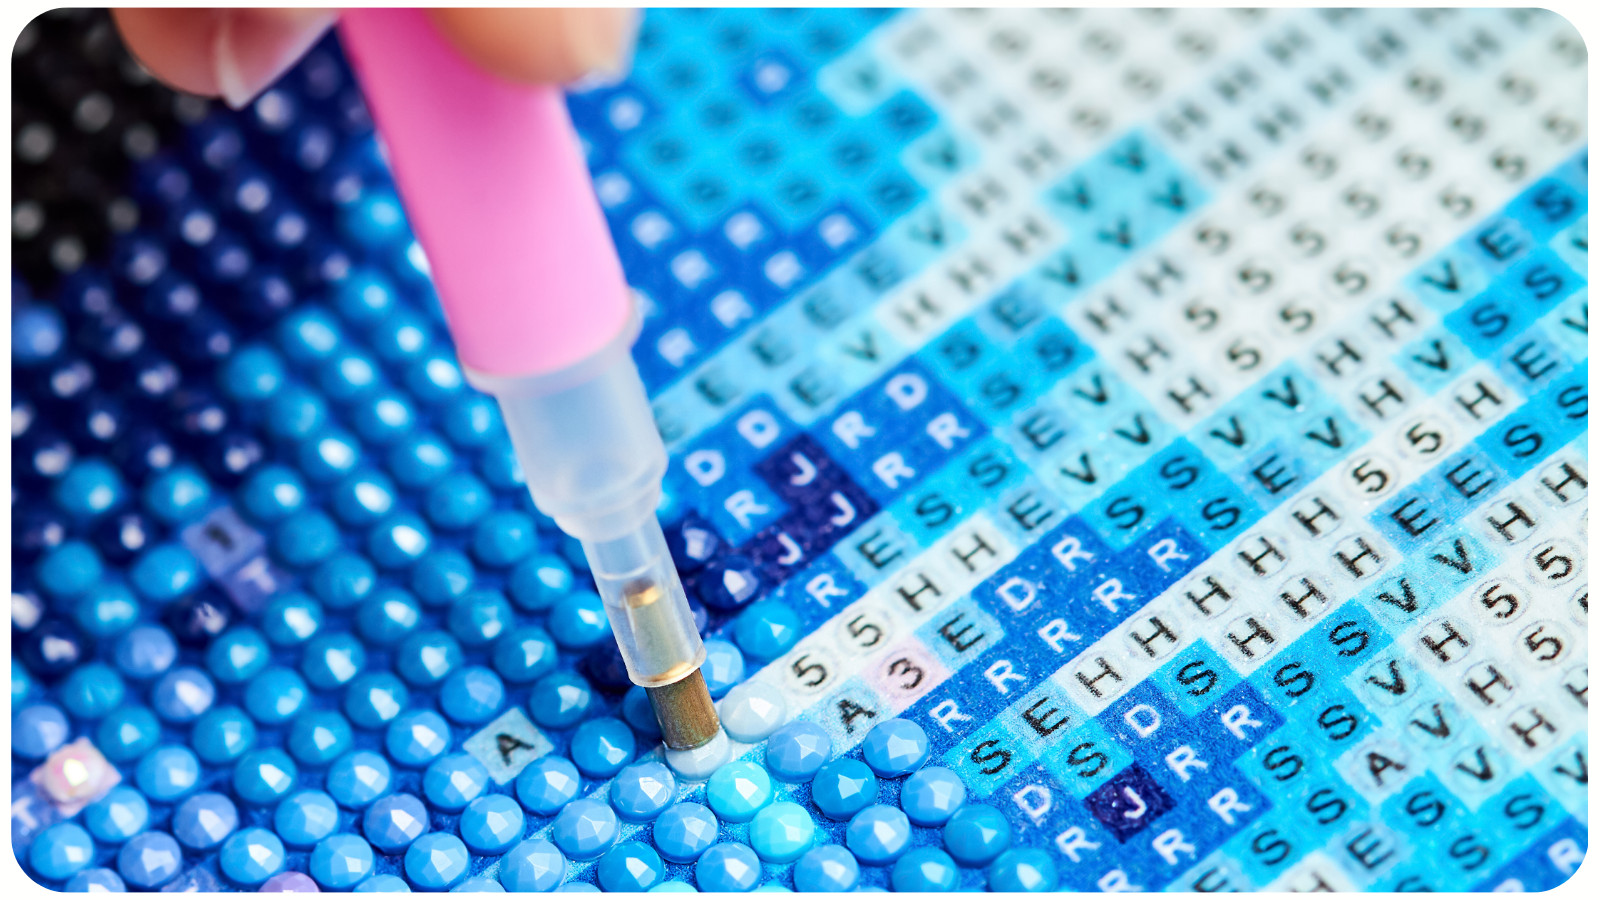
Sealing isn’t required for every project, but it can be incredibly useful – especially for beginners who want to protect their artwork after spending hours placing drills.
Benefits of Sealing
- Prevents drills from falling off;
- Strengthens adhesion and reduces popping;
- Protects colors from dust, humidity, and fingerprints;
- Improves texture, creating either a smooth or glossy effect;
- Makes framing easier, especially without glass;
WHEN SHOULD YOU SEAL YOUR DIAMOND PAINTING?
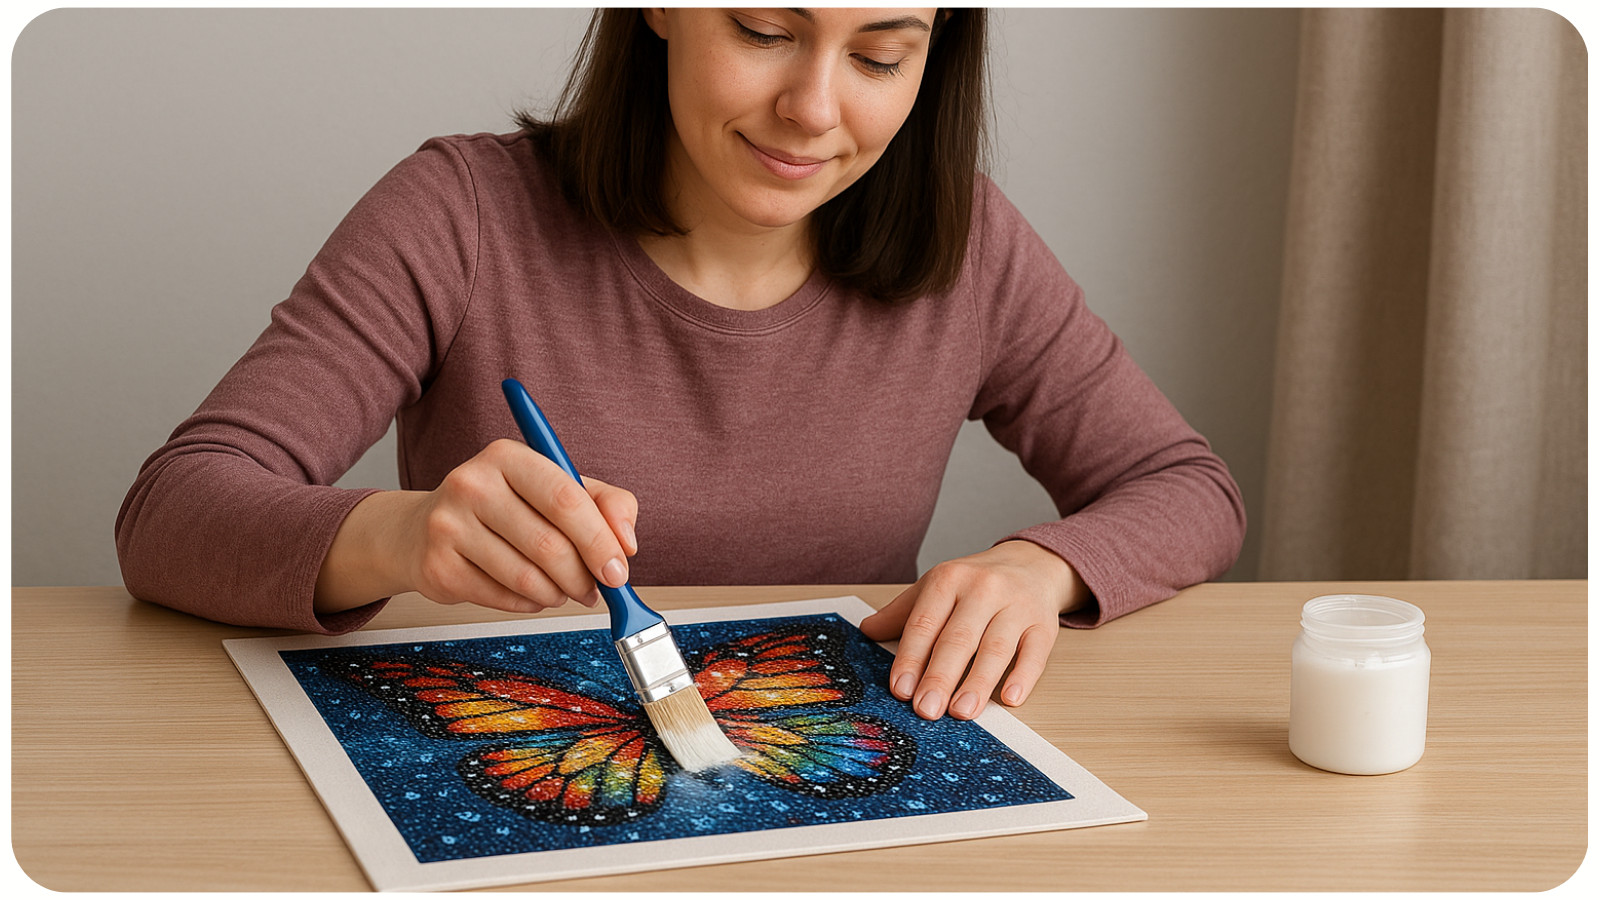
Sealing is recommended when:
- You notice loose drills or gaps;
- You want to display the artwork without glass;
- You prefer a uniform finish;
- You’re gifting or selling the piece;
- Your canvas feels flexible or thin;
Not all projects need sealing. High-quality canvases with strong adhesive (especially poured glue) may be durable enough without additional treatment.
GLOSSY VS. MATTE SEALERS: WHAT’S THE DIFFERENCE?
Both glossy and matte sealers protect your diamond painting, but they create very different visual results. Selecting the right finish depends on the type of drills you use, the lighting in your space, and your personal style preferences.
GLOSSY SEALERS: EXTRA SHINE AND ENHANCED COLOR
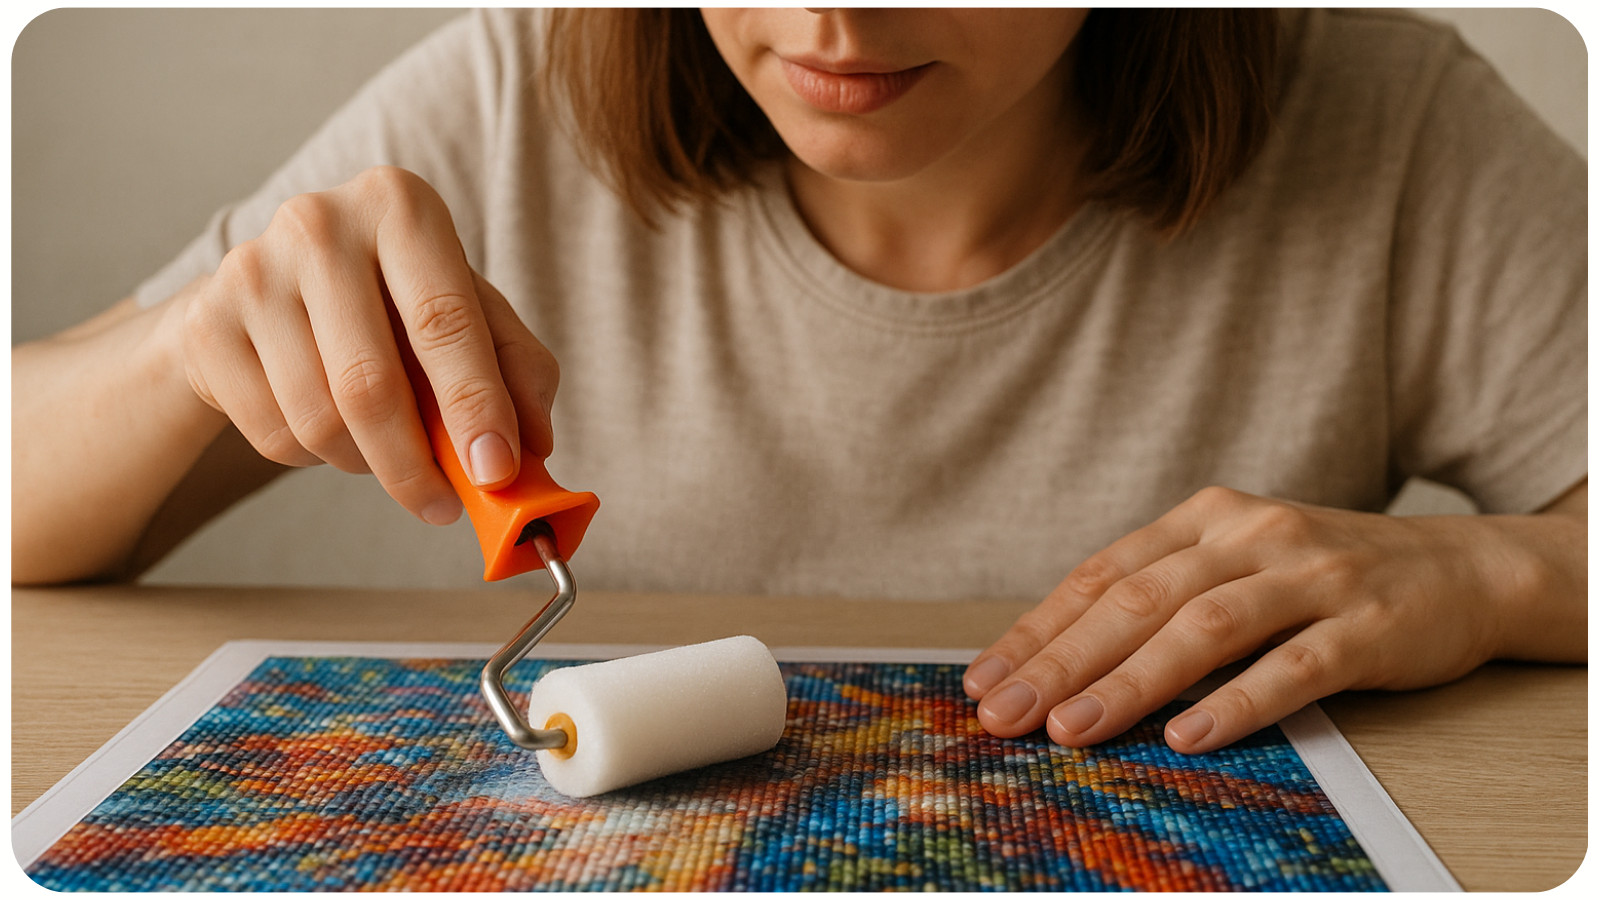
What Glossy Sealers Do. A glossy finish intensifies the sparkle of your diamond painting by reflecting more light off the drills. It creates a polished, vibrant, high-definition look.
Best For
- Round drills, which already reflect light softly;
- Whimsical or fantasy designs;
- Bright, colorful scenes (sunsets, galaxies, florals);
- Rooms with dimmer lighting, where extra shine helps the artwork pop;
Pros of Glossy Sealers
- Amplifies shine and sparkle;
- Makes colors appear richer and more saturated;
- Creates a smooth, glass-like surface;
- Excellent for gifting or displaying unframed;
- Ideal for projects with inconsistent drill shine;
Cons of Glossy Sealers
- Can over-reflect in strong lighting;
- May highlight imperfections like uneven areas;
- Runs the risk of creating a “wet look” if applied heavily;
- Not ideal for very detailed or subtle artwork;
Recommended Glossy Products
- Mod Podge Gloss;
- DecoArt Triple Thick;
- Liquitex High-Gloss Varnish;
Glossy Finish Example. If you're working on a galaxy diamond painting with vibrant blues and purples, a glossy sealer will enhance the dynamic colors and increase the sparkle effect under soft room lighting.
MATTE SEALERS: SMOOTH, SOFT, PROFESSIONAL-LOOKING FINISH
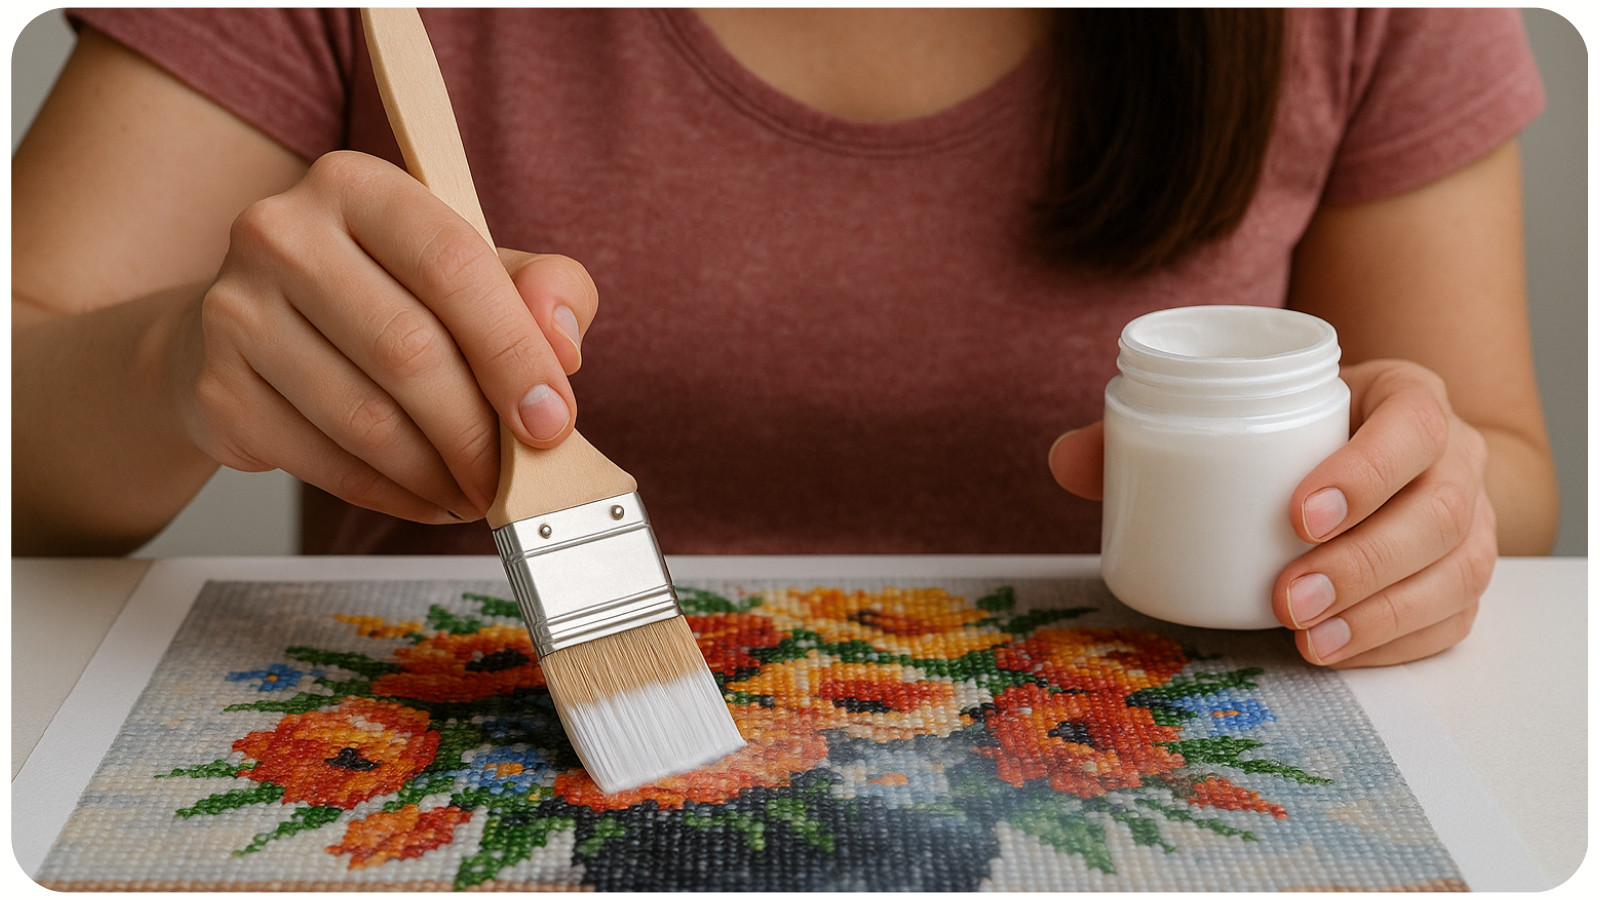
What Matte Sealers Do. A matte sealer reduces shine to create a calm, subtle look. The texture remains smooth but less reflective, making details easier to see.
Best For
- Square drill diamond paintings, where shine is naturally strong;
- Realistic scenes, portraits, or landscapes;
- Projects intended for high-light areas;
- Crafters who prefer a modern, museum-quality finish;
Pros of Matte Sealers
- Minimizes glare from windows or lamps;
- Reduces the visual contrast between drills;
- Improves readability of detailed artwork;
- Feels smooth without looking overly glossy;
- Great for professional framing and photography;
Cons of Matte Sealers
- Slightly reduces sparkle;
- Can mute colors if applied too thickly;
- Some matte formulas dry with visible texture;
Recommended Matte Products
- Mod Podge Matte;
- Liquitex Matte Varnish;
- Minwax Polycrylic (Matte);
Matte Finish Example. For a nature landscape with small trees, mountains, or animals, a matte sealer keeps the artwork looking soft and detailed without distracting reflections.
HOW TO CHOOSE BETWEEN GLOSSY AND MATTE: BEGINNER-FRIENDLY COMPARISON
|
Feature |
Glossy Sealer |
Matte Sealer |
|---|---|---|
|
Shine Level |
High, reflective |
Low, soft |
|
Best For |
Bright scenes, round drills |
Square drills, detailed art |
|
Color Impact |
Increases saturation |
Slightly mutes tones |
|
Texture |
Glass-like |
Smooth but flat |
|
Lighting Suitability |
Low-light spaces |
Bright rooms |
|
Downside |
Can be too shiny |
Reduces sparkle |
Quick Tip for Beginners
- If you want your diamond painting to look extra sparkly, choose glossy.
- If you want it to look clean and professional, choose matte.
TYPES OF SEALERS: BRUSH-ON VS. SPRAY
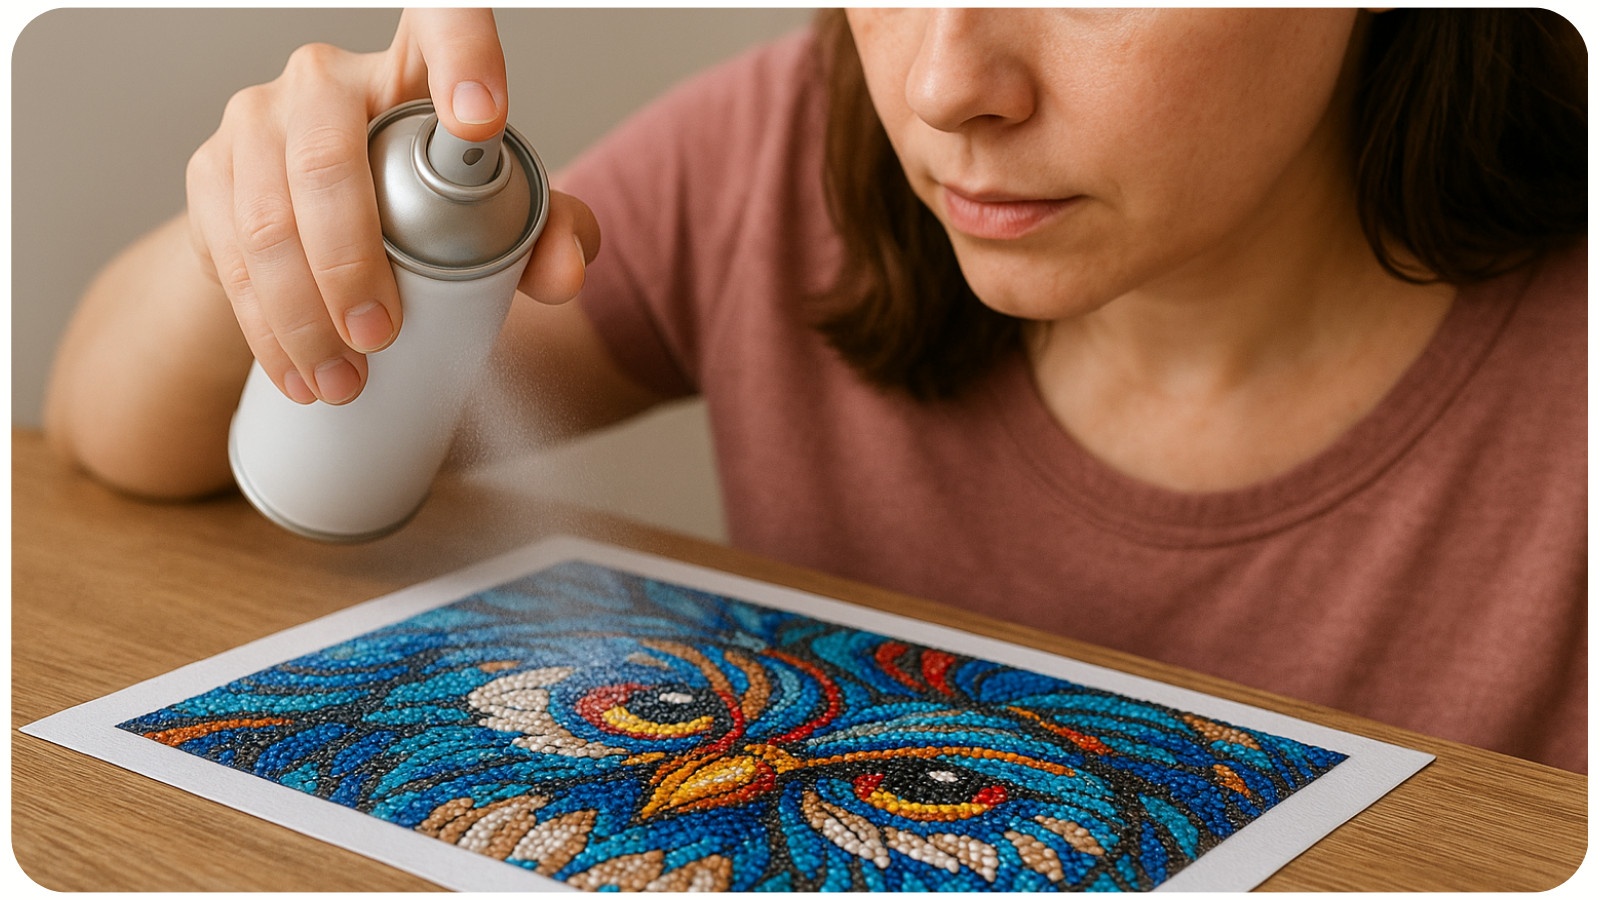
Both glossy and matte sealers come in brush-on and spray formats, and each has its own advantages.
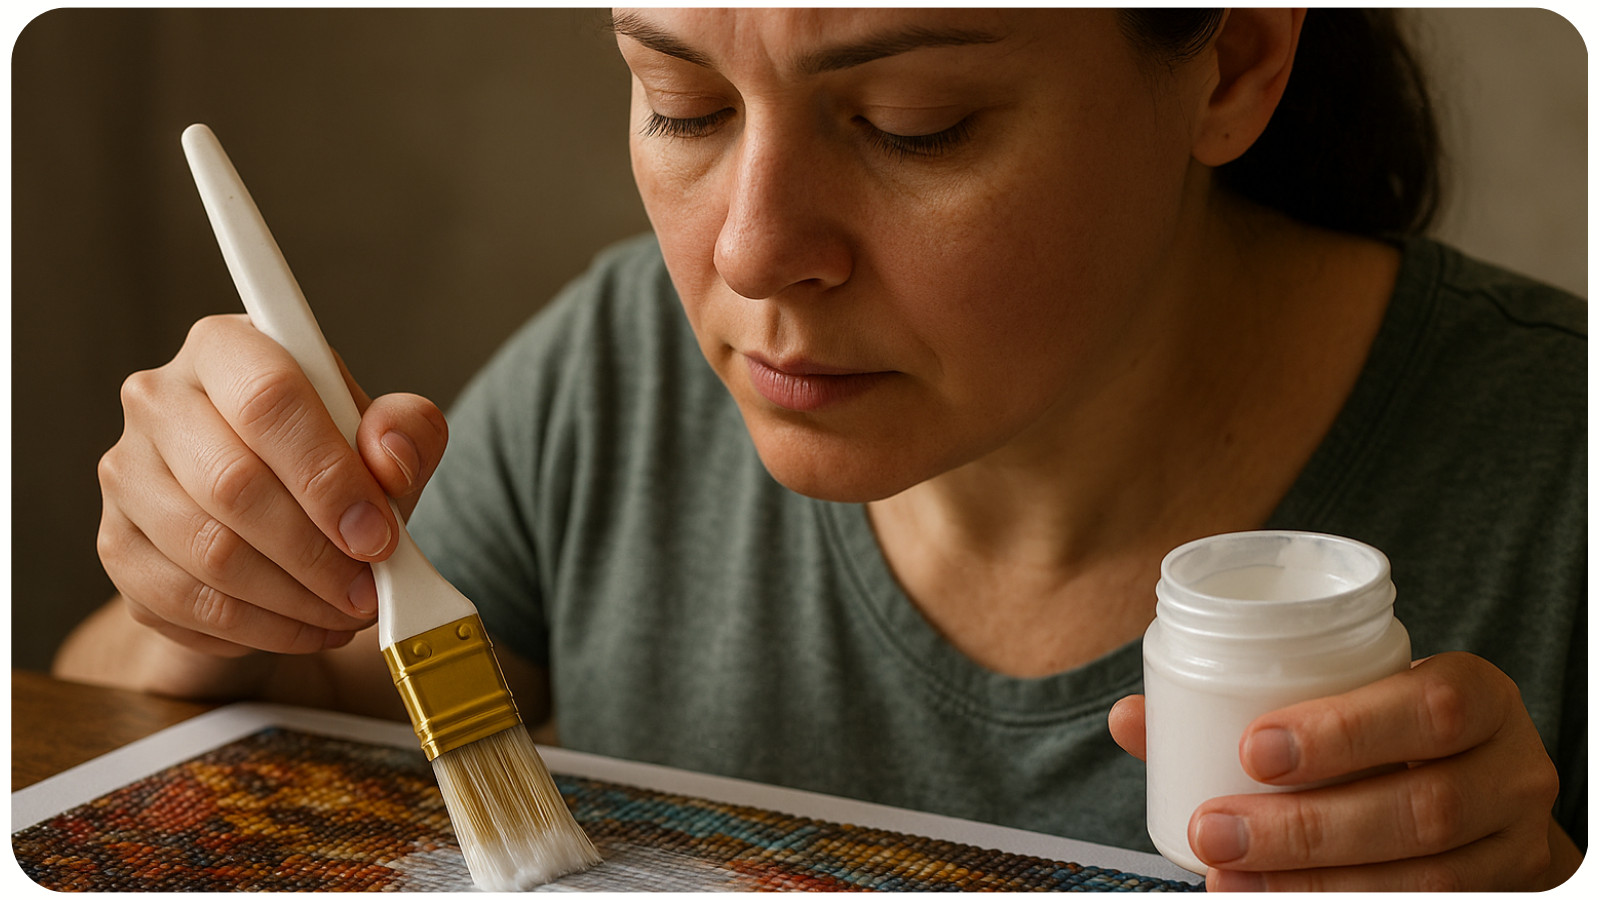
1. Brush-On Sealers. Great for full drill coverage and strong bonding.
Pros:
- Excellent for filling gaps;
- Strengthens drill adhesion;
- Smooths uneven surfaces;
Cons:
- Can leave brush strokes;
- May pool if applied too thick;
- Longer drying time;
2. Spray Sealers. Perfect for preserving the natural sparkle.
Pros:
- Very even application;
- Keeps drills looking bright;
- Dries quickly;
Cons:
- Less effective at filling gaps;
- Requires ventilation;
- May need multiple coats;
HOW TO SEAL YOUR DIAMOND PAINTING: STEP-BY-STEP GUIDE
Before You Start
- Ensure all drills are fully placed
- Roll the canvas gently to secure adhesion
- Brush off dust or debris
- Flatten any raised drills
Step 1: Choose Your Sealer
- Glossy for extra shine;
- Matte for subtle elegance;
- Spray for natural sparkle;
- Brush-on for gap filling;
Step 2: Protect Your Workspace. Use parchment paper, newspaper, or a silicone mat.
Step 3: Apply the Sealer
For Brush-On:
- Use a soft synthetic brush;
- Apply thin, even layers;
- Move in one direction;
For Spray:
- Shake the can well;
- Hold 10-12 inches from the canvas;
- Spray in horizontal sweeping motions;
Step 4: Let It Dry Completely
- Brush-on: 2-4 hours;
- Spray: 15-30 minutes;
Step 5: Inspect and Add a Second Coat (Optional). A second coat is helpful for large pieces or pieces with popping drills.
EXPERT TIPS FOR THE BEST RESULTS
1. Avoid over-sealing. Multiple thick coats can create cloudiness or texture.
2. Use sealing sparingly on AB drills. AB (Aurora Borealis) drills already have a special coating – sealers may reduce their iridescence.
3. Test first. Apply your chosen product to a small leftover drill area before sealing the full painting.
4. Don’t seal partial-drill paintings. Sealing can create a noticeable difference between drilled and undrilled areas.
5. Consider framing under glass instead. If you want to protect your painting without altering the finish, glass framing is an excellent alternative.
CONCLUSION: WHICH SEALER SHOULD YOU CHOOSE?
The choice between glossy and matte sealers comes down to the look you want and the type of project you’re working on.
Glossy sealers enhance shine and boost color vibrancy, making them ideal for fun, bright, or round-drill paintings.
Matte sealers, on the other hand, provide a smooth, glare-free finish perfect for detailed or square-drill designs.
Both finishes protect your artwork, improve durability, and give your diamond painting a long-lasting professional look. For beginners, experimenting with both options on small sections or spare drills is the easiest way to discover your preferred finish.