


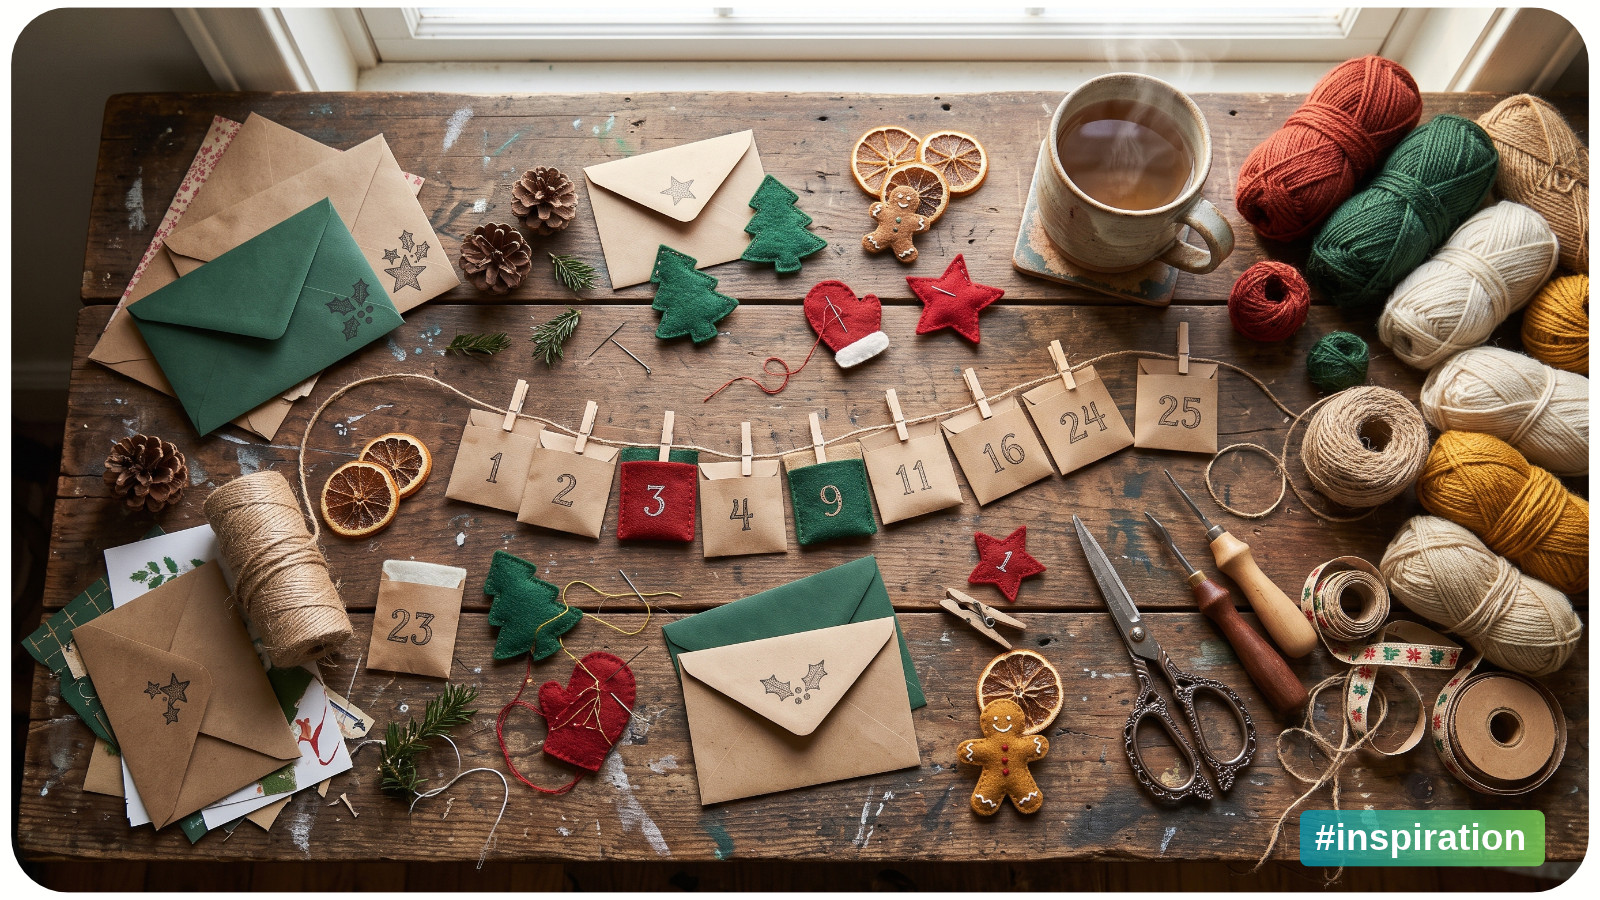
Handmade countdown projects turn the days before a celebration into small creative tasks. Make a craft prompt calendar, sew a felt pocket banner, stitch a sampler, or build a paper village one piece at a time. Prepare the base before the holidays, then choose a pace that fits your days.
A row of paper houses or a stitched square waiting for its next detail gives you something to make as well as something to open.
If you're also hoping to return to your favorite hobby after the holidays, plan for that now. Choose a project you can pause, keep its supplies together, and leave yourself an easy January starting point.
Choose a Holiday Countdown You Actually Want to Make
Start with the activity you enjoy. Someone who loves stitching may welcome a sampler with tiny motifs. Someone returning to crafts after a long break might prefer paper cards and a pencil.
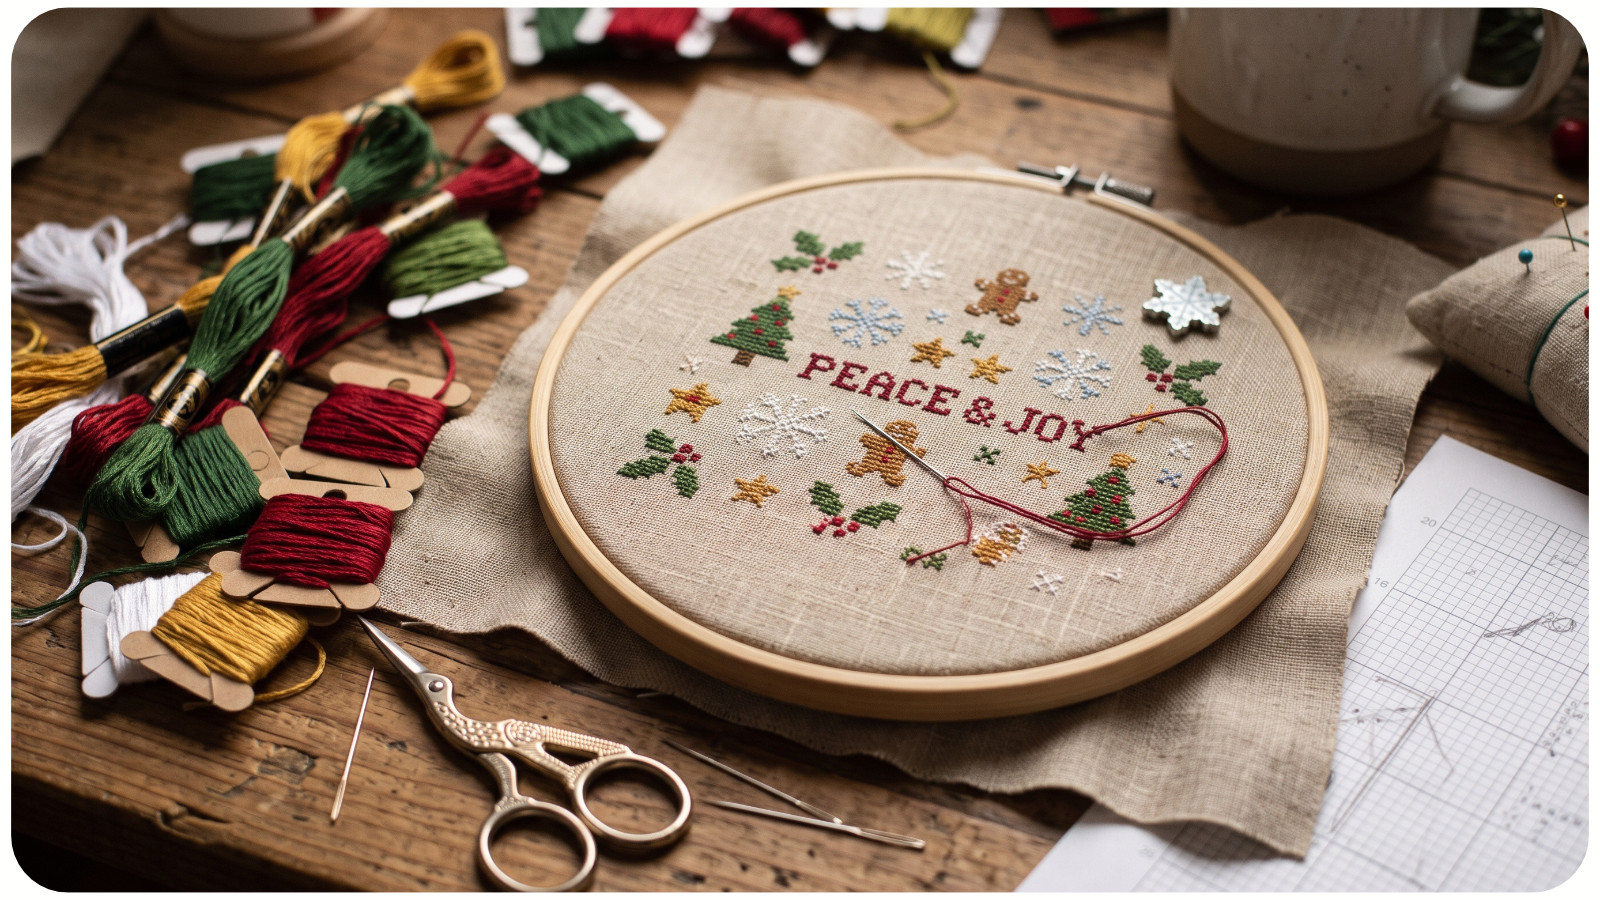
Next, decide what you're counting toward. For a December 1 through 24 Christmas countdown, make a DIY Advent calendar with 24 numbered spaces. A shorter holiday countdown might cover the final seven days before a family gathering. You can also make a winter project that continues into the new year.
Match the number of tasks to your available time. Twelve generous sessions may suit you better than 24 daily commitments.
Choose Your Handmade Countdown Project | ||
Project | Main Supplies | What You Add During the Countdown |
|---|---|---|
Craft prompt envelopes | Paper, envelopes, pen | One small creative response |
Felt pocket banner | Felt, thread, needle, backing, scissors | A note or handmade detail |
Cross-stitch sampler | Aida, floss, needle, chart, scissors | Part of a motif or a small motif |
Yarn garland | Yarn, hook or knitting needles, cord, yarn needle, scissors | A repeated shape |
Paper village | Cardstock, pencil, ruler, scissors, paper adhesive | A house or a drawn detail |
Patchwork wall hanging | Fabric scraps, thread, needle, backing, cutting tools | One fabric piece or section |
1. Make a Craft Prompt Envelope Calendar
This is a good place to start if you want easy holiday crafts without buying a new set of tools. Gather small envelopes, fold your own from scrap paper, or reuse plain stationery. Number them and arrange them in a box or along a ribbon.
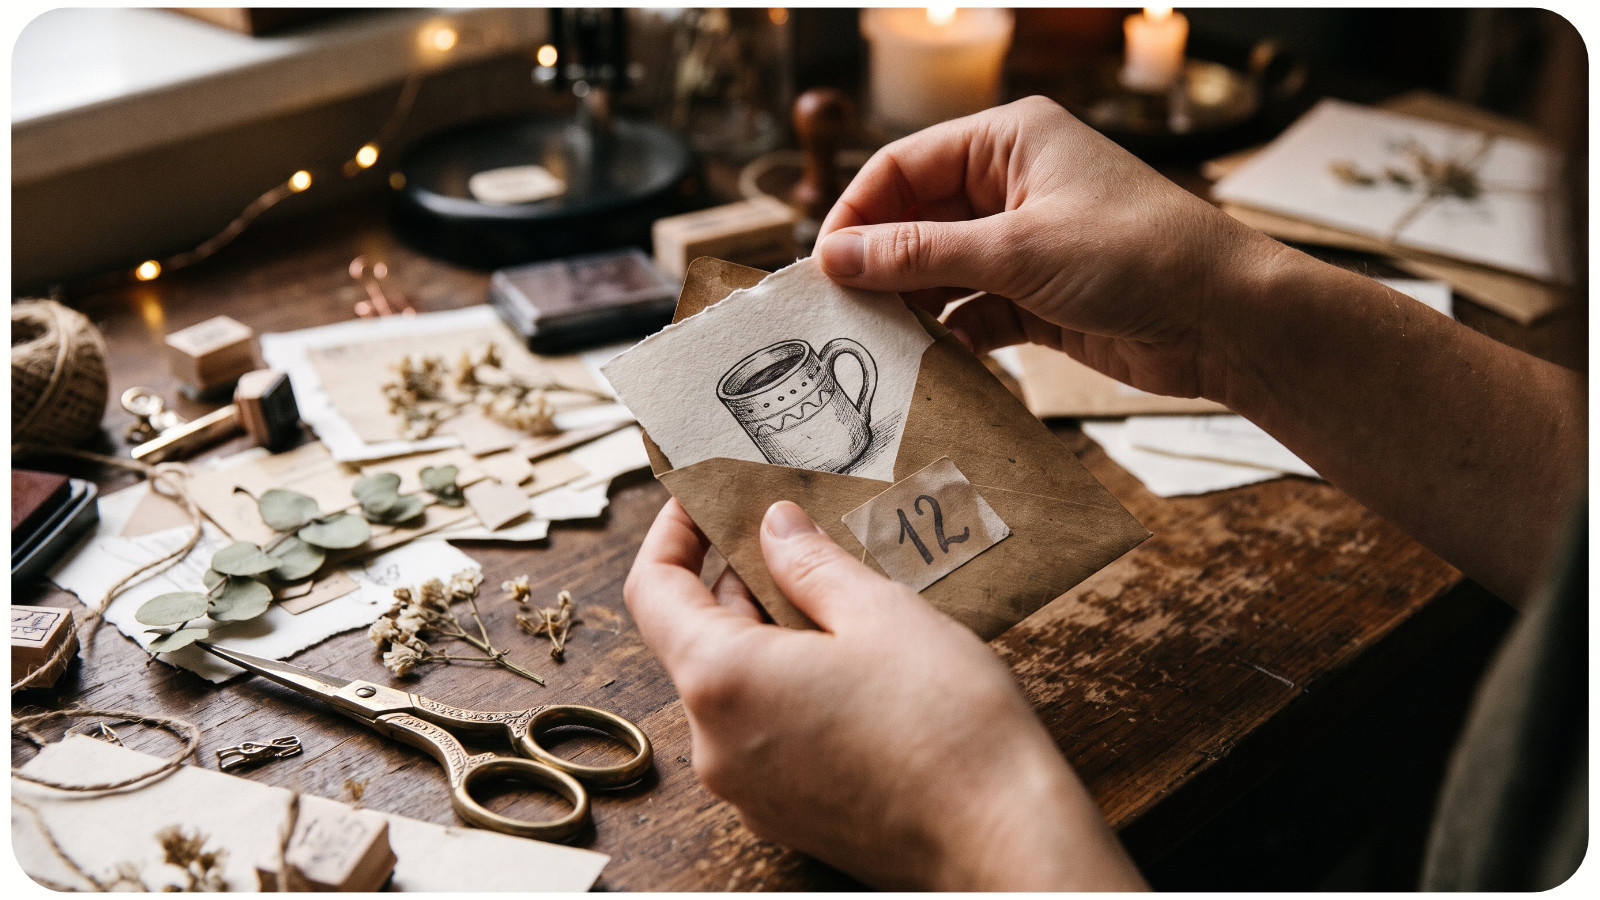
Put one manageable creative invitation inside each envelope. Try prompts such as:
• Draw the shape of a favorite mug.
• Pick three thread colors for a winter scene.
• Make a gift tag from a paper scrap.
• Add a small detail to an unfinished project.
• Sketch a leaf using only five lines.
Vary the effort. A busy day can hold a color choice; a free afternoon can hold a larger task. Avoid filling every envelope with a new shopping list.
For a post-holiday version, save seven extra prompts in a separate envelope labeled “Open when you're ready to make again.” Your next creative session will already have a starting point.
2. Sew a Reusable Felt Pocket Countdown
A felt pocket calendar combines a useful holiday decoration with small pieces of sewing. Picture a simple fabric banner with numbered pockets, perhaps in cream, deep green, and warm red.
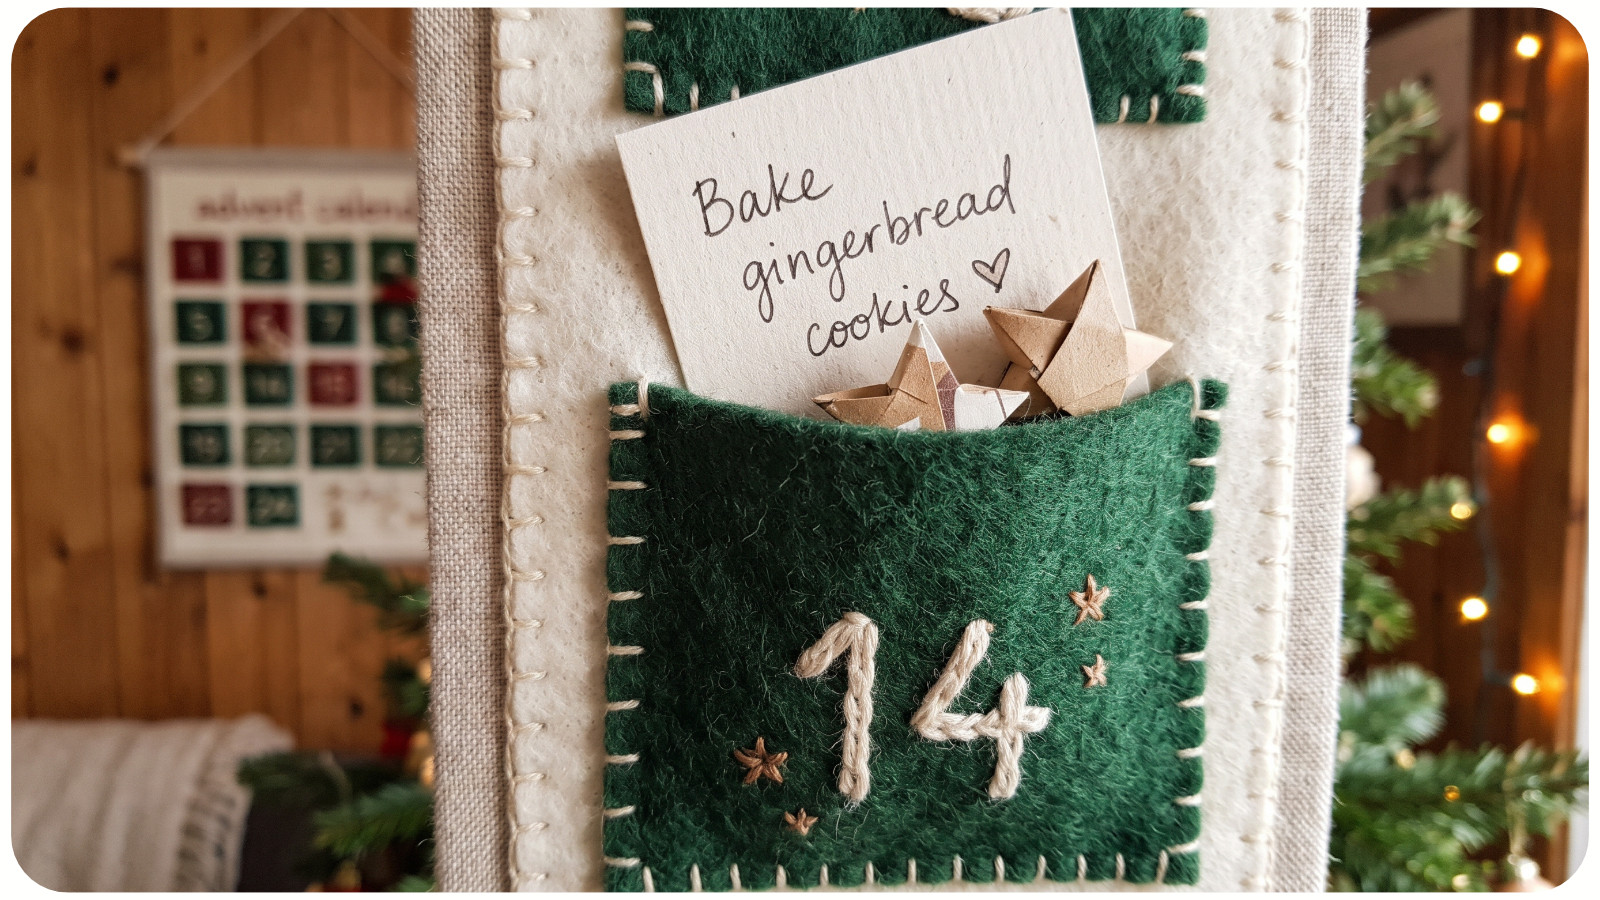
Before the countdown begins, choose the layout, cut the pockets, and attach them to the backing. Keep the decoration simple if sewing the base is already a substantial project for you. Plain pockets with stitched numbers can look lovely without extra trim. Sew the sides and lower edge of each pocket, leaving its top open, and choose a hanging method that suits the backing.
Fill them with handwritten activity cards, paper stars, or notes about things you'd like to make. You don't need a purchased gift for every day.
If you're making the calendar during the countdown itself, add a pocket each session and plan to use the finished piece next year. That gives the sewing a clear purpose without requiring the entire banner to be ready immediately.
3. Start a Cross-Stitch Countdown Sampler
A cross-stitch countdown brings small motifs together on one piece of fabric. Think of a mitten, a candle, a little house, a fir sprig, and a snowflake, with enough space between them to keep each shape clear.
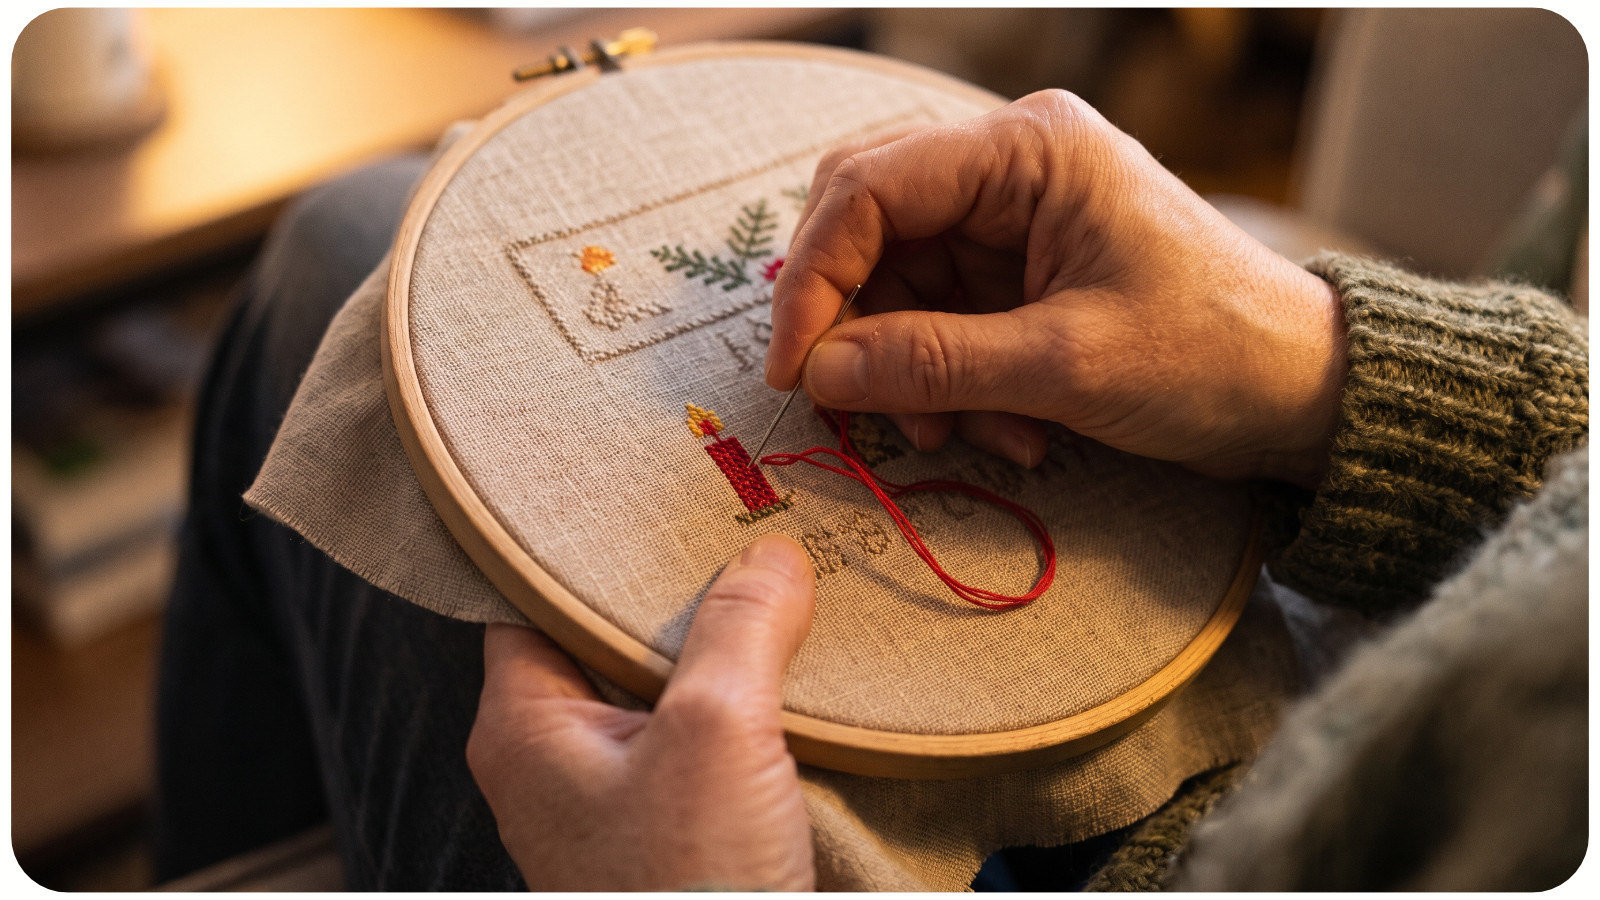
Choose a chart designed as a sampler, or plan the arrangement before stitching. Check the stitched dimensions at your chosen fabric count and leave enough extra fabric for your planned finish. Gather the listed floss and mark your place on the chart before the first session.
For seasonal themes, browse APS Christmas cross-stitch patterns, then check the stitch dimensions. A full-size chart is not automatically a small countdown motif.
Try one motif before setting a daily target. Its size, color changes, and your stitching pace will help you decide whether each motif needs one session or several.
A winter theme can carry the project into January. Blue houses, bare branches, and small birds don't depend on finishing before Christmas. Leave one section ready for your return, with the next thread color noted beside the chart.
4. Build a Small Crochet or Knitted Garland
If yarn is your favorite material, make a countdown from repeated shapes. Small crochet circles, knitted rectangles, or other shapes from a familiar pattern can become a garland when arranged along a cord.
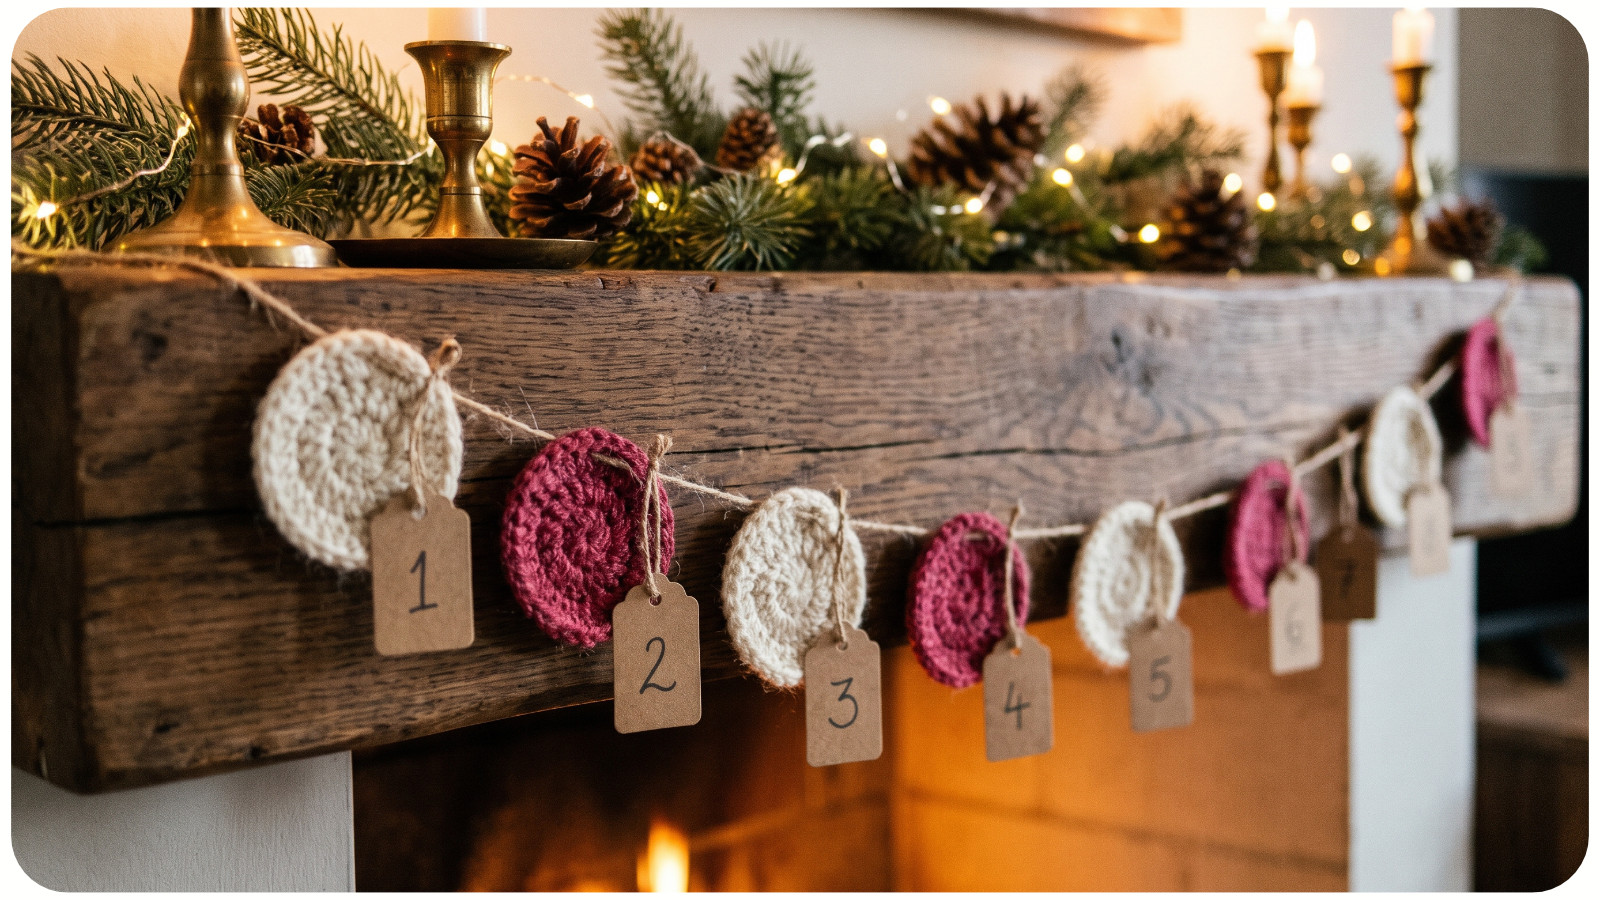
Use a pattern that already feels comfortable. The interest can come from color rather than a new technique: alternate cream and berry red, or move gradually through the leftover yarn in your basket.
Make a sample first and decide how many repeats feel reasonable. One shape per session is an option, but a larger piece can stretch across several evenings.
Before attaching everything, lay the pieces out together. You may prefer uneven color groups, a repeating sequence, or a few plain spaces between clusters. Finish the shapes and weave in their yarn ends before attaching them to the cord. Use removable numbered paper tags if you want the garland to show the days remaining. Keep some yarn aside if you'd like to extend the garland after the holidays.
5. Create a Paper Village Countdown
A handmade paper village offers a countdown you can watch grow across a shelf. Use cardstock, a ruler, scissors, and a suitable paper adhesive. Begin with one simple house shape and repeat it with different rooflines or window designs.

Prepare the templates and check that the houses stand before making a whole set. Then divide the work into small stages: draw windows, cut a house, fold it, or add its number.
The houses don't all need to hold gifts. Their numbers can link to activity cards kept in a separate box, leaving the buildings as decoration.
For a village you can display through winter, use snowy roofs, tiny doors, and neutral colors. Make the numbers removable, then take them off when the countdown ends. A few new buildings in January can become the next chapter of the project.
6. Piece Together a Fabric Scrap Countdown
A small patchwork wall hanging gives saved fabric scraps a shared purpose. Choose a limited palette and a simple arrangement, such as rows of squares or a group of rectangles.
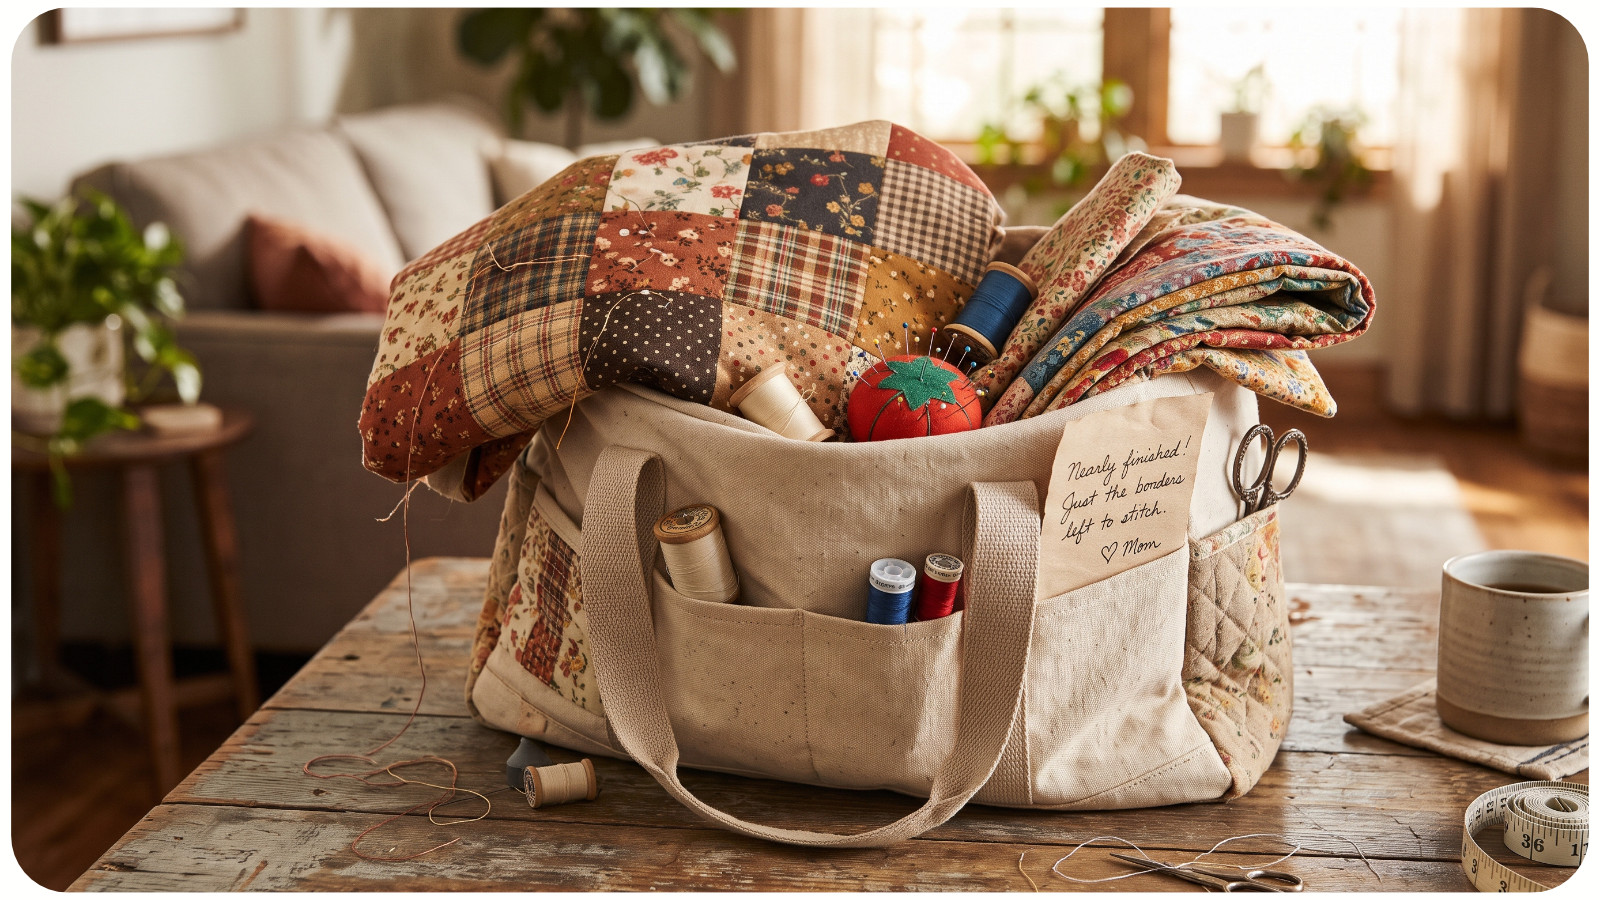
Before the holidays, sort the fabric, settle on the layout, and cut the pieces you need. During the countdown, join a small section at a time. Keep a sketch or photo of the arrangement so you can find your place after a break.
Choose the scale carefully. Choose a small panel with a simple layout if you're returning to sewing after time away. The number of pieces and the finish matter as much as its overall size.
You can complete the pieced front before the celebration and save the backing, quilting, and hanging finish for later. Put those materials in the same project bag, along with a note explaining the next step.
Prepare Before the Holidays, Then Leave Room to Pause
Separate the preparation from the countdown itself. Cutting every pocket, finding a missing floss color, or choosing 24 prompts can take more thought than the daily activity.
Make one sample, gather your supplies, and divide the work into tasks you can recognize at a glance. For stitching, check the chart's thread list first; our guide to how much cross-stitch floss you need can help with planning. Include spare sessions for travel, visitors, or evenings when making simply doesn't fit.
If you're starting late, shorten the countdown. Seven paper houses can make a complete village. A sampler can have twelve motifs. There is no need to double the work the next day because you missed a session.
Make Your First Post-Holiday Craft Session Easy
Before putting the project away, leave a short “start here” note. Be specific: “Stitch the blue window,” “Join the next two squares,” or “Draw a roof for house seven.”
Keep the pattern, materials, and progress notes together. If the holiday project is finished, prepare a small follow-up using the same supplies, such as a matching bookmark or another paper house. If you stitched a separate small motif, our guide to making a cross-stitch holiday ornament offers one finishing option to save for your next session.
When you're ready to return, begin with that one task. You don't have to plan a whole new project on your first evening back.
The countdown may end with the celebration, but the materials can stay close by. Leave yourself a thread color you want to use, a shape you'd like to repeat, and a clear place to begin.