


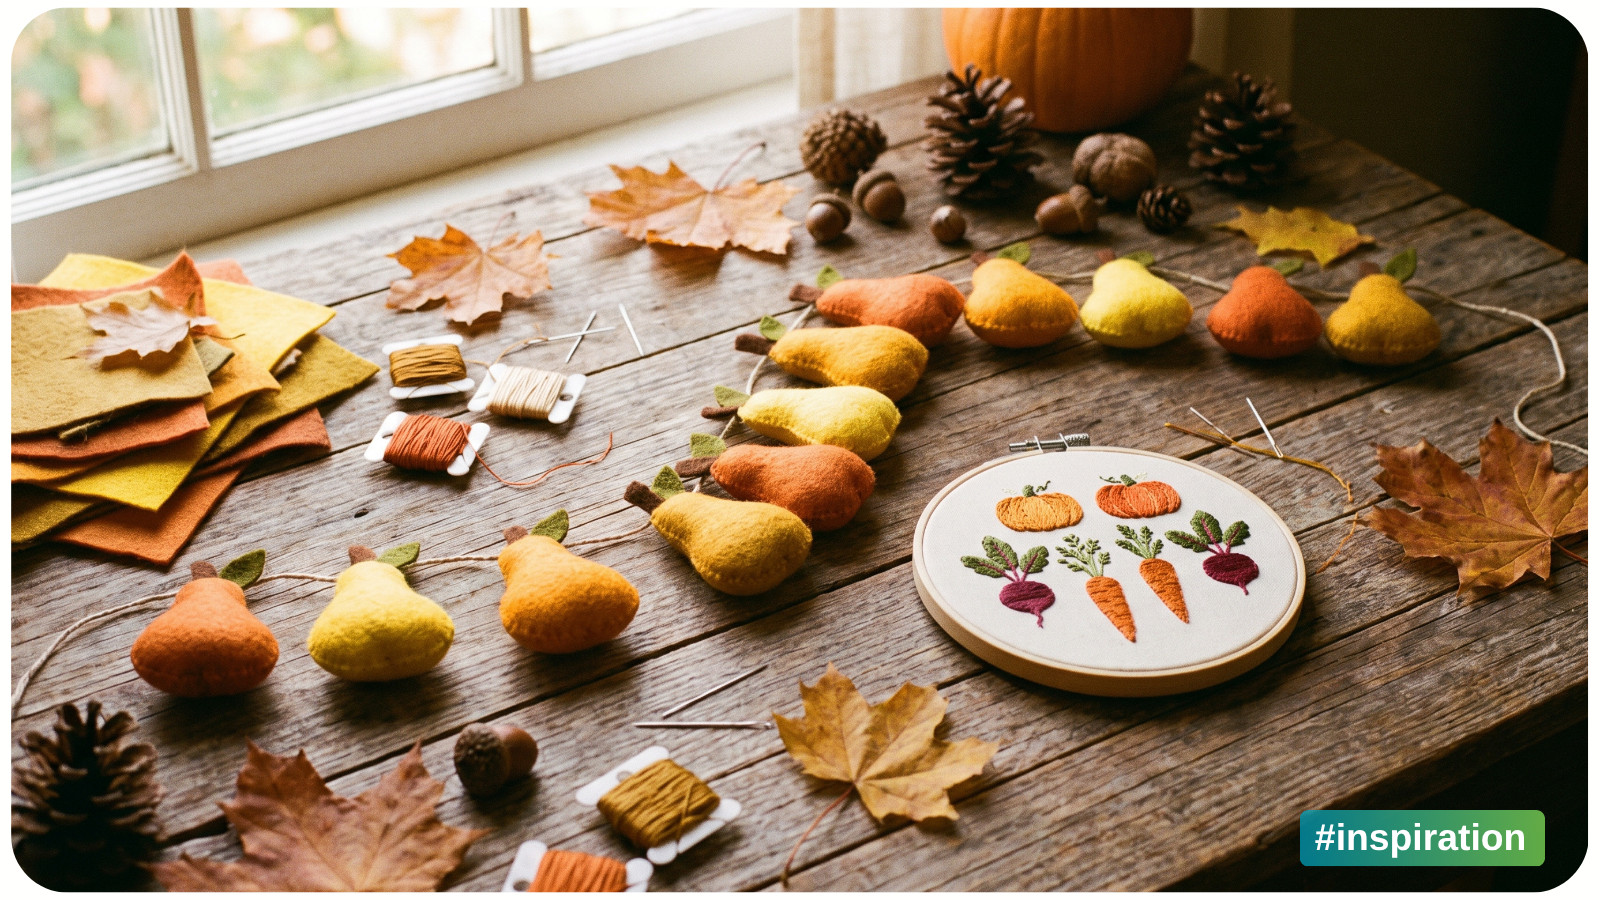
A pile of crooked squash. Burgundy flowers tucked into brown paper. Apples in shades of yellow, pink, and deep red. An autumn farmers’ market gives you plenty to work with before you even open your craft supplies.
These craft ideas inspired by autumn farmers’ markets turn those small details into paper art, simple sewing, embroidery, and handmade fall decor. Some begin with a few scraps and scissors. Others give you a project to return to over several evenings.
You don’t need to recreate a whole market scene. Choose one thing you noticed, such as the curve of a pear or the stripes on an awning, and build from there.
Find Fall Craft Inspiration at the Farmers’ Market
On your next visit, look beyond the pumpkins. Notice how pale vegetables sit beside dark greens, how handwritten signs fill small spaces, and how flowers spill over the edges of buckets.
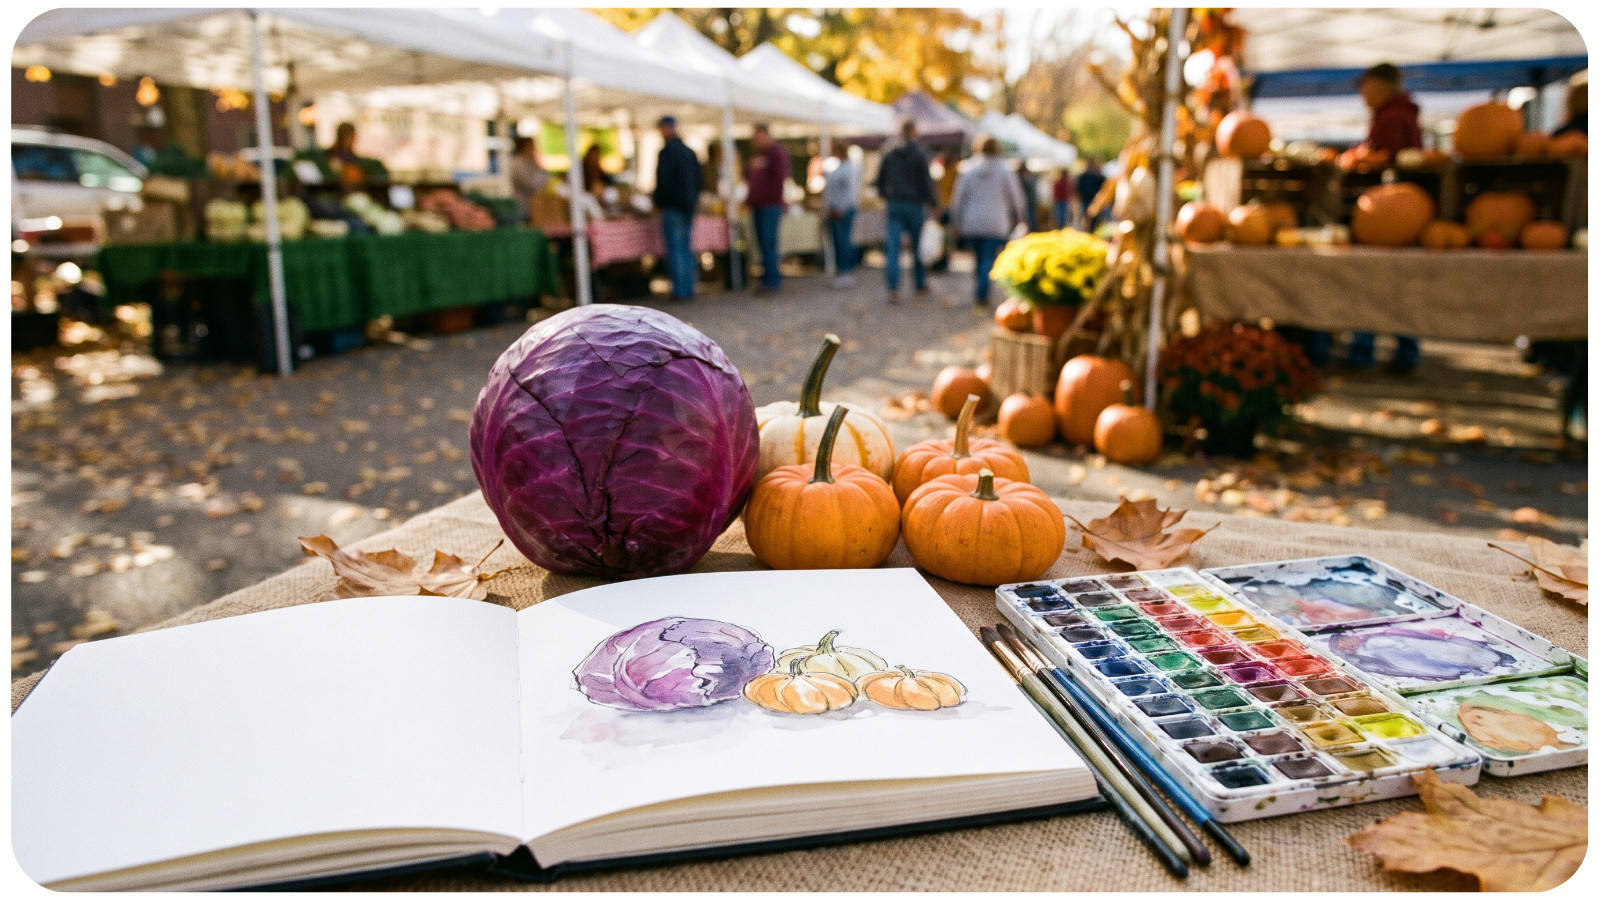
If you want reference photos, ask before photographing a vendor’s display. At home, make a small collection of colors and shapes from your own pictures, a quick sketch, or produce you bought for the kitchen.
Try one of these starting palettes:
• Apple stand: deep red, golden yellow, leaf green, and cream.
• Squash basket: soft orange, pale green, warm brown, and ivory.
• Flower stall: burgundy, dusty pink, mustard, and dark green.
These are suggested combinations, so swap in what catches your eye locally. A purple cabbage can be just as interesting a starting point as an orange pumpkin. For another way to look at seasonal color, explore autumn in landscape painting.
1. Sew Felt Pears for a Small Harvest Garland
Pears bring a softer shape to fall decorations, especially when you mix green, golden brown, and muted yellow felt.
Sketch a pear with a generous rounded base, then use it as a template for matching front and back pieces. Stitch around the edge, leaving a small opening for stuffing, then close it and add a felt stem. Sew a hanging loop to the top of each pear and thread the loops onto cotton cord, leaving space between them.
Keep the first version simple. One plain pear with a single leaf gives you a chance to decide whether you enjoy the sewing before making a whole garland.
Hang the finished strand above a shelf, or use individual pears as decorations on wrapped gifts. Slightly different shapes make the group feel like a basket of fruit picked by hand.
2. Make a Paper Collage of Your Favorite Market Stall
A market collage can start with a paper bag, leftover gift wrap, and a sheet of cardstock. Choose clean, dry paper you already have, then cut broad shapes for the table, canopy, and produce baskets.
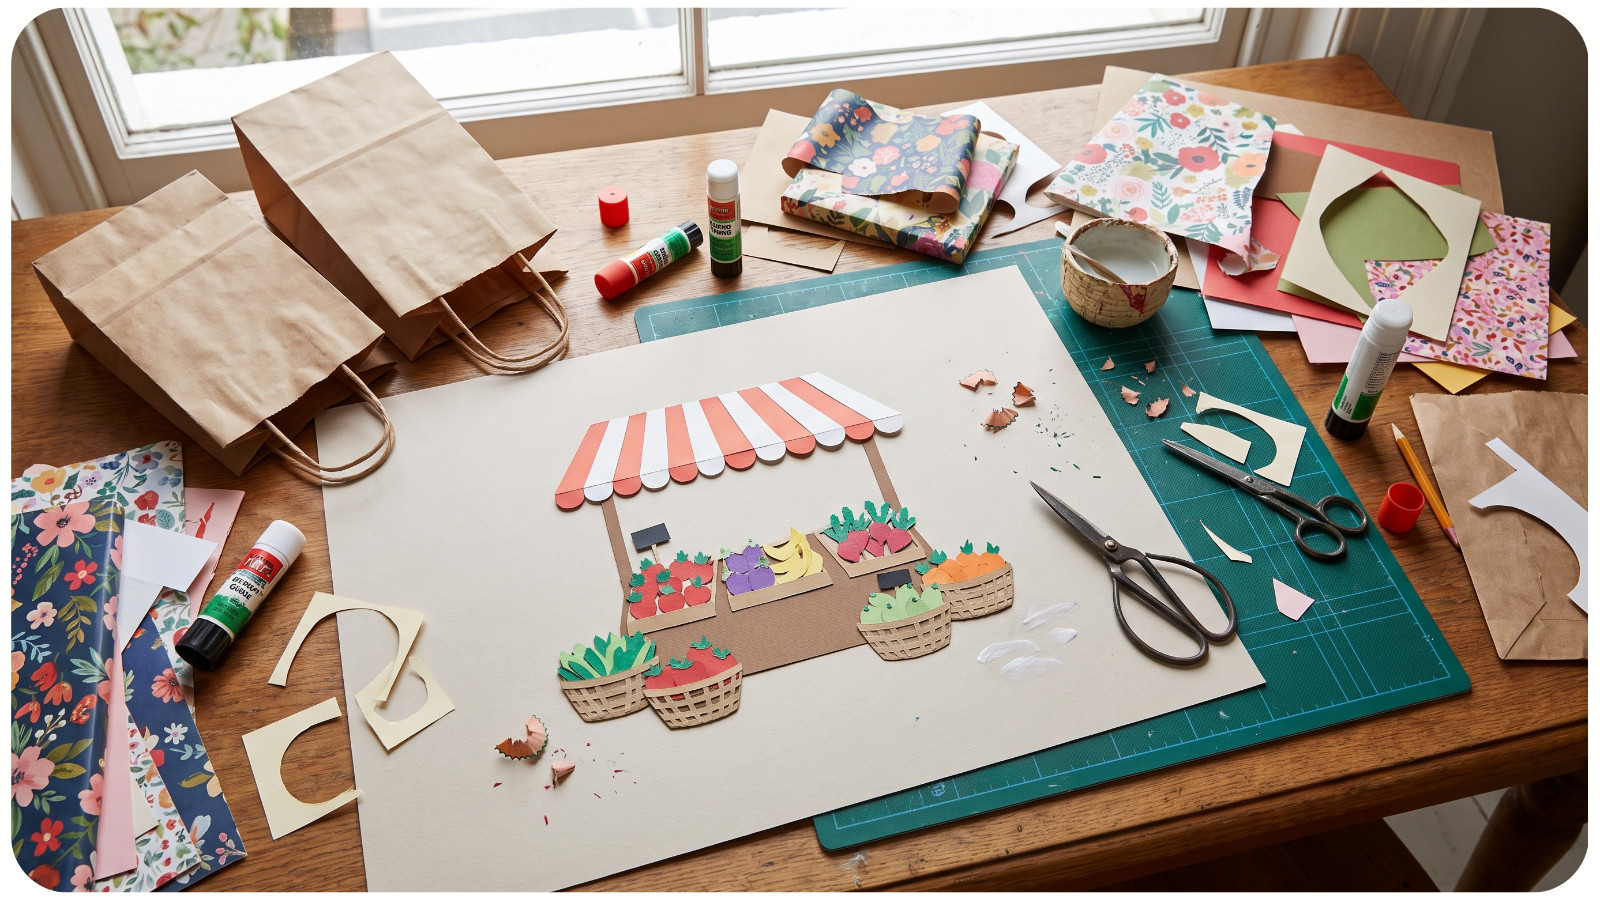
Begin with the stall itself. A striped awning or dark tabletop gives the smaller pieces somewhere to belong. Add uneven circles for apples, long shapes for carrots, and folded paper sleeves for bouquets.
The fun is in the arrangement. Try three overflowing baskets under one wide canopy, or focus on a single flower bucket beside a small sign.
Use your own wording on the sign, such as “Saturday Harvest.” Mount the collage as a seasonal picture or make a smaller version for a greeting card.
3. Embroider a Tiny Vegetable Collection
For an autumn embroidery idea with a clear starting point, draw three vegetables in a row: a carrot, a beet, and a small squash. Their different outlines give you variety without needing a crowded design.
Gather plain fabric, a hoop, an embroidery needle, and a few thread colors. Keep each vegetable large enough to see its basic shape clearly. You can begin with stitched outlines and add small areas of color as your confidence grows. If the background starts to pucker, see these tips for preventing fabric wrinkles in an embroidery hoop.
A dark red beet with green leaves can carry the whole piece. Leave some fabric visible around it so the detail has room to stand out.
If cross-stitch is your favorite craft, use a chart designed for that technique. Choose a small produce motif or arrange several charted motifs into a harvest sampler.
4. Paint a Market Tote With One Bold Motif
A plain tote offers space for a design you’ll carry back to the market. Instead of covering the whole bag, try one large pear, a bunch of carrots, or three apples near the bottom corner.
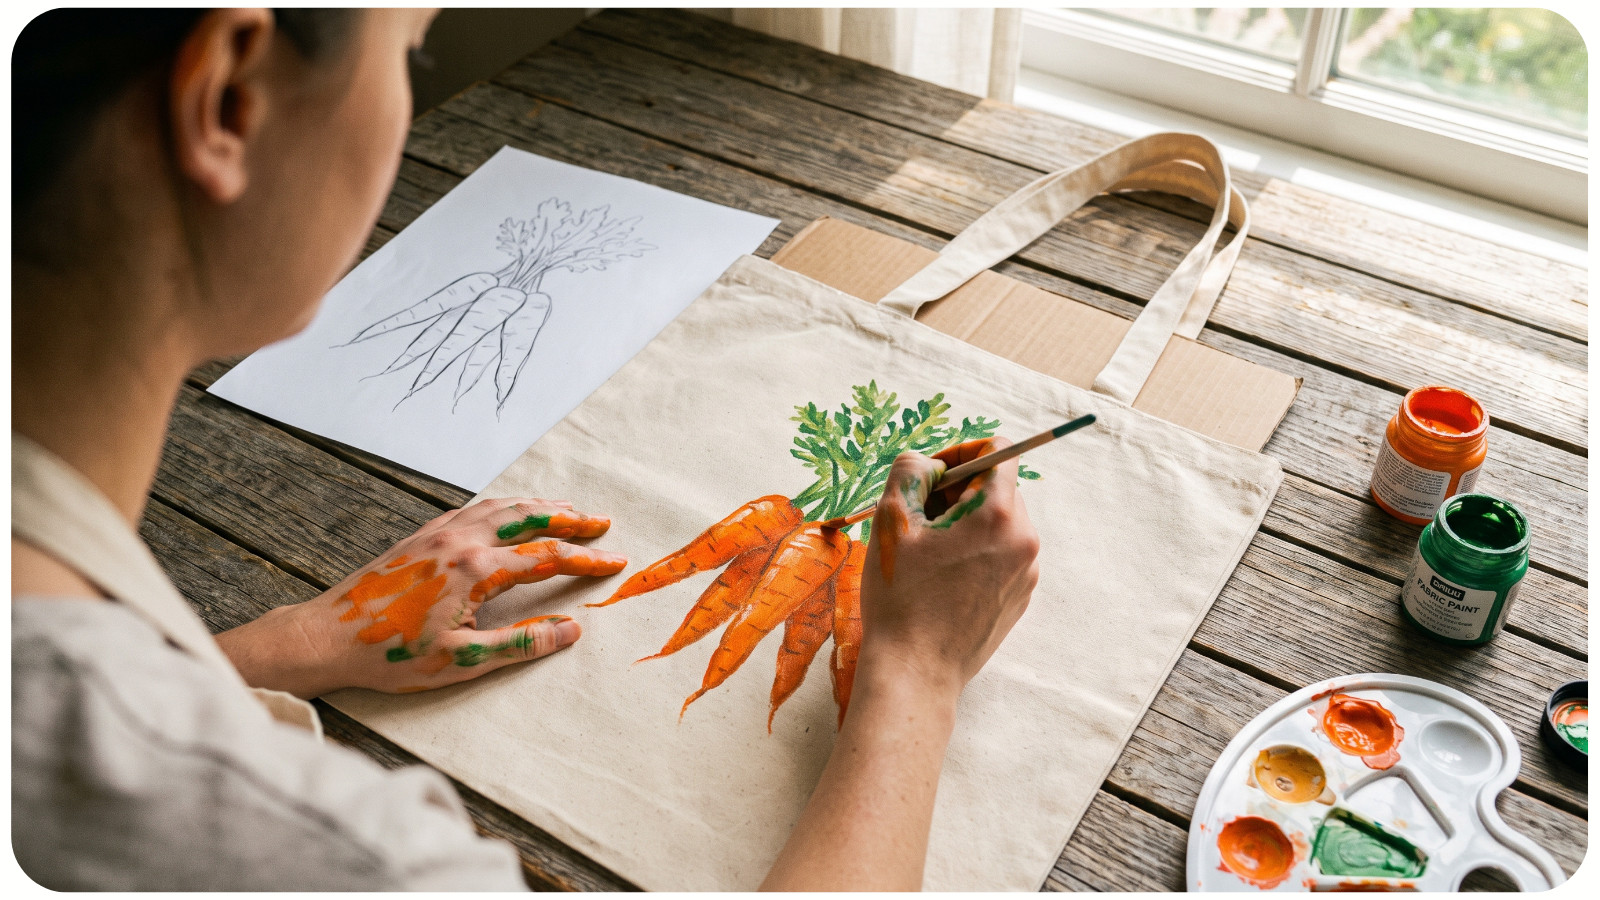
Sketch your idea on paper first. Decide where the handles and seams will sit in relation to the picture, then choose fabric paint intended for your bag’s material. Put a protective layer inside the bag before painting.
Test the paint on a matching scrap or a hidden area first, and follow its preparation, drying, setting, and washing directions. These requirements depend on the product. For example, Jacquard’s Textile Color guidance covers stamping and stenciling and explains how to set that paint. Don’t apply one brand’s setting method to every fabric paint.
If drawing feels like the hard part, make a simple stencil from cardstock. A single solid shape can be enough.
5. Turn a Flower-Stall Palette Into Paper Blooms
Bring the color of a market bouquet into a paper project. Choose three flower colors from a bunch you admired, then add one green for the leaves.
Use colored paper for bold, simple blooms or crepe paper if you want to explore curved petals. A small bunch of oversized flowers can look striking in a plain vase. For a flatter project, arrange paper flower heads on a card or around the edge of a gift box.
Start with one bloom and repeat it in different sizes. You don’t need to learn several flower types at once.
Keep some of the brown wrapping paper visible in the finished arrangement. That detail connects the project to a market bouquet even when the flowers themselves are quite abstract.
6. Create a Fabric Appliqué Harvest Basket
Pull out fabric scraps in green, rust, gold, and red. Rather than making a full quilt, use them to build one small picture with fabric shapes.
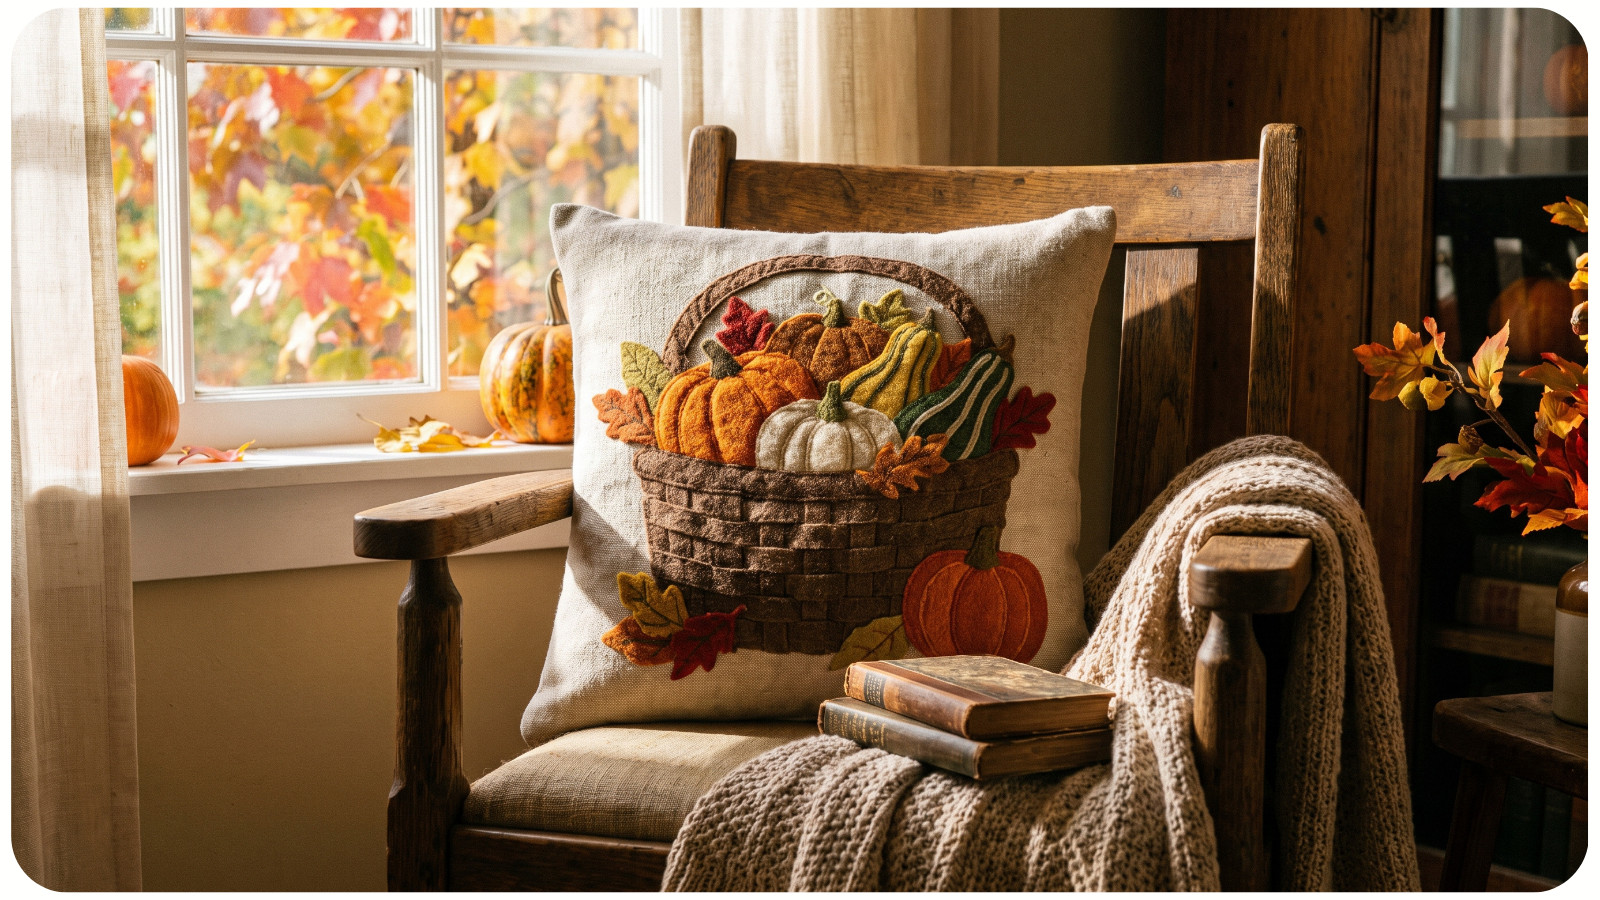
A broad basket shape forms the base. Above it, arrange a pear, an apple, and a squash cut from different scraps. Try a checked basket with plain fruit, or reverse the balance with patterned produce on a quiet background.
Lay everything out before stitching. Take a photo of the arrangement so you can compare a second version without losing the first.
Attach the fabric shapes to a backing fabric using an appliqué method you already know, or use this small panel to practice one. Appliqué means attaching cut fabric shapes to another fabric surface. The panel could become a wall hanging or the front of a small cushion.
7. Draw Recipe Cards With Harvest Borders
For a fall paper craft with a useful purpose, make a set of illustrated recipe cards. Think apple cake, roasted squash soup, or a family dish you cook when the weather turns cooler.
Keep the center clear for the recipe. Add a narrow border of tiny apples, simple leaves, or little bundles of carrots. Colored pencils work well for a dry project with little cleanup; watercolor on paper made for watercolor painting is another option if you already enjoy painting.
Use the same border color across the set so the cards belong together. Write out recipes you actually use, including the details you tend to forget. Put ingredients on the front and the method on the back if you need more room.
Tie a few finished cards together with ribbon for a personal gift, or keep them in your own kitchen.
8. Make Produce-Shaped Gift Tags From Card Scraps
A small tag is a good place to try an autumn motif without committing to a larger project. Cut an apple, pear, or squash from sturdy cardstock, add a stem, and leave the reverse clear for a message.
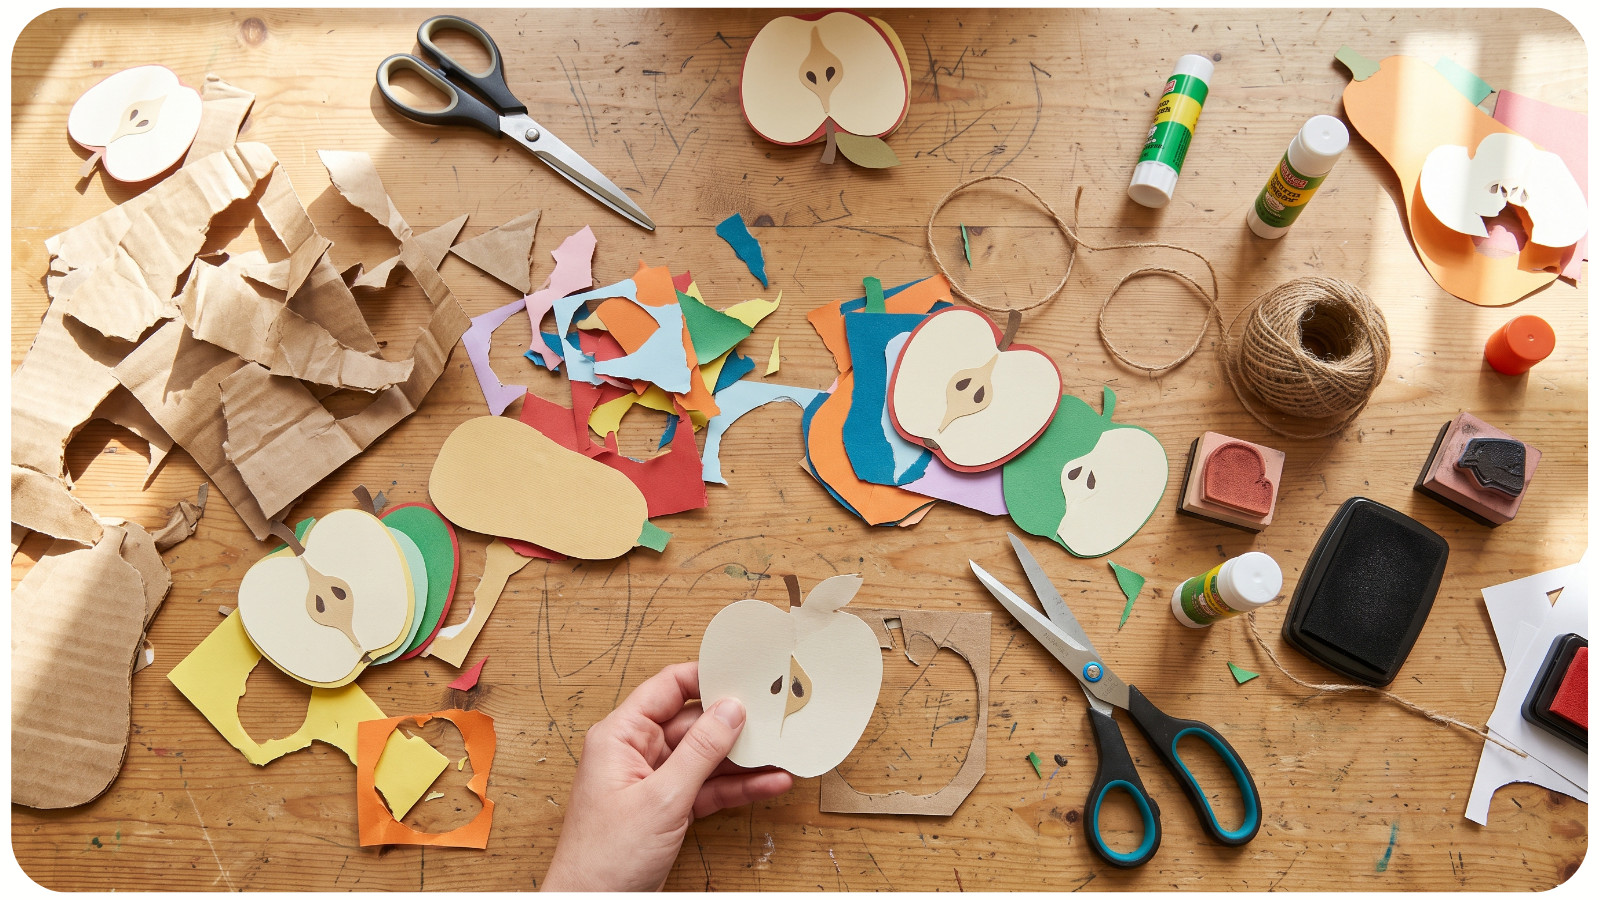
Use thin packaging cardboard as a base if it’s clean and easy to cut. Cover printed areas with colored paper, or paint your own broad shapes on the front.
For a coordinated set, repeat one shape in three colors. Try cream, moss green, and rust pears tied with the same cotton string.
Attach a tag to a wrapped present or a bundle of handmade napkins. Make a few extras while your supplies are out, ready for the next autumn birthday or host gift.
Choose an Autumn Craft That Fits Your Supplies
For the smallest project, start with a gift tag. Choose a collage if you want to play with a whole scene, or felt pears if you’d rather settle into some hand sewing. The tote gives you something useful to take on your next shopping trip. If you want a separate fall decor project to display beside your market-inspired makes, try the pressed-leaf lantern tutorial.
Before buying supplies, check what you already have and match the idea to those materials. Red paper might become apples. Green fabric might become a pear. A few threads could be enough for one embroidered beet.
Your finished piece can hold onto a very specific part of autumn: the colors of a flower stall, an oddly shaped squash, or the paper bag you carried home. Start with the detail you remember most clearly.