


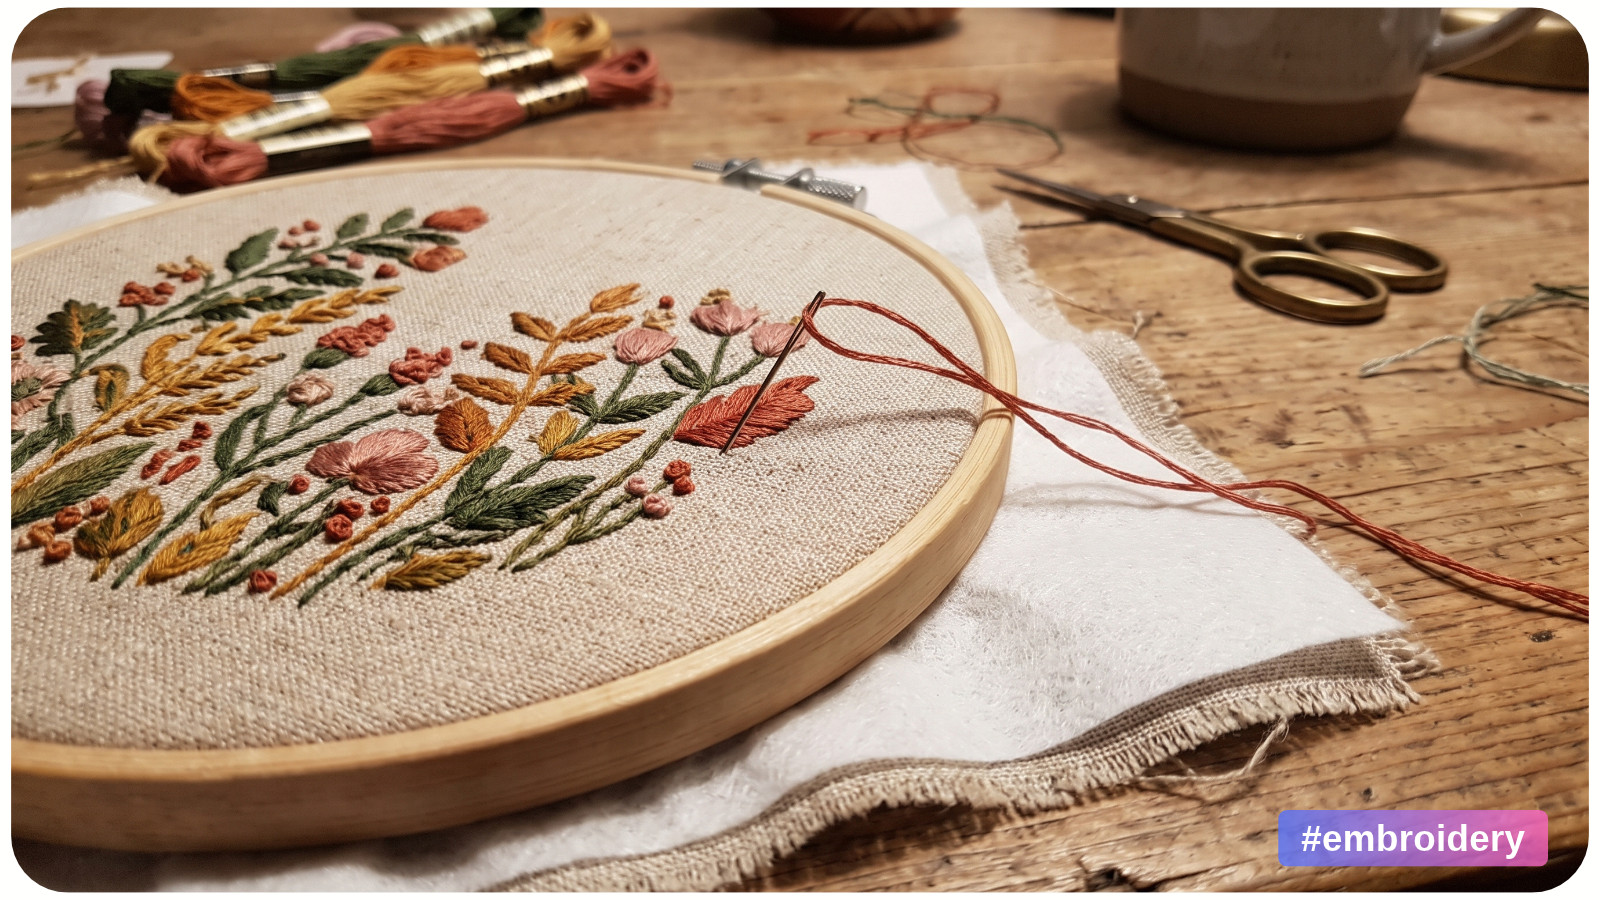
Your stitches look smooth in the hoop, but the fabric wrinkles when you take it out. Or you start a small flower on a T-shirt and notice the petals stretching as you work.
Embroidery stabilizers support fabric during stitching. Some types wash or tear away afterward. Others stay behind the design to support it through wear and washing. The right choice depends on your fabric, stitch density, and how you want the finished piece to feel.
This guide focuses on hand embroidery, with clear notes where machine embroidery needs a different approach.
Do You Need Stabilizer for Hand Embroidery?
Not every hand embroidery project needs an extra layer. For a small outline design on firm, closely woven cotton or linen, start by testing the fabric in a hoop. If it holds the stitches without pulling or bunching, a stabilizer may add little benefit.
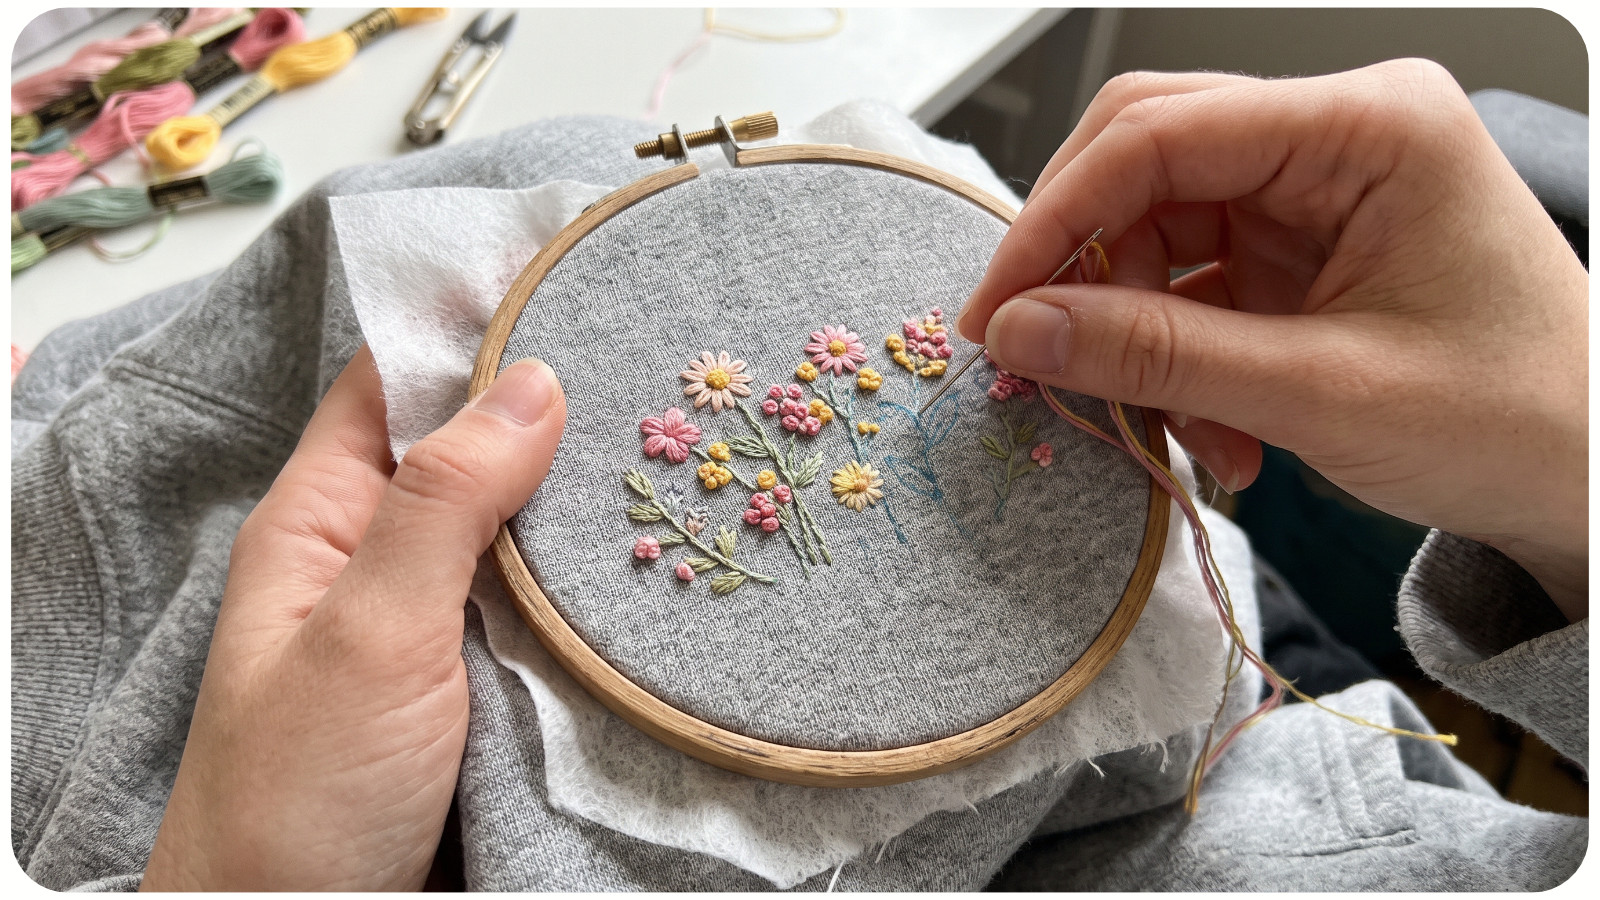
Consider extra support when the fabric stretches, shifts easily, or struggles to hold a filled design. A printable stabilizer can also help when transferring an embroidery pattern onto dark fabric is difficult.
For stretchy clothing, support matters even with a small design. DMC's fabric preparation guide recommends stabilizing T-shirts and sweatshirts to limit distortion while stitching.
A stabilizer cannot correct every cause of puckering. Pulling the thread too tightly or stretching the fabric in the hoop can still leave wrinkles. Our guide to preventing fabric wrinkling in embroidery hoops explains how to tell these problems apart.
Embroidery Stabilizer Types at a Glance
Start with the removal method. Then check the product's weight, attachment method, and intended use. Stitch density means how closely stitches are packed into an area, not just the total number in the design.
Embroidery stabilizer comparison | |||
Stabilizer type | What happens after stitching | Useful starting point | Main limit |
|---|---|---|---|
Tear-away | Excess backing is gently torn away | Firm woven fabric that needs temporary support | Removal can pull delicate stitches |
Cut-away | Excess is trimmed; support stays under the design | Stretchy fabric or designs needing lasting support | Adds a permanent layer |
Wash-away | Dissolves in water | Washable projects needing a clean finish or temporary pattern transfer | The whole project must tolerate removal conditions |
Heat-away | Removed using the product's heat instructions | Compatible projects that cannot be rinsed | Fabric, thread, and trims must tolerate the required heat |
These are starting points, not fixed recipes. A dense machine embroidery design can need more support than a few hand-stitched stems on the same fabric.
Tear-Away Stabilizer: Temporary Support for Firm Fabric
Tear-away usually sits behind the fabric. After stitching, you remove the excess while supporting the embroidery with your other hand.
It is a common choice for stable woven fabrics, especially in machine embroidery. For handwork, test removal carefully. Loose stitches, isolated French knots, and delicate fabric can move when you pull the backing.
Do not tug harder if a section resists. Stop and check the removal instructions. Choosing wash-away at the planning stage may be easier for a washable project with fragile stitches.
Cut-Away Stabilizer: Support That Stays
Cut-away remains beneath the stitched area. You trim the excess rather than trying to pull the whole layer out.
Sulky's stabilizer guide explains why this lasting support is useful for embroidery that must resist stretching through washing and wear. Soft, lightweight versions can reduce bulk compared with heavier backing.
For hand embroidery on a T-shirt, consider the design as well as the fabric. A small, open motif has different needs from a large area of closely packed stitches. Test whether the finished sample stays flat and whether the backing feels comfortable against the skin.
Cut-away is a strong starting point for dense machine embroidery on knits. For handwork, choose the support the design needs without adding unnecessary weight.
Wash-Away Stabilizer: Support Without a Permanent Layer
Water-soluble stabilizer dissolves during rinsing. It comes in different forms, including fabric-like sheets and clear films. Check the intended role: a thin topping is not automatically a suitable backing.
Printable, self-adhesive sheets are especially useful for hand embroidery. You put the pattern on the sheet, attach it to the fabric, and stitch through both layers. Sulky Stick 'n Stitch is one manufacturer-documented example.
Temporary support can work for some hand embroidery on knits. Mary Corbet describes using adhesive wash-away in her guide to hand embroidery on knit fabric.
Before choosing wash-away, check the fabric, threads, and any added trims. A washable base fabric does not make every part of the finished project washable.
Heat-Away Stabilizer: A Specialty Choice
Heat-away products are useful when water removal is unsuitable and the materials tolerate the required heat. Follow the exact product instructions for removal and cleanup.
Some are toppings rather than backing layers. For example, OESD Heat2Go is a topper with a specified ironing temperature range. Do not assume a heat-away product is suitable for every delicate fabric.
Fusible, Sticky, Backing, and Topping: What the Labels Mean
Fusible and self-adhesive describe attachment, not removal. A fusible stabilizer attaches with an iron. A self-adhesive version sticks when you remove its release sheet. Either label needs a second check: does the product tear away, wash away, or stay?
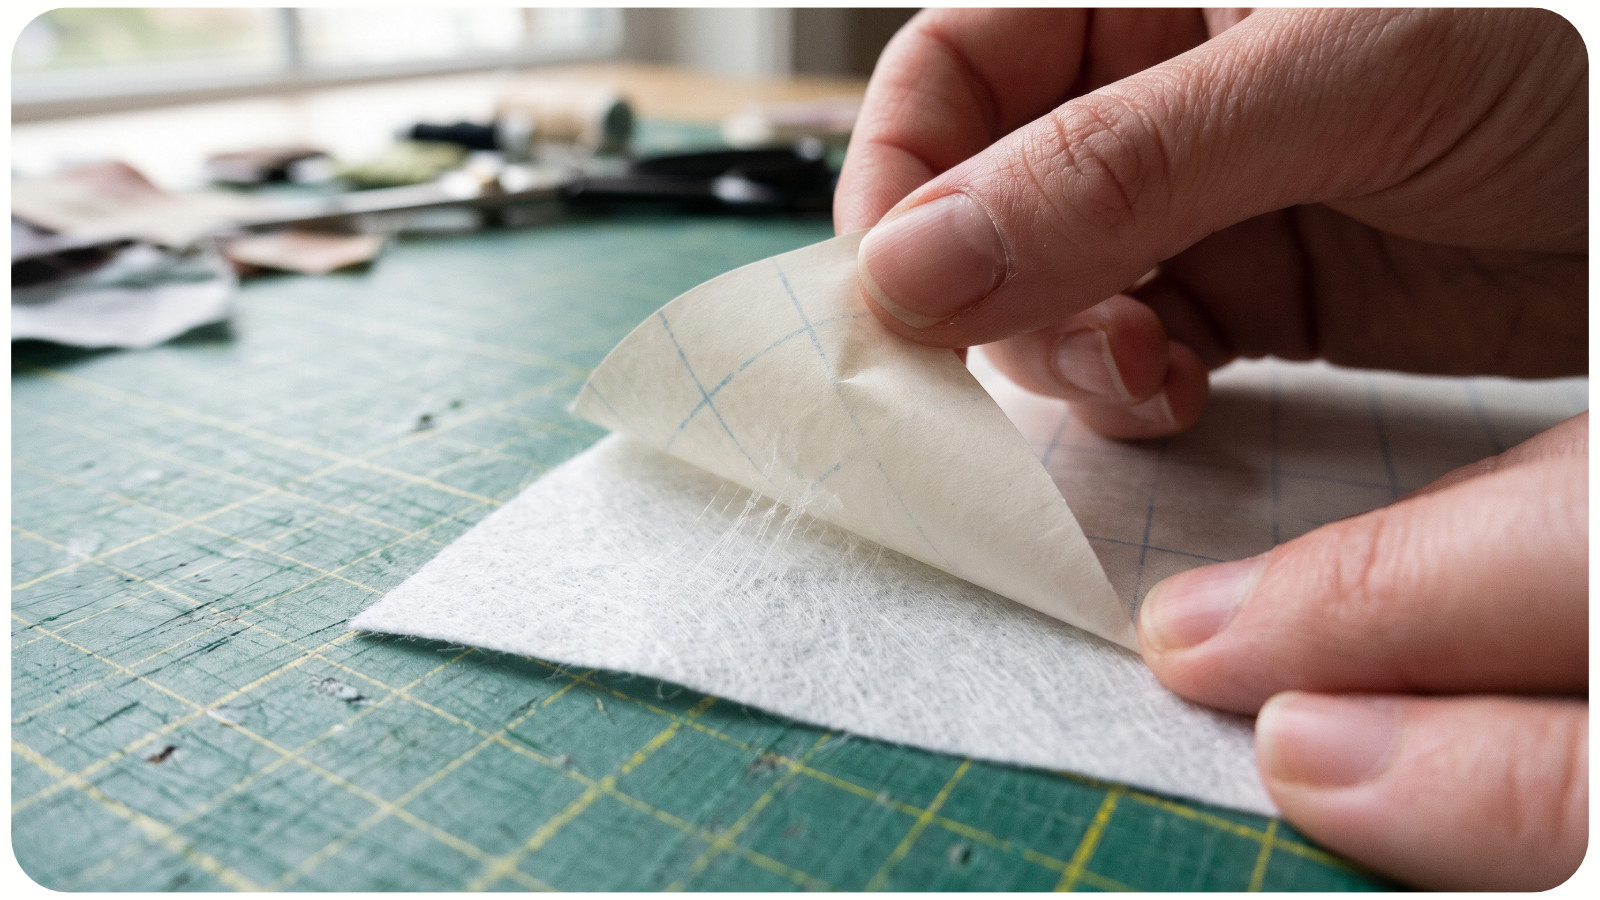
For example, Pellon Fuse-N-Tear is both iron-on and tear-away. “Iron-on” does not always mean permanent.
A backing sits underneath the fabric to support it. A topping sits on the surface. On towels and other fabrics with raised loops or pile, a suitable topping helps keep stitches from sinking into that surface. It may still need a separate backing underneath.
How to Use Stabilizer for Hand Embroidery
1. Test the Whole Process on a Scrap
Use the same fabric, thread, stabilizer, and stitches you plan to use in the project. Include a small filled section if the design has one.
Remove the stabilizer as directed, let the sample dry if needed, and inspect it outside the hoop. Look for puckering, color transfer, visible backing, and unwanted stiffness.
2. Prepare and Attach the Stabilizer
Prewash washable fabric when appropriate for its care instructions, then dry and press it before starting.
For backing held in the hoop, cut enough material to be gripped securely with the fabric. A small adhesive patch can serve as a pattern transfer. When using adhesive stabilizer to control stretch in a knit, extend it beyond the hoop so both layers are held securely, as in Mary Corbet's method above.
Only print on sheets labeled printable. Check printer compatibility and which side receives the ink. Test that the printed marks rinse out along with the stabilizer before using them on your final fabric.
For fusible products, use the specified pressing conditions.
3. Hoop Without Stretching the Fabric
Secure the fabric so the surface stays smooth while you work. On a knit, keep the fabric in its natural shape rather than pulling it wider to tighten the hoop.
Check any printed lines or garment seams nearby. If they bow or spread, reset the hoop before stitching. Keep the unused part of a garment clear so you do not accidentally stitch through another layer.
4. Stitch With Even Thread Tension
Pull each stitch until it lies neatly against the surface. Stop before the surrounding fabric draws inward.
Pause after the first section. If small wrinkles appear, check your tension and hooping before continuing. More stabilizer is not always the answer.
5. Remove Only What Should Come Away
Take the project out of the hoop before finishing the removal process.
• Tear-away: Support the stitches and remove excess gently, one layer at a time.
• Cut-away: Gently separate only loose, unfused excess from the fabric before trimming. Do not peel away support bonded beneath the embroidery. Leave the recommended margin and keep scissors clear of stitches.
• Wash-away: Trim accessible excess without catching the fabric, then rinse as directed. Use water conditions suitable for both the stabilizer and the embroidery materials.
Do not apply one brand's rinse instructions to every water-soluble product. Pellon Wash-N-Gone, for example, is specified as soluble at any water temperature. Other products give different directions.
Let a rinsed sample or project dry flat before judging its shape and feel.
Common Stabilizer Problems and What to Check
The embroidery puckers after removal. Check whether the fabric was stretched in the hoop, the thread was pulled tight, or the design needed lasting support. Change one factor at a time on a fresh sample.
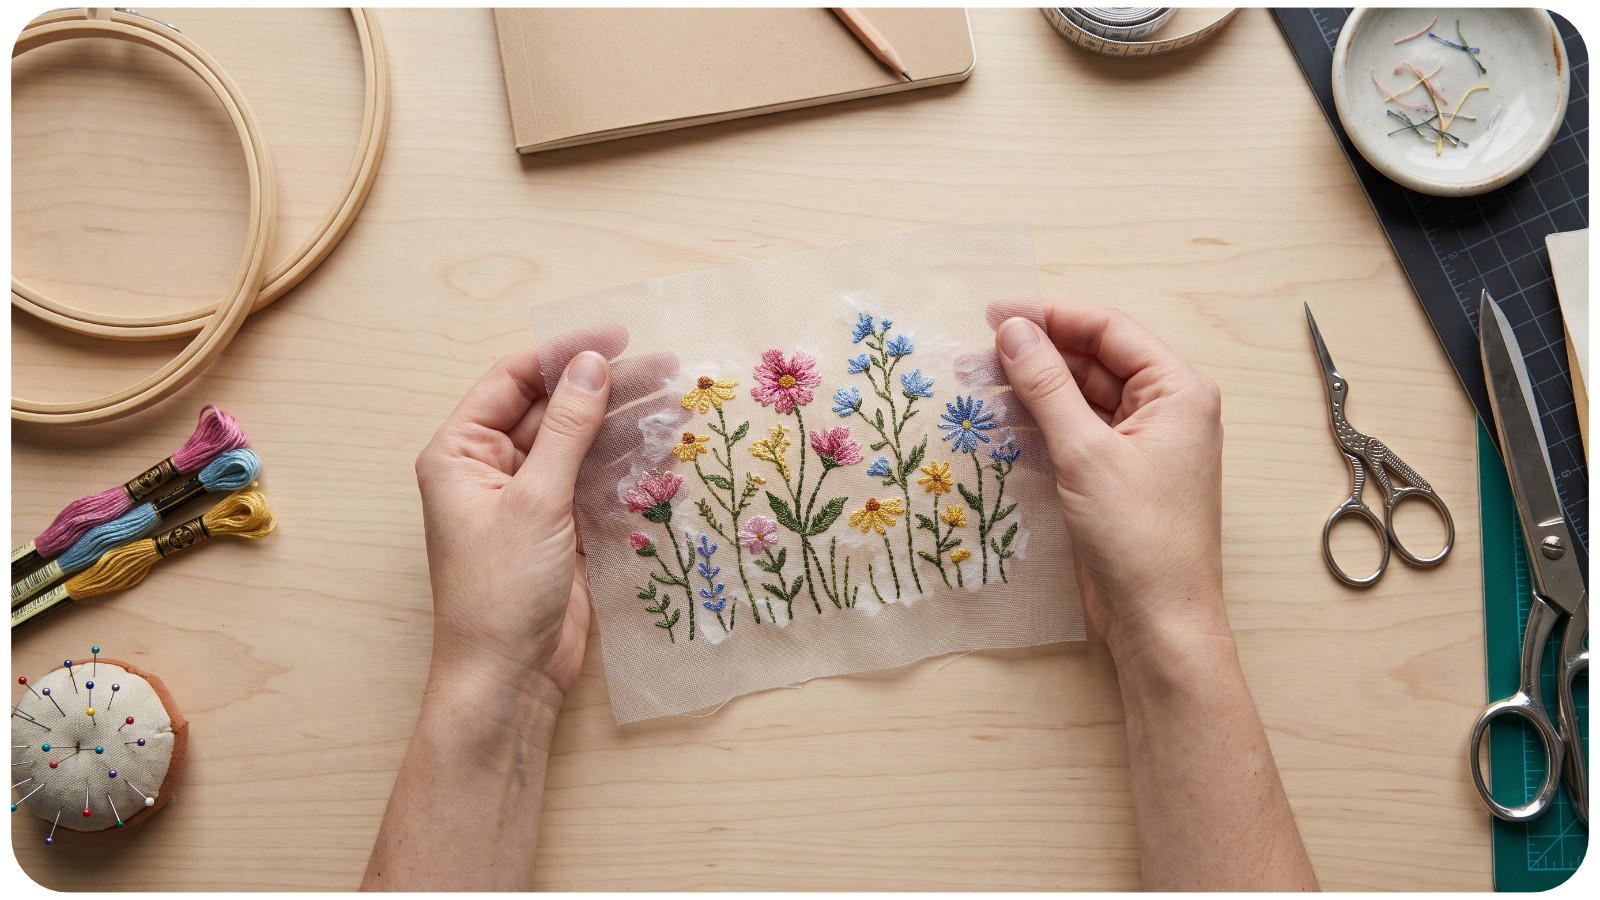
The backing shows through. Test a lighter or less visible backing, or a removable option if the project can support it. Hold the sample against the same background as the finished item.
The fabric feels stiff after rinsing. Remaining wash-away may need further rinsing according to its directions. OESD's stabilizer guidance explains that residue can stiffen fabric. Avoid treating stiffness as a reason to scrub delicate stitches.
Stitches move during tearing. Stop pulling. Reconsider the removal method on your next sample rather than forcing the backing out.
Can You Use Interfacing Instead of Embroidery Stabilizer?
Sometimes, but the two labels describe different jobs. Interfacing usually changes a fabric's body or structure as part of construction. Embroidery stabilizer supports the stitching process, the finished design, or both.
A suitable interfacing may provide useful support, but it can also change how a garment drapes. Check its intended use and test it. A soft covering added over finished stitches serves a different purpose from support during stitching. For more fabric and finishing advice, explore our hand embroidery guides.
Choose Support for the Finished Piece
Before your next project, answer three questions: Does the fabric stretch? Will the design need support after stitching? Can every material tolerate the removal method?
Choose a candidate, stitch a scrap, and inspect it after removal and drying. A flat sample with comfortable backing and clear stitches gives you a much better starting point than choosing a stabilizer by name alone.