


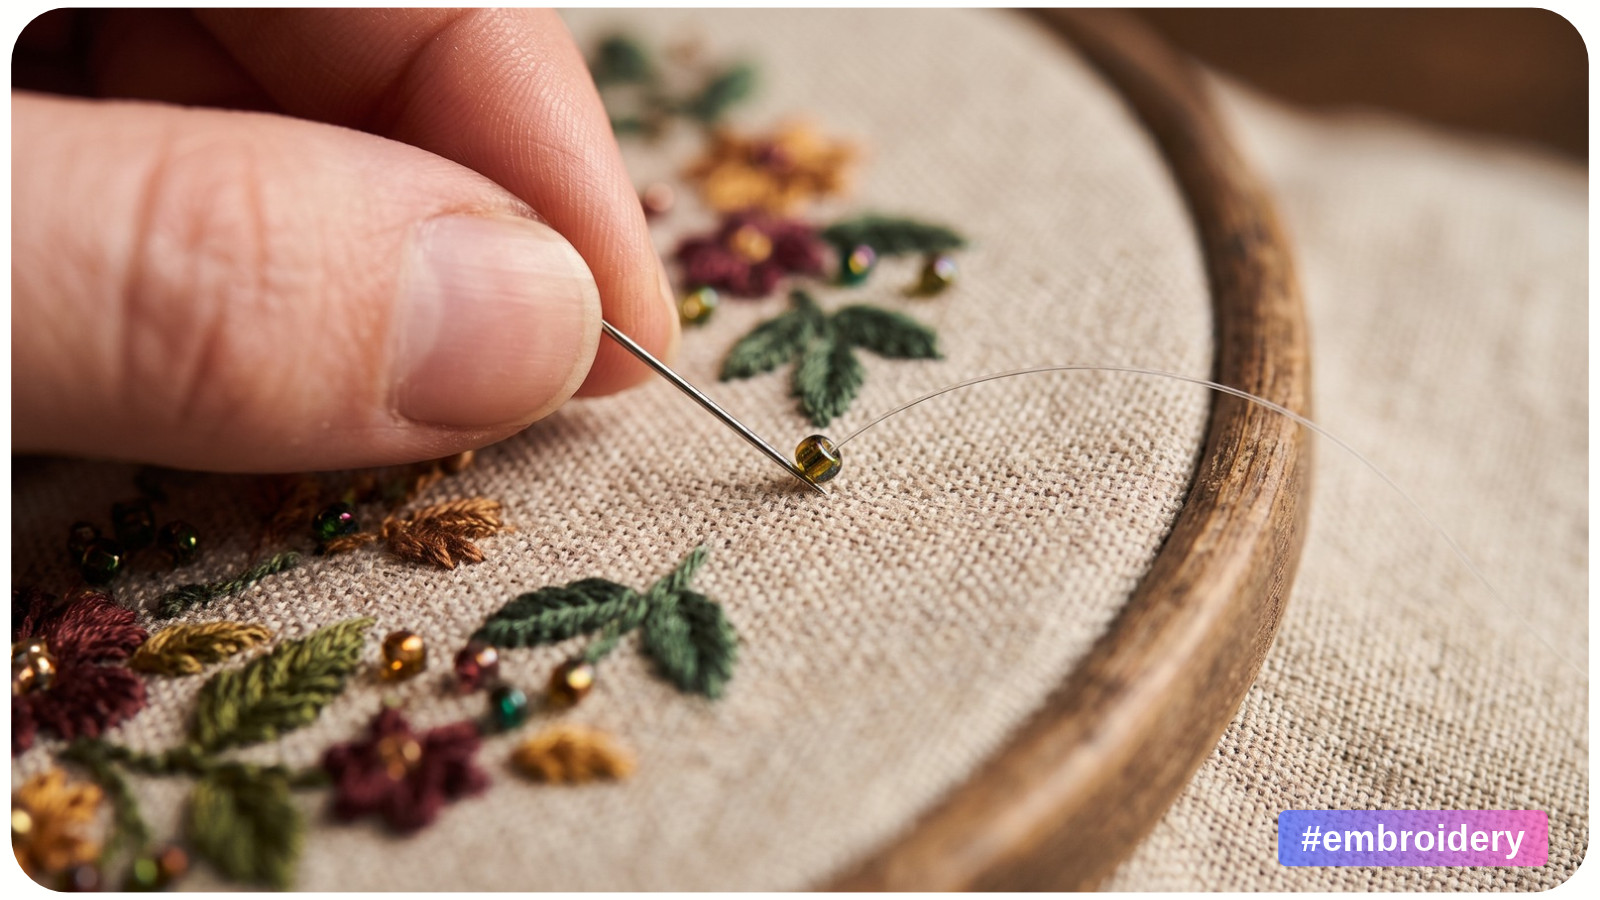
To add beads to hand embroidery, bring a fine beading needle up beside the spot you want to decorate, pass it through a bead, and take it down at the other end. Draw the thread through until the bead rests against the fabric. Stop before the cloth dimples.
Start with a few small beads in an embroidered flower center. Try the same fabric, beads, and thread on a scrap, then take the sample out of the hoop to check it. The fabric can look smooth under tension and ripple once you release it.
Choose the Right Needle, Thread, and Beads
A good setup passes two tests. The threaded needle slides through the bead, and the needle passes through the fabric without tugging at the weave. Try several beads from the batch because their holes can vary.
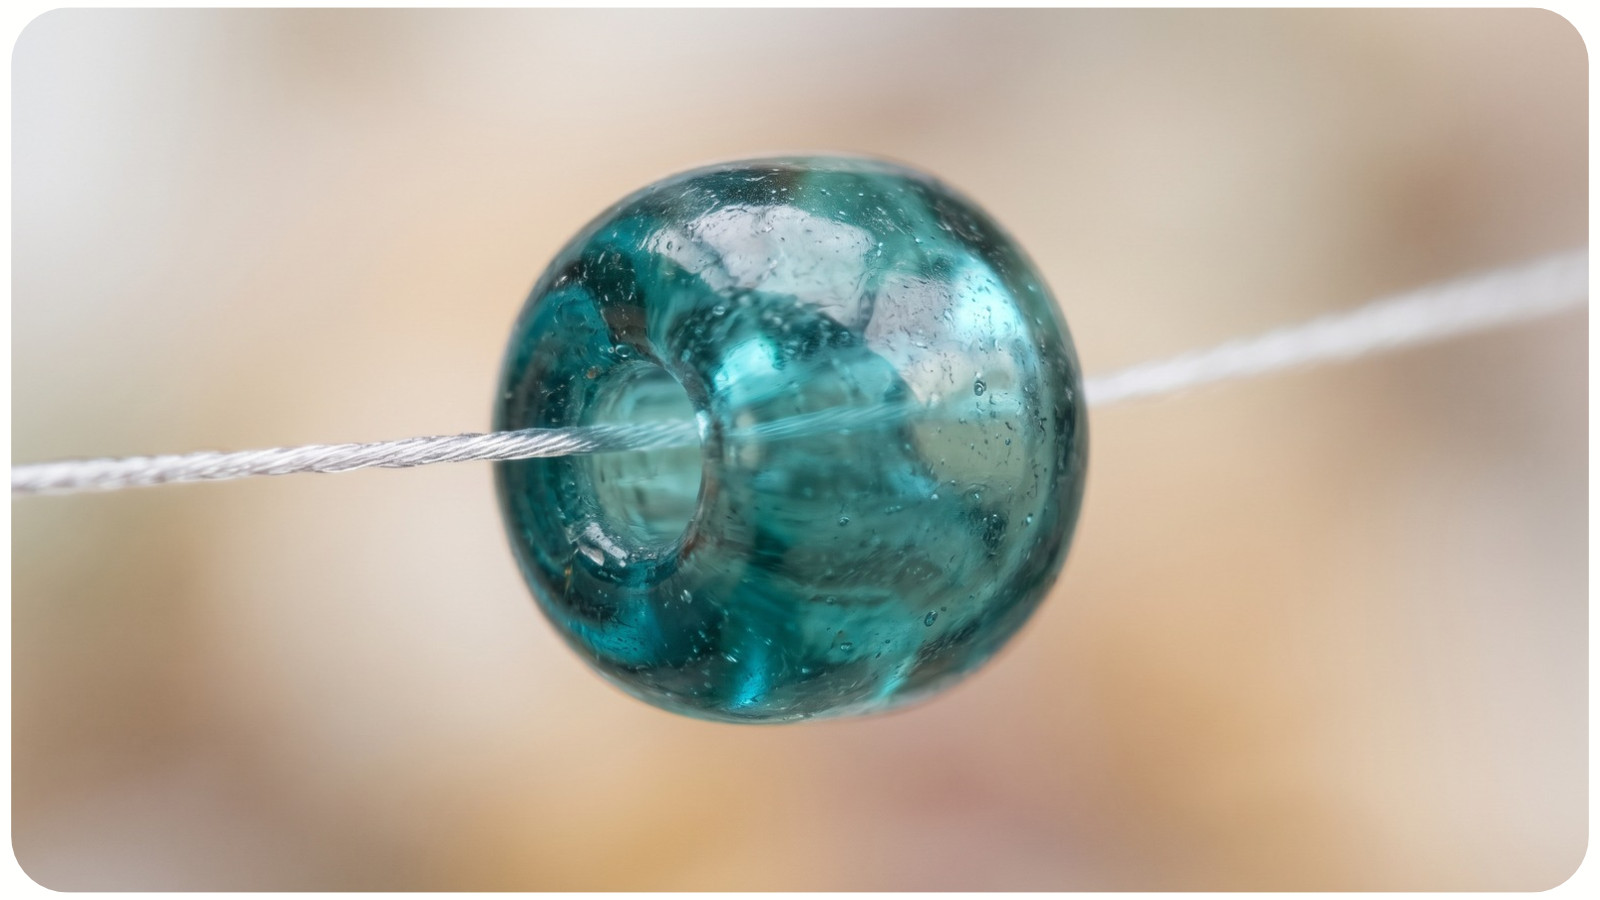
• Needle. Try a fine, sharp beading needle on woven fabric. Check that the eye and thread pass all the way through the bead without force. If you plan to make a second pass, test it with the first strand already in the hole.
• Thread. Use a fine, flexible beading thread. A single strand of embroidery floss can work for a few small, smooth beads if it passes easily and shows no fraying on your sample.
• Beads. Start with small, smooth seed beads. Set aside any with chipped edges or rough holes that catch the thread. Test a cluster about the size you plan to stitch, since several glass beads together can weigh down thin cloth.
• Backing. A few scattered beads on firm cotton or linen may need no extra support. If a cluster pulls on lightweight or loosely woven fabric, test a light sew-in backing and stitch through both layers. Use backing that stays in the piece if the fabric needs ongoing support.
On silk or sheer fabric, look at your sample against the light. The edge of a backing patch can show through even if the color matches. If the fabric looks or feels too stiff, test a lighter backing or use fewer beads. For help comparing removable and permanent options, see how to choose an embroidery stabilizer.
The Embroiderers’ Guild of America needle guide explains how beading needles differ from other hand-sewing needles. The Sewing & Craft Alliance guide to beading on fabric covers how bead size and weight affect fabric.
How to Sew a Single Bead Onto Embroidery
This method is for a bead with a hole that runs from side to side when it rests on the fabric. Lay a bead on the design first so you can see where its two ends land.
1. Prepare the fabric. On a scrap, copy any dense embroidery next to the spot you plan to bead. Hoop the fabric smoothly without stretching the weave out of shape. If you’re using a backing, keep both layers smooth.
2. Start the stitch. Secure the thread with two tiny overlapping stitches that the bead will cover. Bring the needle up at one end of the planned spot, pick up one bead, and slide it down until it rests on the cloth.
3. Sew the bead down. Take the needle down just beyond the opening at the other end of the bead. Pull slowly until the slack disappears. If the bead tips up or the cloth starts to dimple, ease the thread before you secure it.
4. Finish and check. If the bead needs more hold and the hole has room, repeat the same stitch through it. On the back, slip the needle under a nearby stitch and through the loop this makes. Snug the loop gently, then release the hoop and check that the fabric still lies flat.
If the piece will hang or be worn, hold the sample upright too. To place beads far apart, secure the thread between them and restart at the next spot. Long threads carried across the back can snag or show through sheer fabric.
See the illustrated single-bead stitch for another view of the needle path, or read how to prevent fabric wrinkles in an embroidery hoop if the cloth ripples before you start beading.
How to Add Beads in a Line or Cluster
For a short, straight line, try bead couching. Bring the needle up at the start, string enough beads to span the line, and take the needle down at the end. Bring it back up beside the strand in a gap between beads. Take it down on the other side of the strand in that same gap to hold the thread against the fabric.
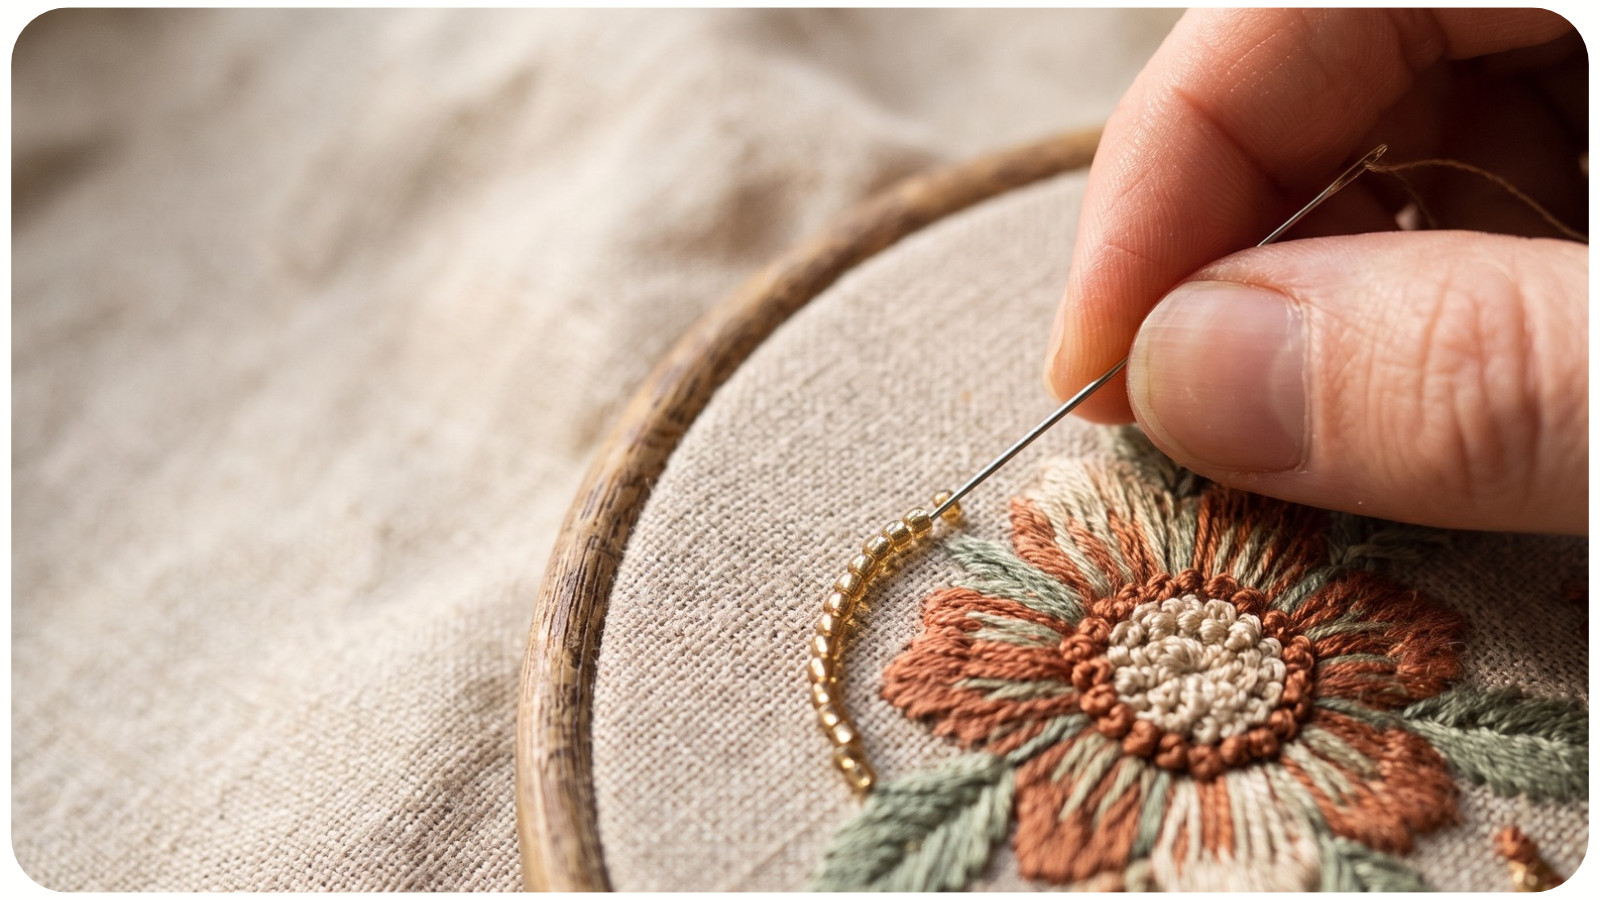
Add a small holding stitch every two or three beads. For this single-needle method, the Royal School of Needlework recommends runs no longer than about 2 inches (5 cm). If the row arches up, check for crowded beads or end stitches that sit too close together. See the Royal School of Needlework’s guide to single-needle bead couching for the full stitch path.
For a tight curve or a small flower center, sew the beads one at a time so you can turn each one to fit. If the last bead only fits when you push its neighbors aside, try a smaller bead or leave the gap. The same spacing principles help when you embroider small details clearly.
How to Fix Puckering and Loose Beads
Look at where the cloth changes shape. A dimple at the end of one stitch points to a local problem. If the entire cluster droops when you lift the fabric, check its weight and support.
• The cloth dimples at one end of a bead. Ease the thread. If the dimple stays, undo the stitch and check whether the needle holes are too close together for the bead to lie flat.
• The cluster sags when you hold it upright. Test fewer or lighter beads. If you want to keep the cluster, test a permanent backing on a scrap and check how the fabric hangs.
• A bead rocks and you can see a loop of thread. Take up the slack gently. If the needle holes extend well beyond the bead, resew with a shorter stitch.
• The needle leaves a lasting hole or pulls a fabric thread. Stop and test a finer, smooth needle on the scrap. Release the hoop and inspect the project. If you find a broken fabric thread, repair that area before adding another bead there.
To remove a bead, find its thread on the back and loosen the securing stitch with a fine needle. Draw the thread back through the bead gently. If it catches, check where it runs before pulling again.
Can You Add Beads After Finishing the Embroidery?
Yes. Adding scattered beads after the floss work is finished makes it easier to see what fits. Bring the needle up through open fabric beside the stitches where possible, so you avoid splitting the floss. If you need to move the hoop, keep both rings clear of beads you’ve already attached.
Add beads before you cover the back of a display hoop so you can still secure the thread. Before you fill the whole design, take one beaded section out of the hoop and check that the beads rest against the cloth and the fabric keeps its shape.