


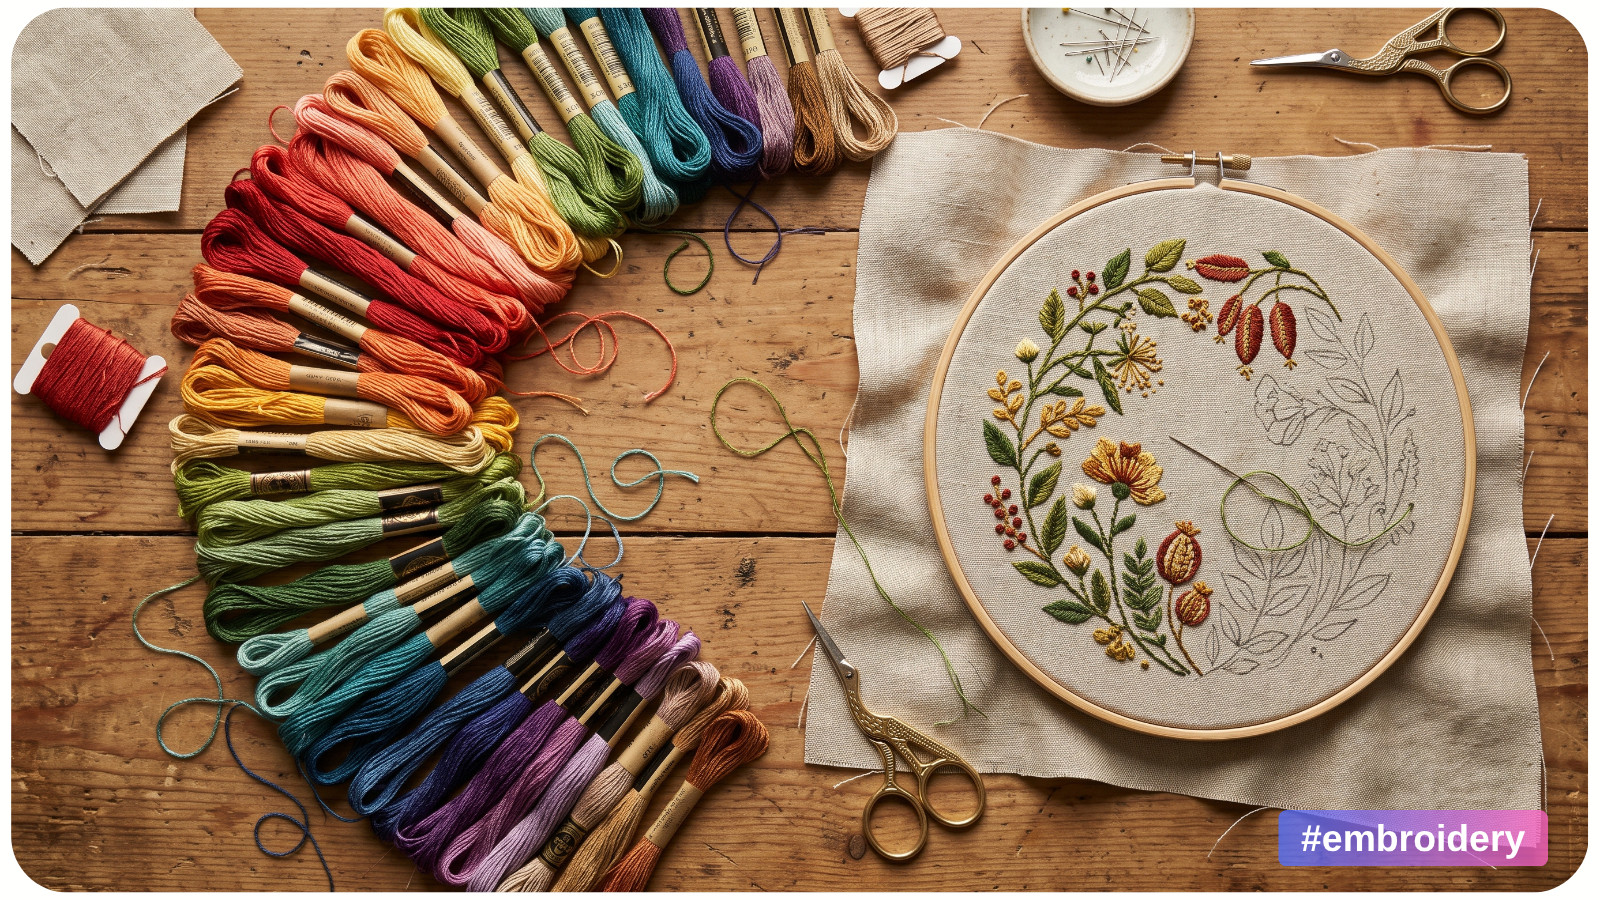
A petal can have neat stitches and still look flat. Often, the missing piece is a softer change between shades, or a stitch direction that follows the petal's curve.
To blend thread colors for realistic embroidery shading, choose a gradual range of shades and work overlapping long and short stitches. Use a sharp embroidery needle to bring each new row up through stitches in the previous row. Stagger the joins so the colors meet at different points, then guide your stitches along the shape you want to show.
Practice these methods in surface hand embroidery with stranded cotton before applying them to a larger design.
What Is Thread Blending in Hand Embroidery?
Thread painting, also called needle painting or silk shading, uses changes in thread color and stitch direction to suggest depth. Long and short stitch is its main stitch. Despite the name silk shading, stranded cotton is also widely used for this technique. The Royal School of Needlework explains these terms in its silk shading guide.
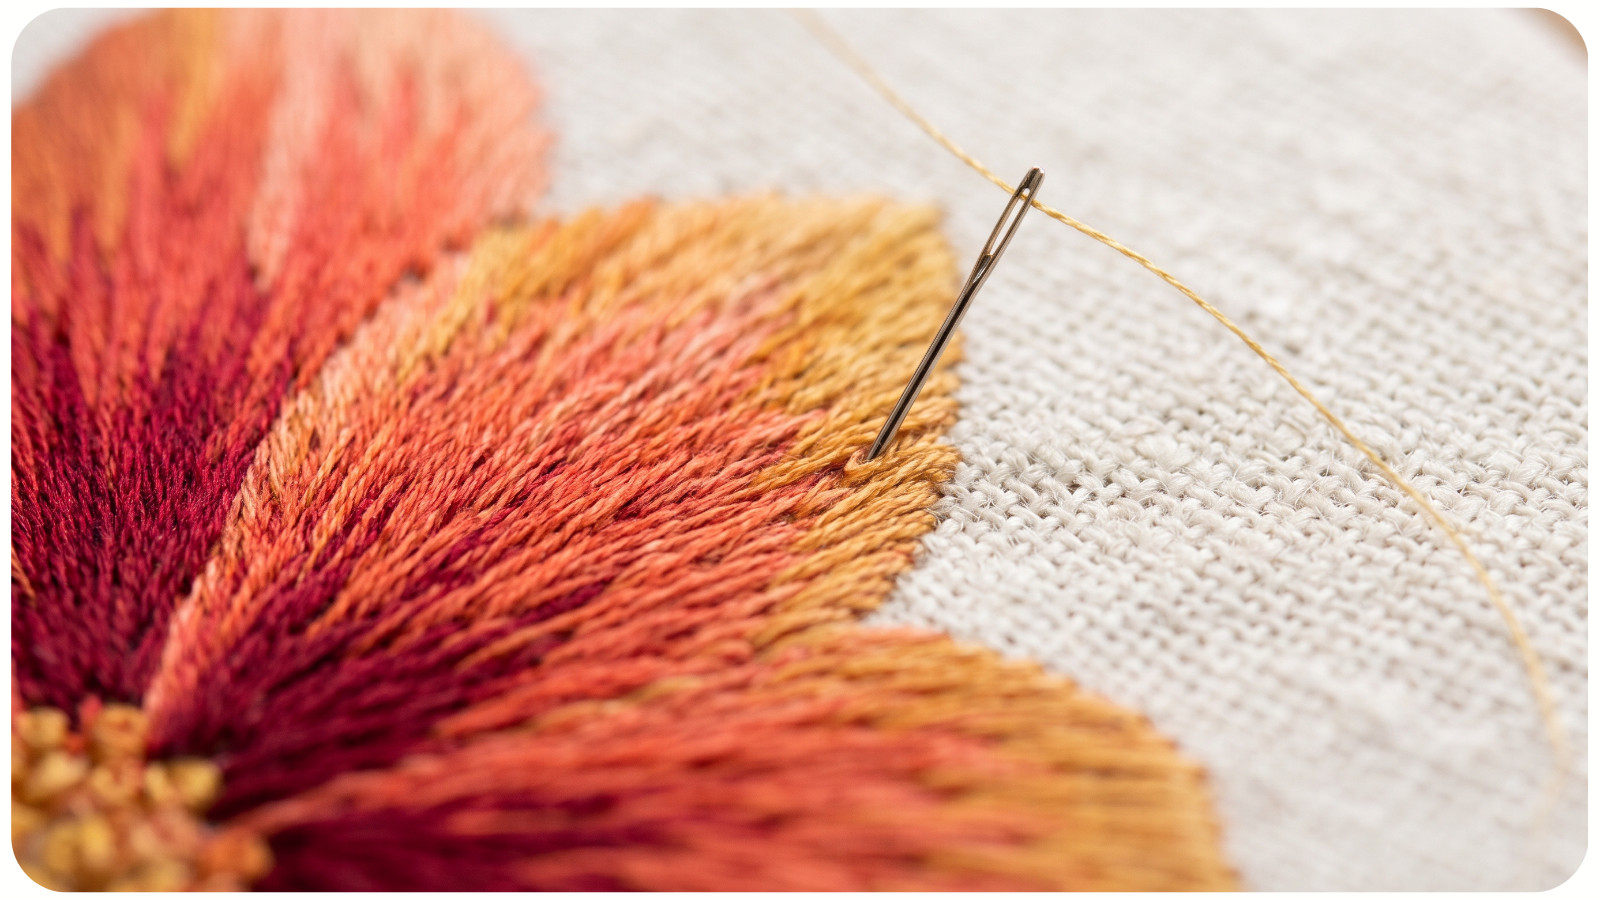
Blending can mean two different things:
• Blending separate stitches: stitches of neighboring shades overlap and mingle across a transition.
• Combining strands: two different thread colors share one needle, creating a mixed-color stitch.
For the fine shading exercise below, start with one strand and blend separate stitches. This lets you place small amounts of color without changing the thickness of your work.
Choose Thread Colors That Create a Smooth Transition
Compare Light and Dark Before Choosing More Colors
Value means how light or dark a color looks. Arrange your threads from light to dark, then look for a sudden jump. Two greens may look similar on their own but leave a clear stripe when stitched together.
For a first practice piece, try four related shades: light, medium-light, medium-dark, and dark. Four is a manageable starting choice, not a rule for every design.
If one gap looks much larger than the others, look for a shade between those two. Embroidery designer Trish Burr describes the importance of these linking shades in creating smooth needle painting gradients.
Compare the actual threads on your fabric, then stitch a sample rather than relying on screen colors.
Plan Where the Light Falls
Use a clear reference photo of one leaf or petal. Identify its lightest area, main middle tone, and deepest shadow before stitching.
Do not automatically put the darkest thread around every edge. A petal may have a pale rim and a darker base, while a folded section may have a narrow shadow beside a bright surface.
Aim for one readable curve before copying every color change in the photograph.
Set Up for Fine Embroidery Shading
Gather closely woven cotton or linen, stranded cotton floss, a sharp embroidery needle, scissors, and a hoop or frame. The fabric should support closely placed stitches without large open gaps. If you are unsure about your ground fabric, start with our guide to choosing fabric for embroidery.
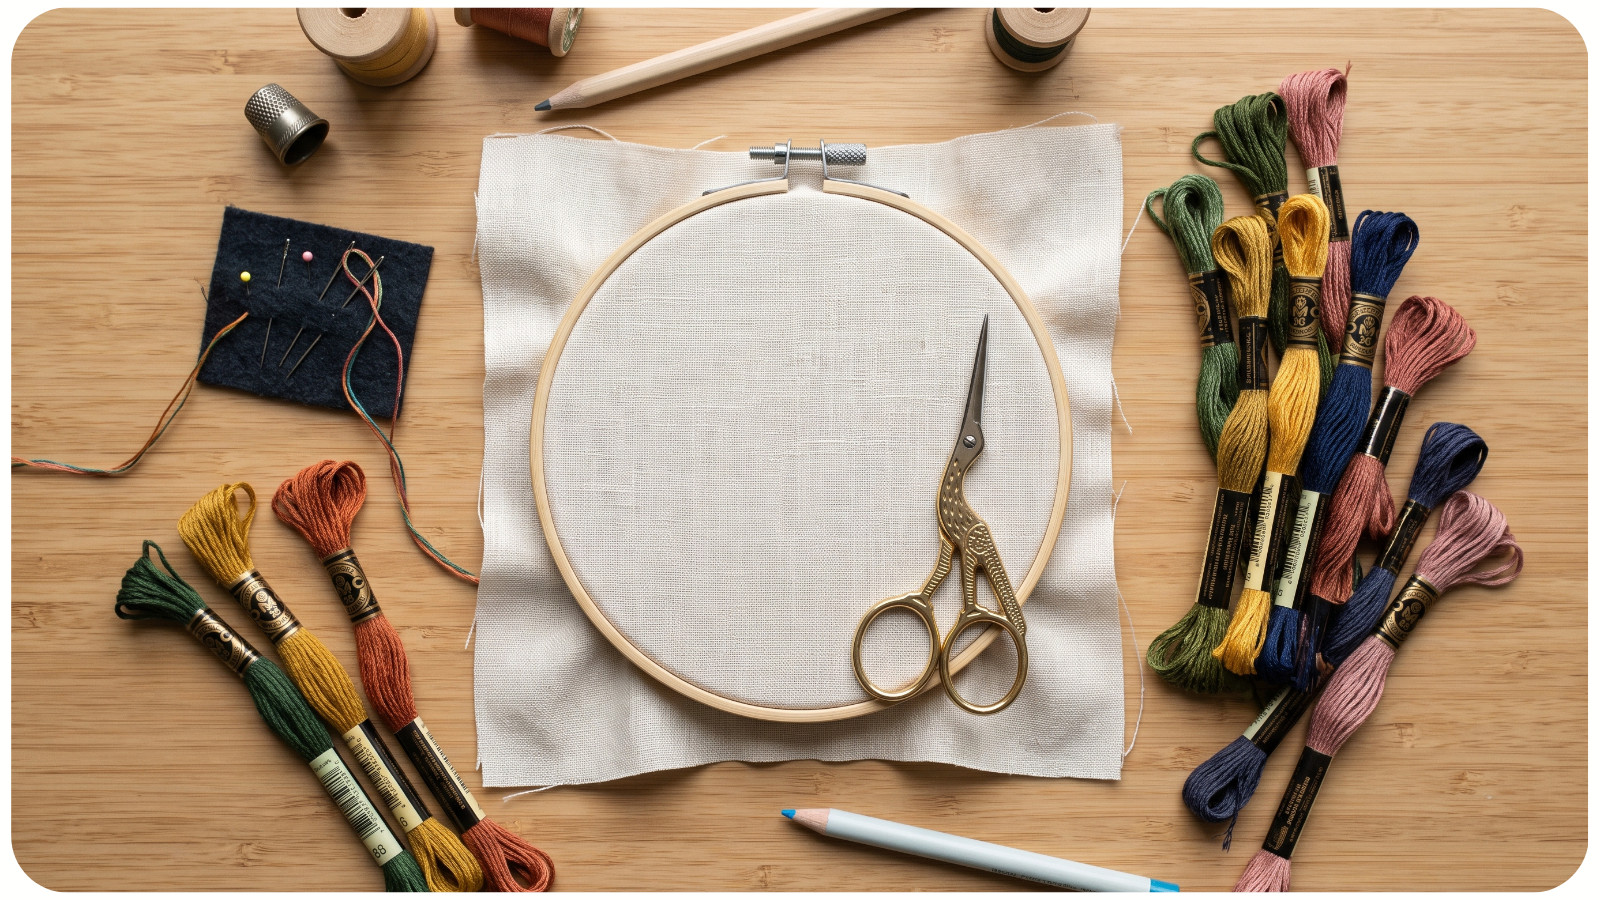
A size 9 or 10 crewel needle is a common starting option for one strand, as used in Mary Corbet's shading lessons. Adjust if threading is difficult or the needle leaves overly large holes. Our hand embroidery needle guide explains how to match the point, eye, and shaft to your materials.
Separate one strand from the floss bundle. Standard six-strand embroidery floss is designed to be divided, as Mary Corbet demonstrates in her floss-separation tutorial. One strand means one of those six strands, not the whole bundle. Leave a short tail through the needle eye so that only one working strand makes each stitch; folding the strand into two equal working lengths would double it.
Hoop the fabric evenly and keep it taut without distorting its weave. Test your transfer method on a scrap, especially if marks must be removed later. If your fabric is thin or unstable, sample a backing fabric before starting the design.
How to Blend Colors with Long and Short Stitch
Practice on a simple rounded petal. Make it large enough to fit several rows comfortably, and use your four shades to move from a pale outer edge toward a darker base. This is a practice arrangement, not a lighting rule for all flowers.
1. Mark the Shape and Stitch Direction
Draw a few guide lines flowing from the rounded edge toward the base. These show where the stitches should point, rather than where each color must stop.
Work a fine split stitch outline along the outer edge, bringing the needle up through the preceding outline stitch. The filling stitches will cover it. Our split stitch and stem stitch comparison explains how these outlines differ. For a flower with overlapping petals, work the petals behind first and the front petals afterward, following the order described in RSN StitchBank's long and short stitch method.
2. Stitch the First Uneven Row
Anchor your light thread with a few tiny holding stitches through the fabric inside the petal, where the filling will hide them. Check that the tail holds before continuing.
Begin near the center of the rounded edge. Bring the needle up inside the petal and take it down just beyond the split stitch outline. Work toward one side, then return to the center and fill the other side. Continue across the edge, placing neighboring stitches close enough to cover the fabric without crowding them.
Vary their inner ends: longer, shorter, and somewhere between. Avoid a rigid long-short rhythm that leaves an obvious zigzag boundary.
3. Bring the Next Shade into the Existing Stitches
Thread the medium-light shade. Bring the needle from the back of the fabric up through the body of a stitch in the previous row. Pierce the existing thread with the sharp point, rather than always emerging in a gap beside it. Take the needle down farther into the unfilled part of the petal.
Repeat at different depths across the join. Some new stitches should reach farther into the light area than others. Mary Corbet's basic long and short stitch lesson demonstrates this staggered overlap.
The result should be a mingled transition, rather than two rows meeting end to end. Pull only until each stitch rests on the surface. If the fabric dimples, ease the stitch before continuing.
4. Reduce One Shade as You Introduce the Next
Near a transition, use a few stitches of the new shade among the old, then gradually let the new shade take over. Keep separate needles threaded if that makes switching easier. Keep unused needles secured in a needle holder.
Repeat with medium-dark and dark. Let your reference decide how much space each shade occupies. Equal-width bands can make a curved petal look like a striped sample.
5. Turn the Stitches Gradually
Follow your guide lines as the petal narrows. Change the angle a little at a time and reduce the number of stitches as the available space shrinks. Avoid forcing every stitch into one crowded hole at the base.
For curved forms, Corbet's shaded-curves lesson shows how gradual direction changes help the filling follow the shape.
Can You Blend Two Thread Colors in One Needle?
Yes. Combining one strand of each color creates a two-strand blend, often called tweeding. DMC demonstrates this combination in its cross-stitch guide.
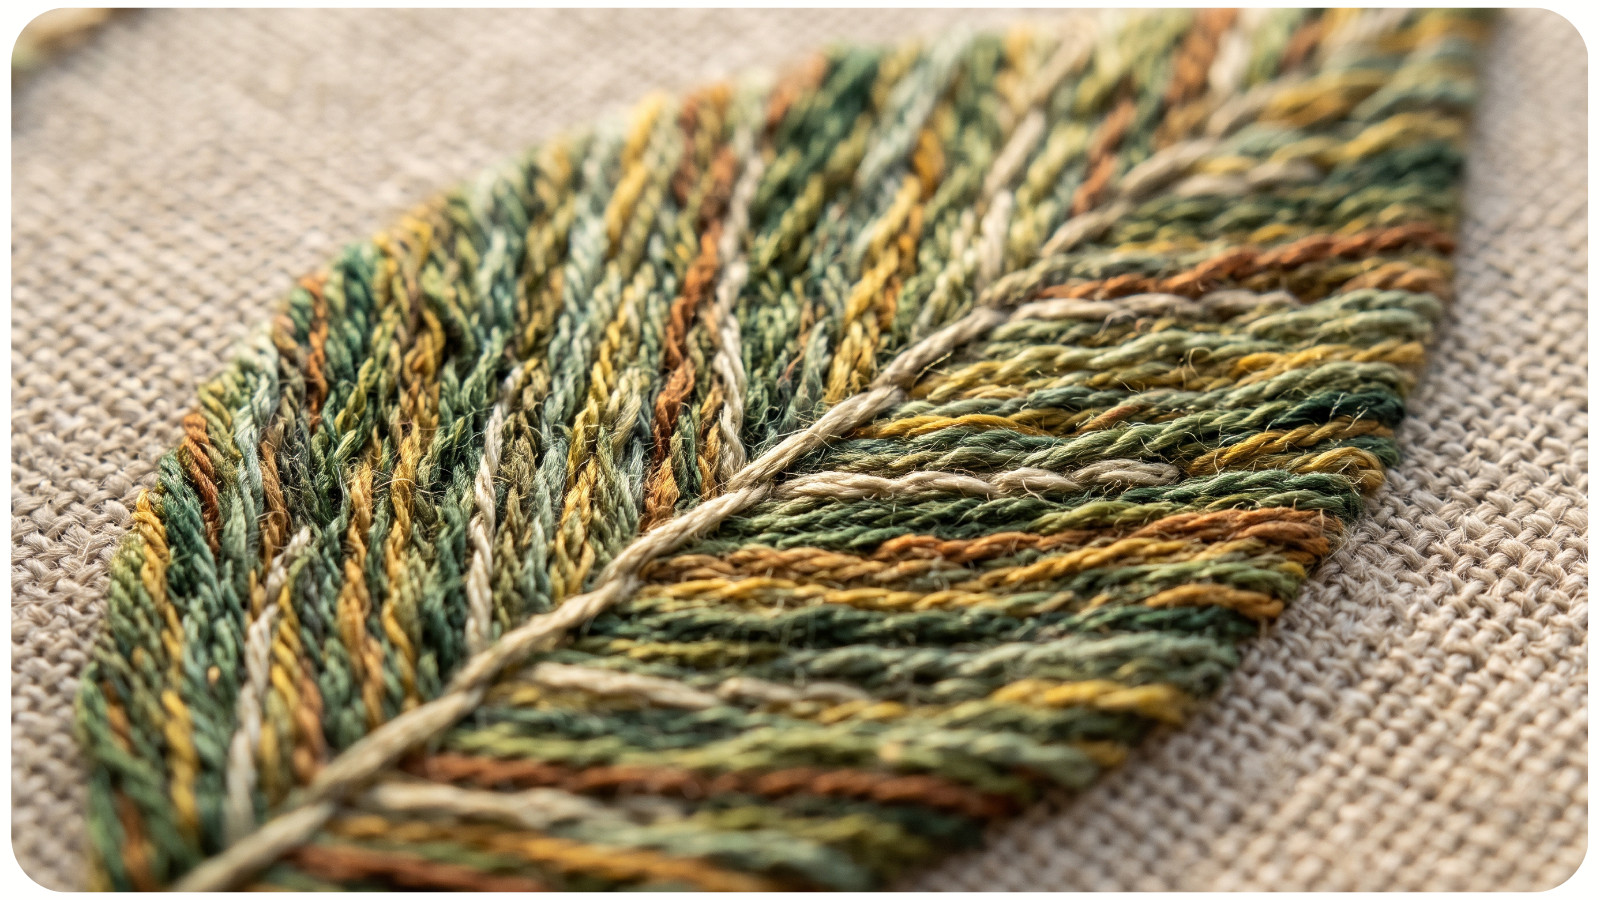
You can also sample the combination in surface embroidery. For work already using two strands, try two strands of color A, then one A plus one B, then two B. Keep the total strand count consistent: each stage uses two working strands in total, not two strands folded into four. This strand-mixing exercise changes color within each stitch; it does not replace the need for staggered joins between rows.
The two colors remain separate fibers, so the result may look slightly speckled up close. Test whether that texture suits your subject.
Avoid adding a second strand halfway through a fine one-strand petal simply to make an intermediate color. The thicker stitches may stand out. Use a closer solid shade or mingle individual stitches instead.
Fix Common Embroidery Shading Problems
A hard line separates the colors. Check whether the stitches meet at similar endpoints. If the area is still lightly filled, add a few staggered stitches across the boundary. If it is already dense, carefully remove a small section before restitching. Lift and snip only the unwanted thread, avoiding the fabric and neighboring stitches.
The surface looks bulky. Look for crowded stitches or repeated layers over the same patch. More thread can hide a gap while creating a raised lump. Remove the excess rather than covering it again.
The shading looks flat. Compare the stitched piece with your reference. You may need a clearer light-to-dark range, a better-placed shadow, or a change in stitch direction. Diagnose which one is missing before adding colors.
The thread looks fuzzy. Replace a worn working length and check for a rough needle eye. If the needle resists each pass, review the needle size and stitch density before pulling harder.
Check the Blend Before Adding Final Details
Look at the petal both close up and at a comfortable viewing distance. Can you follow its curve? Does one color boundary draw more attention than the shape? Are the stitches lying smoothly?
When the filling looks balanced, secure the remaining thread under nearby stitches on the back without pulling them tight. Add veins or tiny accents sparingly. For that next stage, see our guide to embroidering small details that stay clear.
Keep your practice sample and label its shades. On the next petal, change just one thing, such as the amount of overlap or the shadow placement. Comparing those small changes will teach you more than adding several new colors at once.