


A tiny eye can change an animal's expression. A leaf vein can turn a green shape into a leaf. But when the thread is too thick or the stitches crowd together, those details can disappear.
To embroider small details clearly, match the thread thickness to the shape, use shorter stitches around curves, and protect the spaces between features. This guide focuses on surface hand embroidery, with practical ways to keep eyes, petals, outlines, and small letters easy to recognize.
Start With the Detail That Makes the Shape Recognizable
Before choosing a stitch, ask what the viewer needs to see.
For a bird, it might be the beak and eye. For a flower, it could be separate petals and a clear center. For a letter, it is often the open space inside the shape.
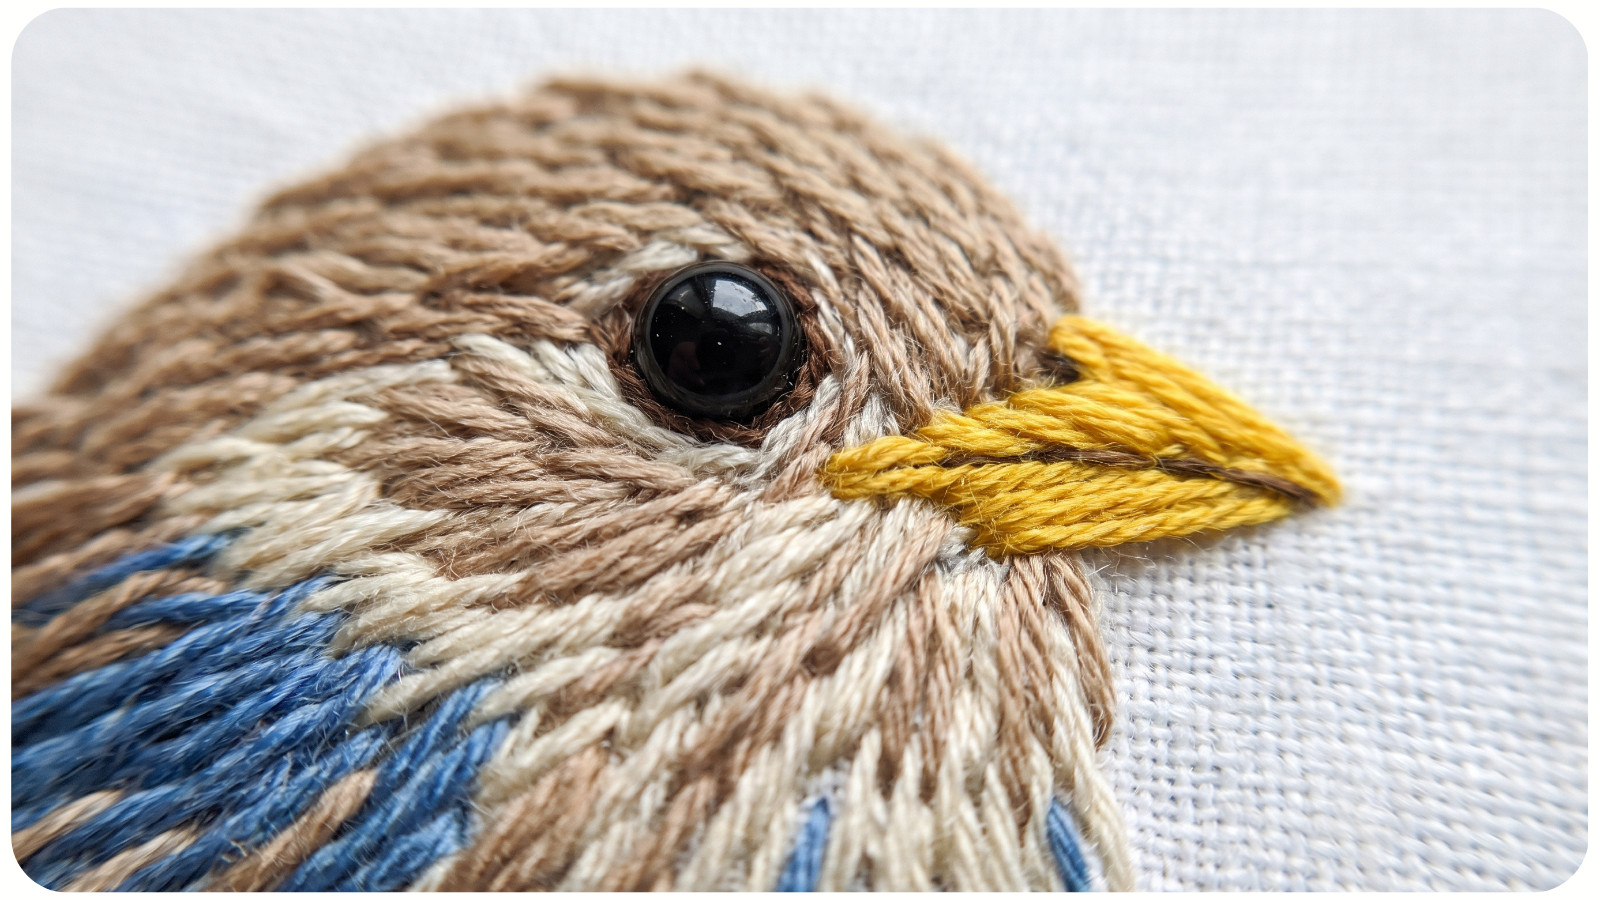
Study the design at its finished size. A drawing that looks clear when enlarged may become crowded once stitched.
Use a fine transfer line so you can see exactly where each feature belongs. Test your chosen marking method on matching scrap fabric, including how the marks are removed. Follow its instructions, and do not assume every pen or transfer works with the same washing or heat treatment. For darker backgrounds, see our guide to transferring an embroidery pattern onto dark fabric.
Keep the features that carry the most meaning. A tiny leaf may need an outer shape and one central vein, rather than several side veins. A small animal face may read better with two simple eyes than with pupils, highlights, and lashes.
Choose Fabric That Supports Precise Stitch Placement
For a practice piece, start with smooth, closely woven cotton or fine linen. Look for a surface where you can place the needle accurately without each stitch slipping into a large gap.
DMC recommends flat cotton or linen among suitable fabrics for general hand embroidery and advises testing stitches with your chosen thread.
Hold the fabric evenly in a hoop. It should feel firm without being stretched out of shape. Pull each stitch through until it rests on the surface, then stop. Extra pulling can gather the fabric and distort a tiny feature.
Stretchy clothing needs more support than a stable woven practice fabric. Use a stabilizer suitable for the fabric and follow its instructions. Test the full process, including removal, before stitching the garment.
Use Fewer Strands for Finer Lines
Six-strand cotton embroidery floss separates into individual strands. Changing the number you use changes the thickness of your stitches.
For small details, try one strand first. Compare it with two strands on a scrap of the same fabric. Choose the version that gives enough definition while keeping nearby features separate.
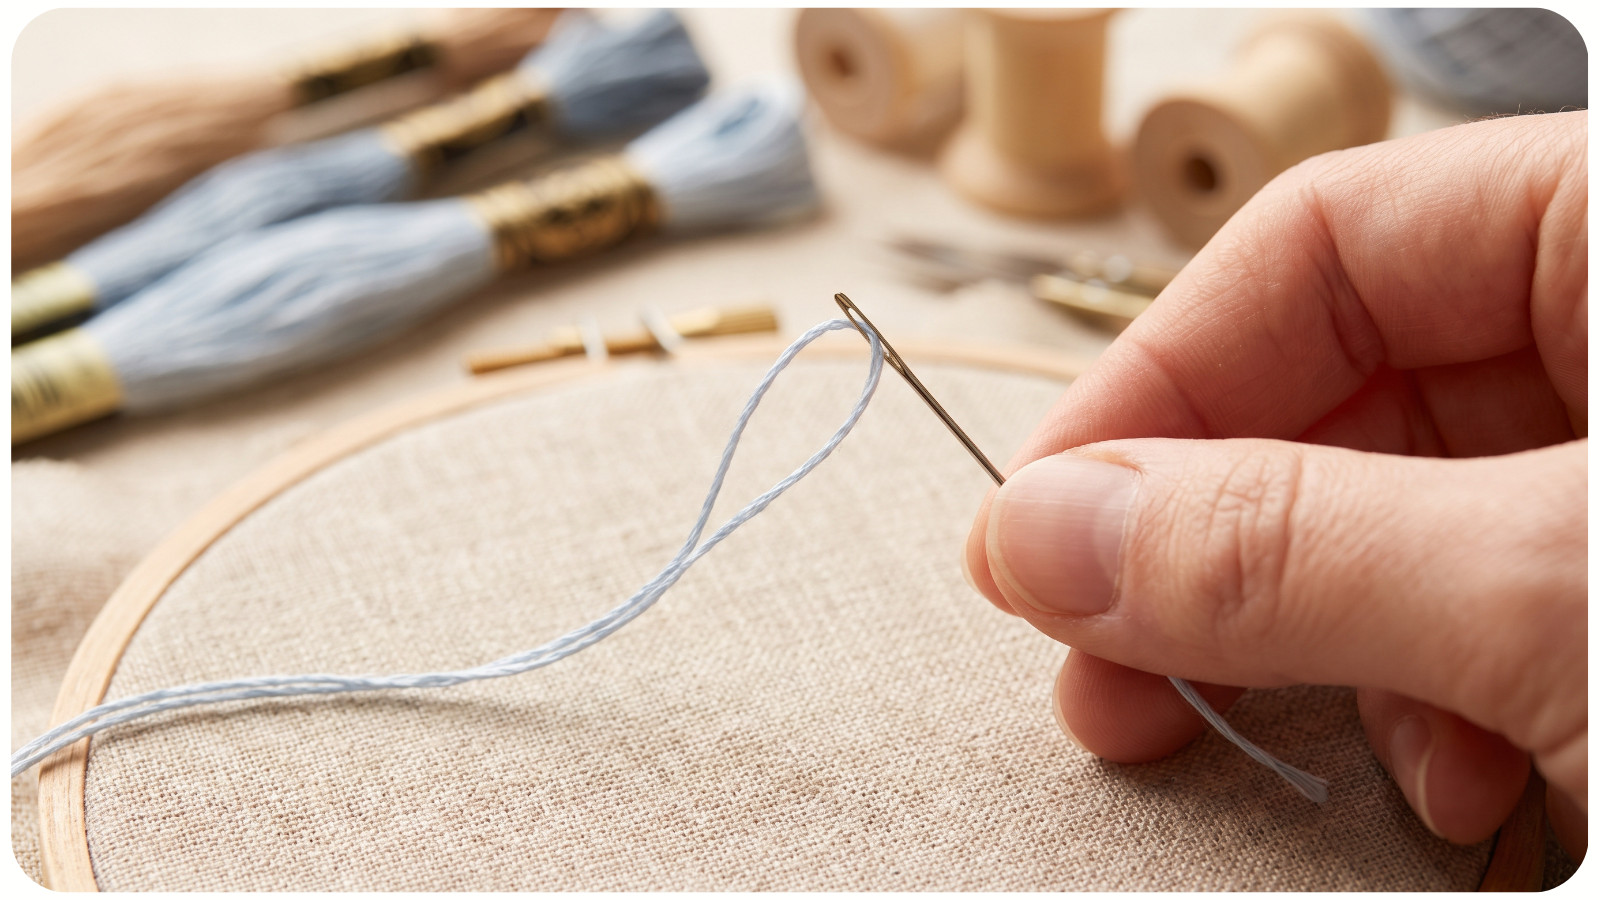
When using one strand, leave a short tail at the needle eye rather than folding the whole length in half. A doubled length gives you two working strands.
One strand is a useful starting point, not a rule for every project. A pale line on a textured background may need more weight or a different color.
Separate the strands before threading the needle. If you are using two, bring them back together after separation so they can lie more smoothly.
This advice applies to divisible stranded floss. Pearl cotton is designed to be used as supplied and should not be split into strands.
Match the Needle to the Thread and Fabric
For surface embroidery on closely woven fabric, use a sharp embroidery needle, also called a crewel needle. Its sharp point allows precise placement through the fabric, rather than limiting you to existing openings.
Choose a needle with an eye that accepts your thread comfortably and a shaft that passes through without forcing. If it leaves obvious holes or the thread scrapes and frays, reassess the needle, thread, and fabric together.
For more help, our guide to choosing the right needle for hand embroidery explains the options in more detail.
Choose the Stitch by the Shape
A useful stitch should describe the feature without adding more bulk than it needs.
Stitches to try for small embroidery details | ||
Small detail | Stitch to try | What to watch |
|---|---|---|
Whisker, short vein, or dash | Straight stitch | Keep the angle and length intentional |
Fine outline or simple letter | Backstitch | Shorten stitches where the line turns |
Curved stem or flowing outline | Stem stitch | Keep the working thread on the same side |
Small solid petal or oval | Satin stitch | Keep adjacent stitches close without piling them up |
Raised dot or flower center | French knot | Test the knot size before placing it |
Backstitch makes a continuous line from stitches worked back toward the previous stitch. Stem stitch creates a slightly rope-like line and can follow curves. The Royal School of Needlework recommends shortening stem stitches on tight curves.
Shorten Stitches Where the Line Changes Direction
A long stitch follows a straight path between two points. Across a tight curve, that path can cut across the shape and make it look angular.
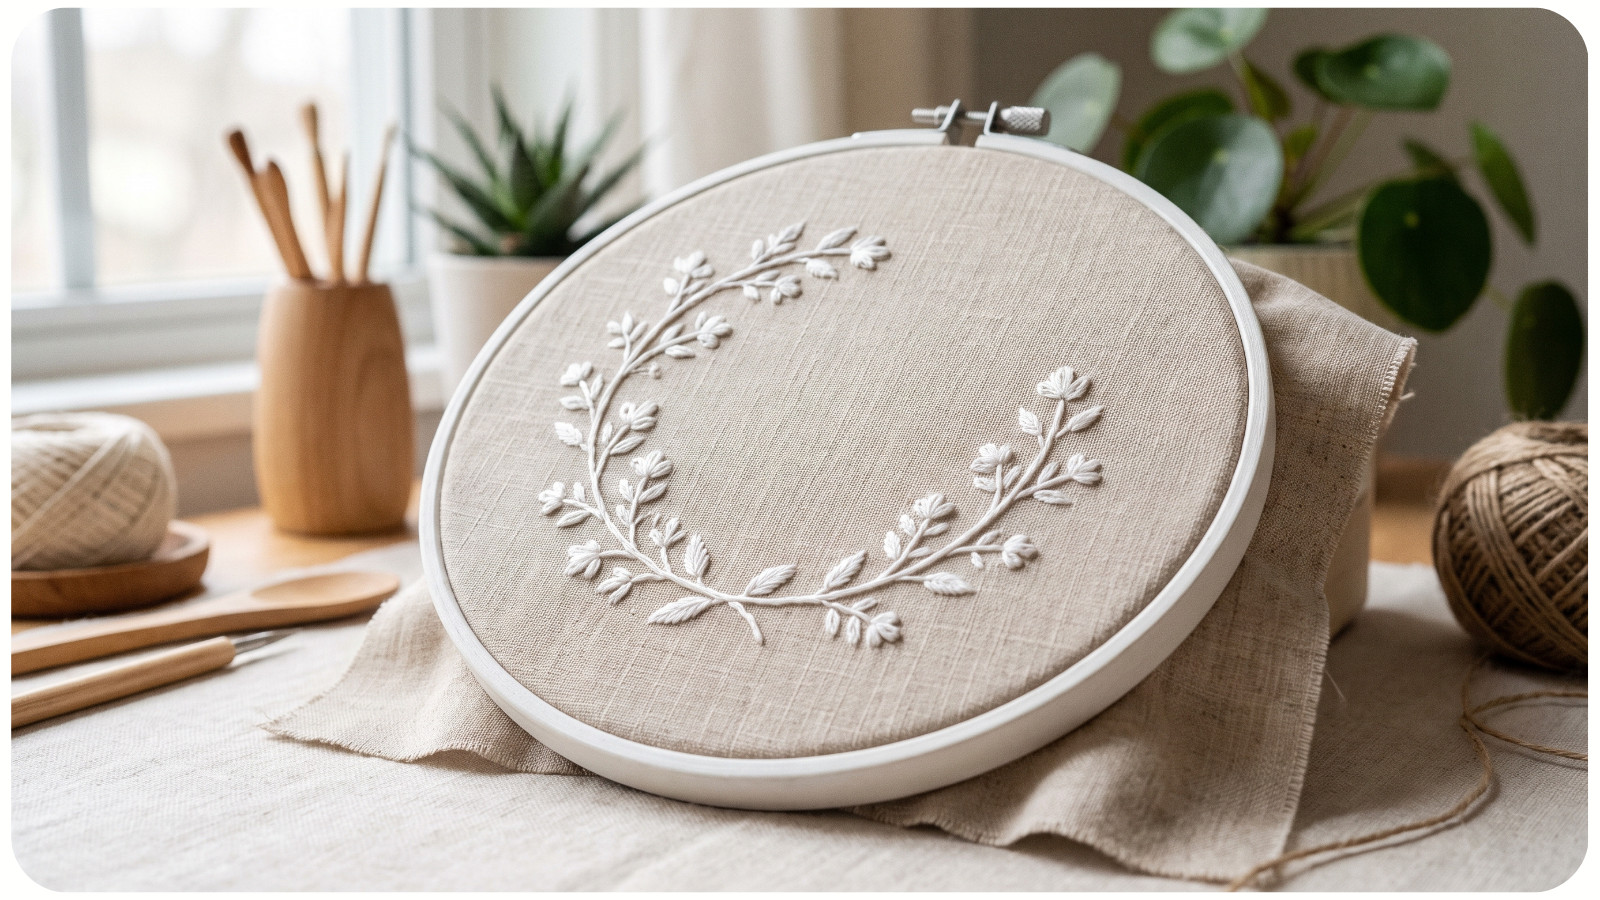
Use shorter stitches as the line bends, and slightly longer ones along straighter sections. Change length gradually where possible.
At a sharp corner, end a stitch at the corner and start the next section from there. Avoid carrying one stitch across the turn.
Do not make every stitch as tiny as possible. Repeated needle entries packed into one area can leave the fabric looking worn. Aim for the fewest stitches that describe the shape cleanly.
Keep Small Filled Shapes Smooth
Satin stitch fills a shape with close, parallel stitches. Bring the needle up at one edge and take it down at the opposite edge. For a small oval or petal, begin near the middle to establish the stitch direction, then work toward one end. Return to the middle and fill the other half.
Place each stitch beside the previous one. Pull it through gently so the thread lies on the surface without digging into the fabric.
A fine split-stitch outline underneath can help define an edge, but it is optional. On a very small shape, test whether that extra layer makes the result too bulky.
If a gap appears, check whether it needs one carefully placed stitch. Covering the whole shape with another layer may hide its edges and make it look swollen.
Make Tiny Eyes and Dots Deliberately
An eye is small, but its size and position can change the whole expression.
For a front-facing face, mark both eye positions before stitching. Check their distance from the nose or beak, then stitch one and compare before adding the second. For a side view, follow the single visible eye in the design.
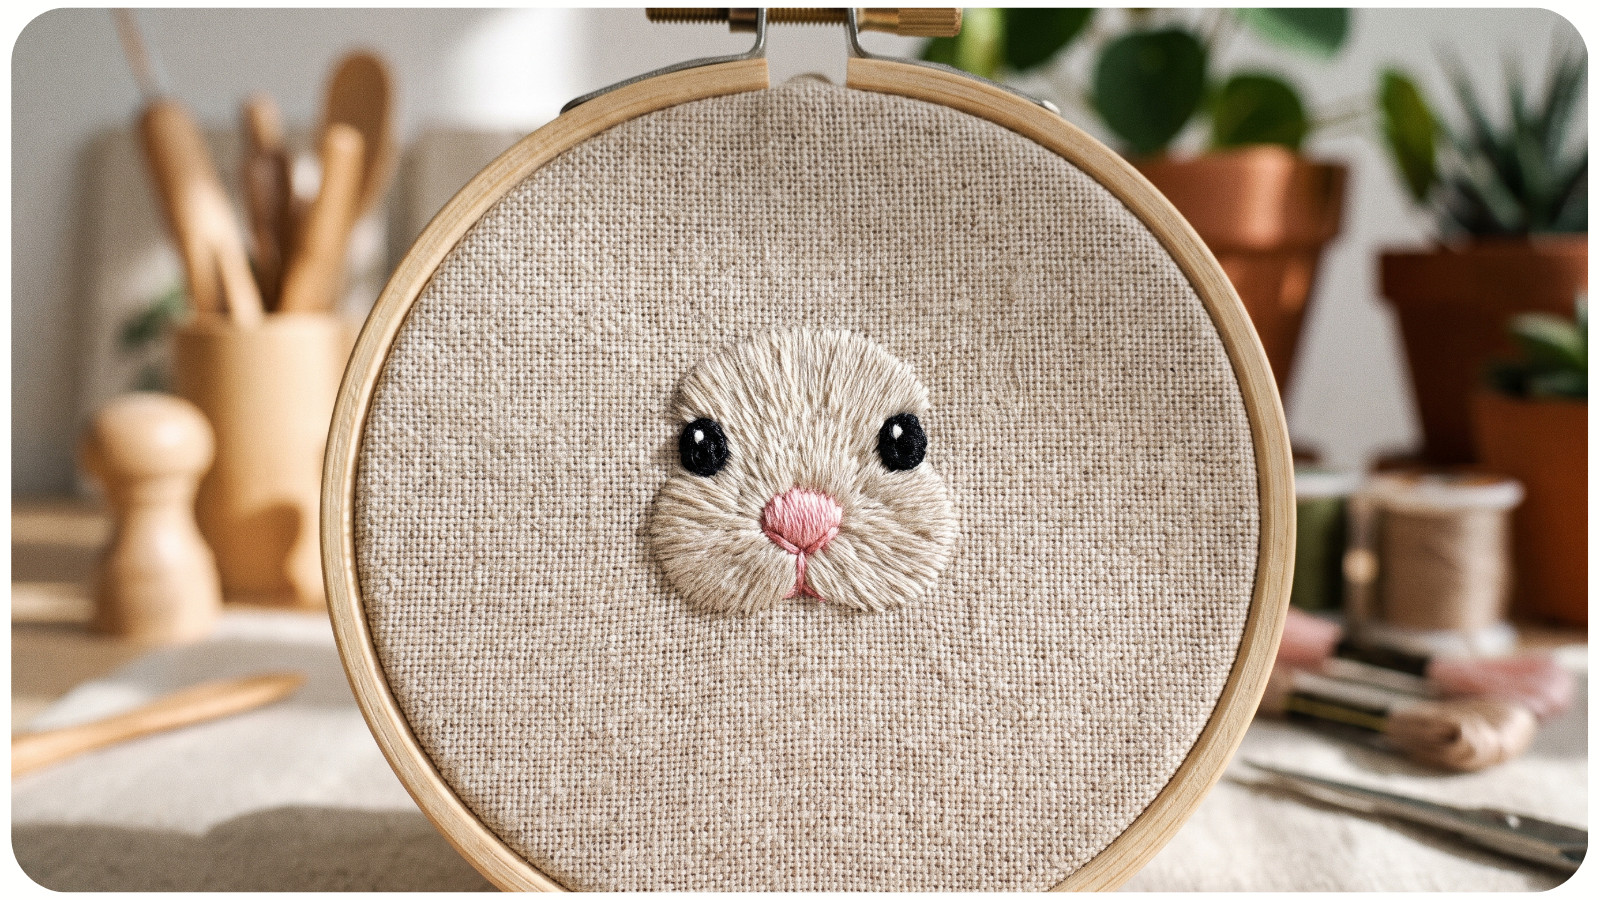
For a flat eye, try a short straight stitch or a small satin-stitched oval. For a raised dot, test a French knot.
To try a small French knot:
1. Bring the needle up where the dot belongs.
2. Wrap the working thread around the needle once.
3. Insert the needle very close to the starting point, catching fabric rather than returning through the same hole.
4. Hold the working thread under gentle tension as you pull the needle through.
One strand and one wrap is a starting experiment. The finished size also depends on the thread, needle, and fabric. Avoid adding wraps simply because the first knot looks small. Compare it with the design before changing it.
Preserve Gaps and Color Contrast
Small details need room around them. A clear stitch can still disappear when it touches several neighboring stitches.
Leave the gap between petals visible. Keep the inside of a small letter open. Make sure a leaf vein can be seen against its fill.
For small lettering, test a simple line style before choosing filled letters. Fancy curls and thick strokes need more space.
Color matters too. Two shades can look different in the skein but merge when stitched next to each other. Test them on the actual fabric. If the feature disappears, try a clearer difference in lightness or darkness. For more on testing a palette, read how to pick floss colors that look beautiful together.
An outline can help separate shapes, but use it selectively. A heavy outline around every tiny feature can crowd the design.
Fix Blurry Details Before Adding More Stitches
When a feature looks unclear, pause and find the cause.
Common problems and first adjustments | ||
Problem | Likely cause | First adjustment |
|---|---|---|
Two features merge | Thick thread or too little space | Test fewer strands or widen the gap |
A curve looks jagged | Stitches span too much of the turn | Replace that section with shorter stitches |
A filled shape looks bulky | Overlapping stitches or extra layers | Remove excess stitches and refill lightly |
Fabric puckers | Tight stitching or poor support | Check fabric support and carefully remove tight stitches before restitching |
A line disappears | Weak contrast against the background | Try a clearer light-dark difference |
Remove unwanted stitches carefully, cutting the thread without cutting the fabric. Lift small sections out gently. If the fabric is damaged, repeated restitching may make the area worse.
If the fabric is puckered, take it out of the hoop to assess the problem. Tightening the hoop may hide puckering temporarily; it does not correct stitches that have pulled the fabric together.
Finish with a simple check: view the embroidery up close, then from the distance at which it will be used or displayed. Confirm that the important features read clearly at both distances.
Before your next project, stitch one eye, one curved line, one petal, and one letter on a scrap. Compare thread thickness, spacing, and color. A small test can help you choose a clear approach before the detail becomes part of the finished piece.