


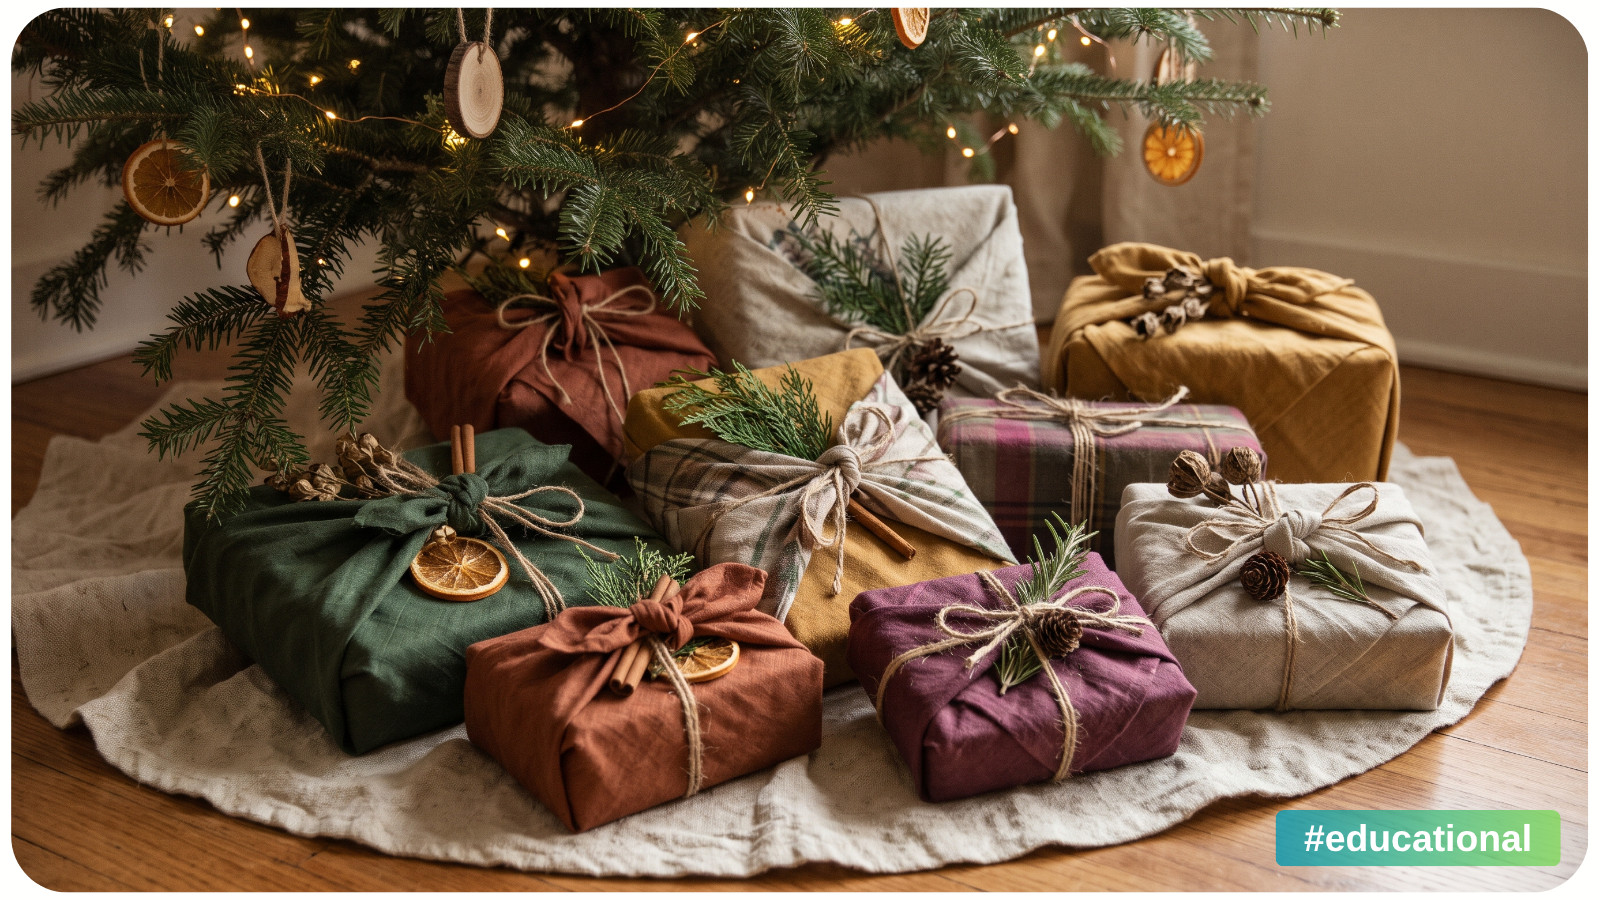
To make reusable fabric gift wrap, cut a square of washable woven fabric, fold each edge under twice, and stitch the hems. Place your gift diagonally on the finished cloth, fold two opposite corners over it, and tie the remaining corners together. You get a soft wrapping cloth that folds flat between celebrations, with no tape needed.
This beginner sewing project makes a single-layer square with neat edges. Start with one wrap, check it on a real gift, then make a small batch. If you are still choosing presents, browse these craft ideas for handmade gifts. Allow roughly 30 to 60 minutes for your first machine-sewn wrap, excluding washing and drying. This is a planning estimate; hand sewing will take longer.
Choose Fabric That Folds and Ties Easily
Soft quilting cotton or lightweight cotton poplin is a practical starting point. Choose a closely woven fabric that bends easily and is opaque enough to hide the gift. Scraps from earlier projects or sound sections of a clean cotton sheet can work, too.
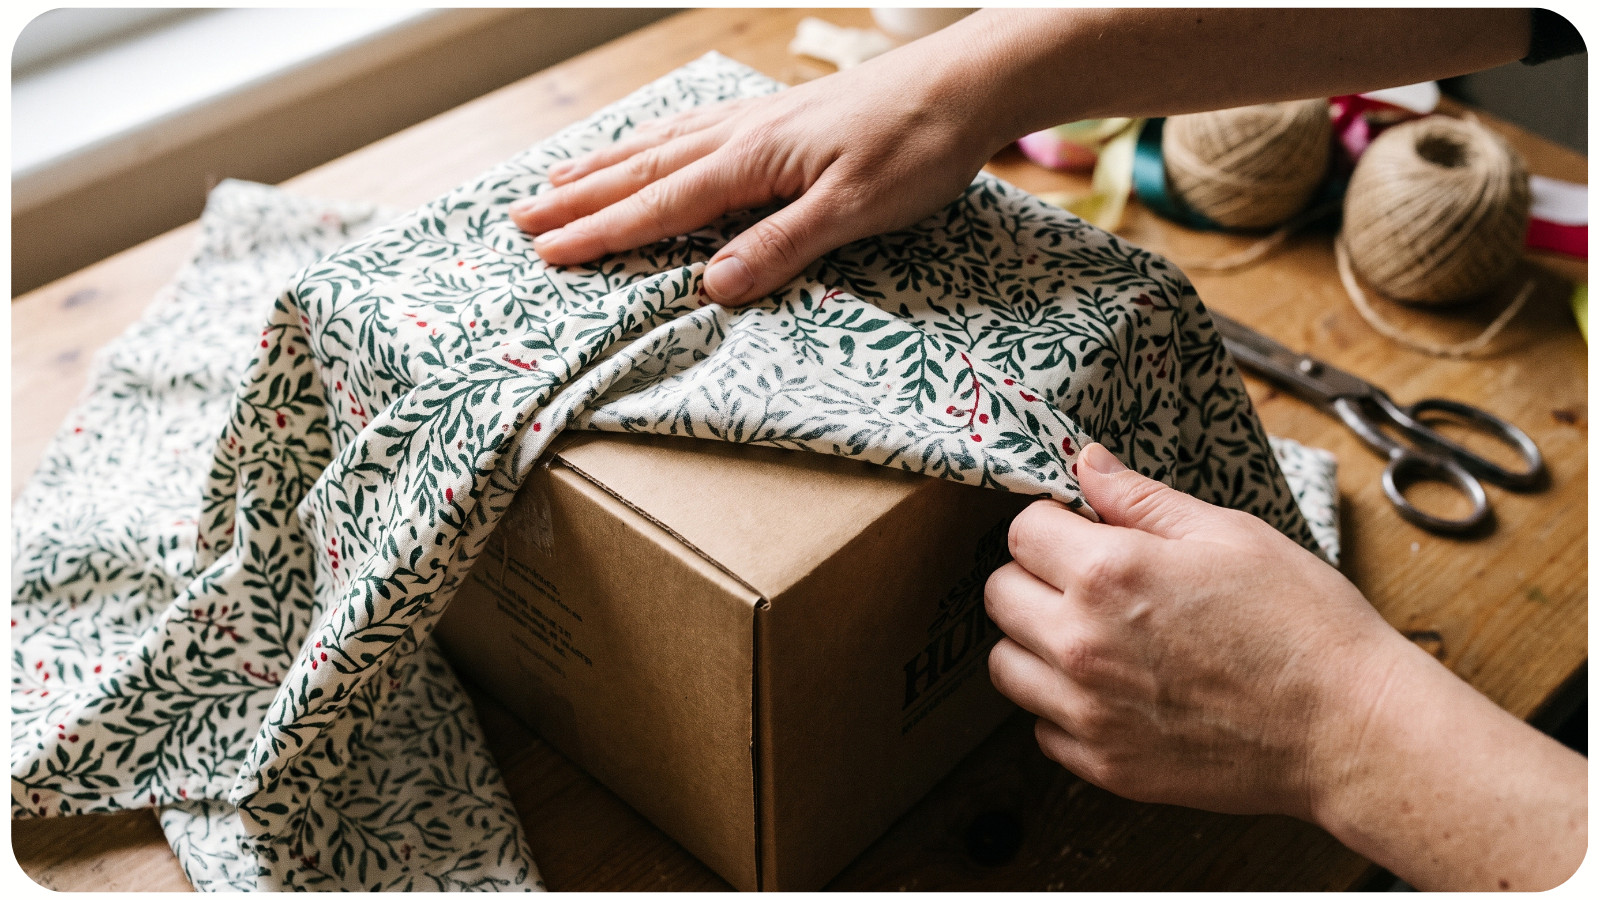
Hold the fabric over a printed box before cutting. If the lettering shows through, choose a more opaque fabric or put the gift in a plain box first.
Avoid heavy upholstery fabric, which makes bulky knots, and very slippery fabric, which is harder to control. Stretchy jersey can make cutting and hemming less predictable for beginners. You do not need interfacing or a lining for this project.
For reusable Christmas gift wrap that also suits birthdays, try stripes, small stars, checks, or a solid color. Seasonal tags can provide the holiday detail. An optional embroidered initial adds a personal touch; our guide to clear small embroidery details can help with simple lettering. Keep decoration away from the corners you will tie.
The folding method draws on furoshiki, the Japanese tradition of wrapping and carrying objects in cloth. Japan's Ministry of the Environment provides a helpful illustrated guide to furoshiki wrapping, including the basic box wrap used here.
Materials and Tools for One Wrapping Cloth
• One piece of washable woven cotton, large enough for your chosen cut size after washing
• All-purpose sewing thread
• Sewing machine with a needle suited to your fabric, or a hand-sewing needle
• Fabric scissors, or a rotary cutter with its cutting mat
• Ruler or measuring tape and a washable fabric marker
• Iron and ironing board
• Pins or sewing clips
• The gift or an empty box of the same size for checking the fit
A removable gift tag is optional. No paper pattern, adhesive, or attached ribbon is required.
Choose Your Fabric Gift Wrap Size Before Cutting
Use these suggested sizes as starting points. Box height, shape, and fabric thickness affect how much cloth you need, so check the fit on your actual gift before cutting a batch.
Suggested Fabric Gift Wrap Sizes | ||
Wrap size | Finished square | Cut square, including hems |
|---|---|---|
Small | 18 × 18 inches | 19 × 19 inches |
Medium | 24 × 24 inches | 25 × 25 inches |
Large | 30 × 30 inches | 31 × 31 inches |
The finished sizes are approximately 45.7, 61.0, and 76.2 cm square. The cut sizes are approximately 48.3, 63.5, and 78.7 cm square. Use the inch measurements for cutting; the metric figures are rounded.
Each edge folds under 1/4 inch twice. That uses 1/2 inch on each side, so the finished square is 1 inch smaller than the cut square in both directions.
After washing and pressing, mark the finished square on your fabric and fold the excess behind it for a trial wrap. Place the gift in the center at a 45-degree angle to the fabric edges. Try the wrapping sequence below. Two opposite corners should cover the gift with overlap. The other two need enough length to tie a square knot without straining. If you must strain to make the knot, choose a larger square.
How to Sew Reusable Fabric Gift Wrap
1. Wash, Dry, and Press the Fabric
Wash and dry the fabric according to its care instructions, using the method you expect to use for the finished wrap. Cotton can shrink, so do this before measuring your final cut square. Let it dry fully, then press it flat at a suitable temperature.
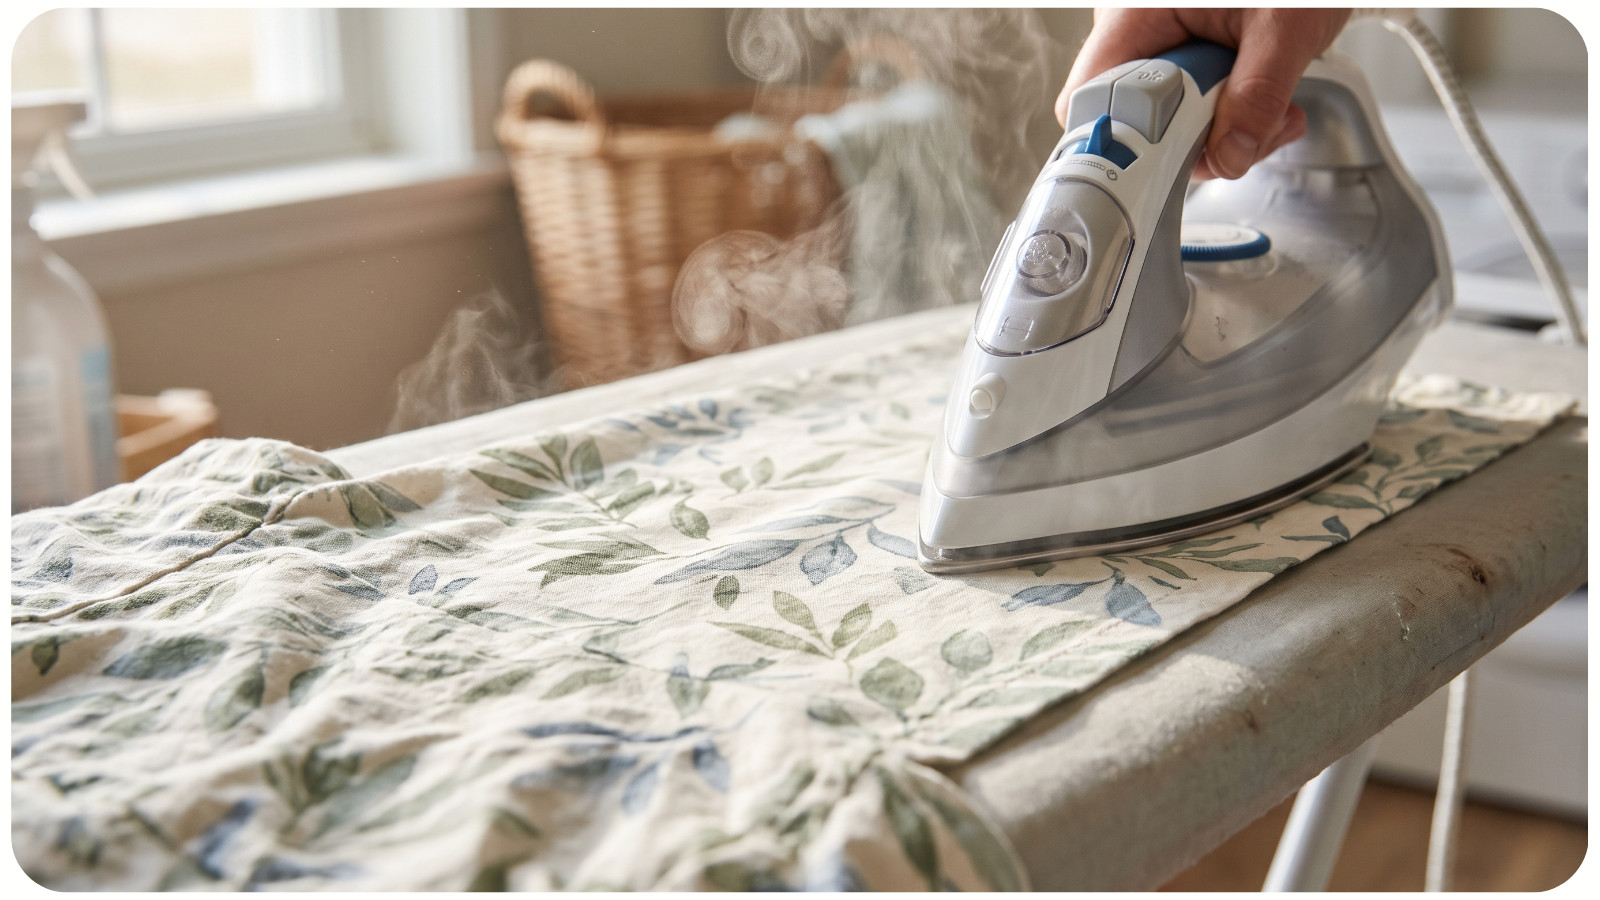
For secondhand fabric, check for thin patches, holes, and stains. Choose an intact section. If dye transfers when you rub a damp white cloth on it, choose another fabric for wrapping pale or delicate gifts. This quick check cannot guarantee colorfastness, but it can reveal an obvious problem.
2. Mark and Cut a Square
Lay the fabric flat without stretching it. Mark your chosen cut size, keeping the sides aligned with the woven threads where possible. Remove the firm selvage edges from the usable area.
Cut along your marks. Fold the square diagonally, matching opposite corners; the edges should align. Check the other diagonal too. Trim an uneven edge before hemming.
3. Press Two Opposite Hems
Place the fabric with its wrong side facing up. On one edge, turn 1/4 inch (about 6 mm) toward the wrong side and press. Turn it another 1/4 inch and press again, hiding the raw edge inside. Pin or clip the fold.
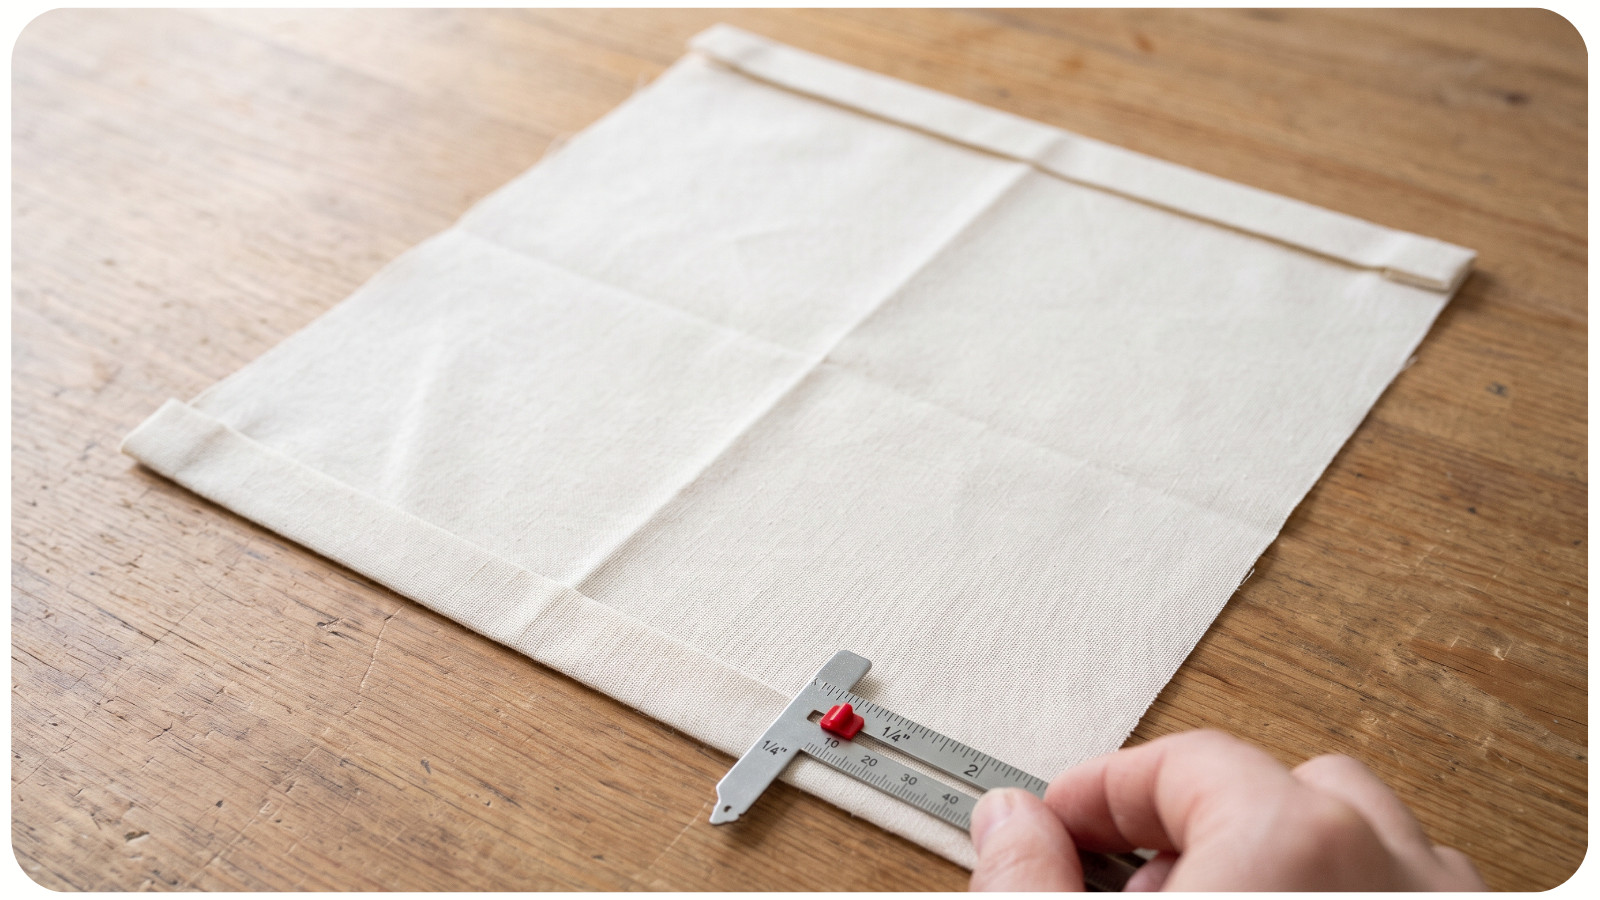
Repeat on the opposite edge. The folded strips should be even, with no loose cut edge showing. Keep your fingers clear of the hot iron as you press the narrow folds.
4. Stitch Those Two Hems
Test your stitch on a folded scrap first. A straight stitch around 2.5 mm long is a useful starting point for ordinary quilting cotton; adjust it if your sample puckers or skips stitches.
With the folded side facing up, sew close to the inner folded edge, catching the hem all the way along. Secure the beginning and end with a few reverse stitches. Remove pins before the needle reaches them.
If the edge ripples, stop pulling the fabric and let the machine feed it. Check the scrap again before changing tension. For hand sewing, use small running stitches that catch the folded hem and the fabric beneath, then secure the thread ends.
5. Finish the Remaining Edges
Fold each remaining edge under 1/4 inch twice, pressing and securing it as before. These hems fold over the ends of the first pair, enclosing the remaining raw edges.
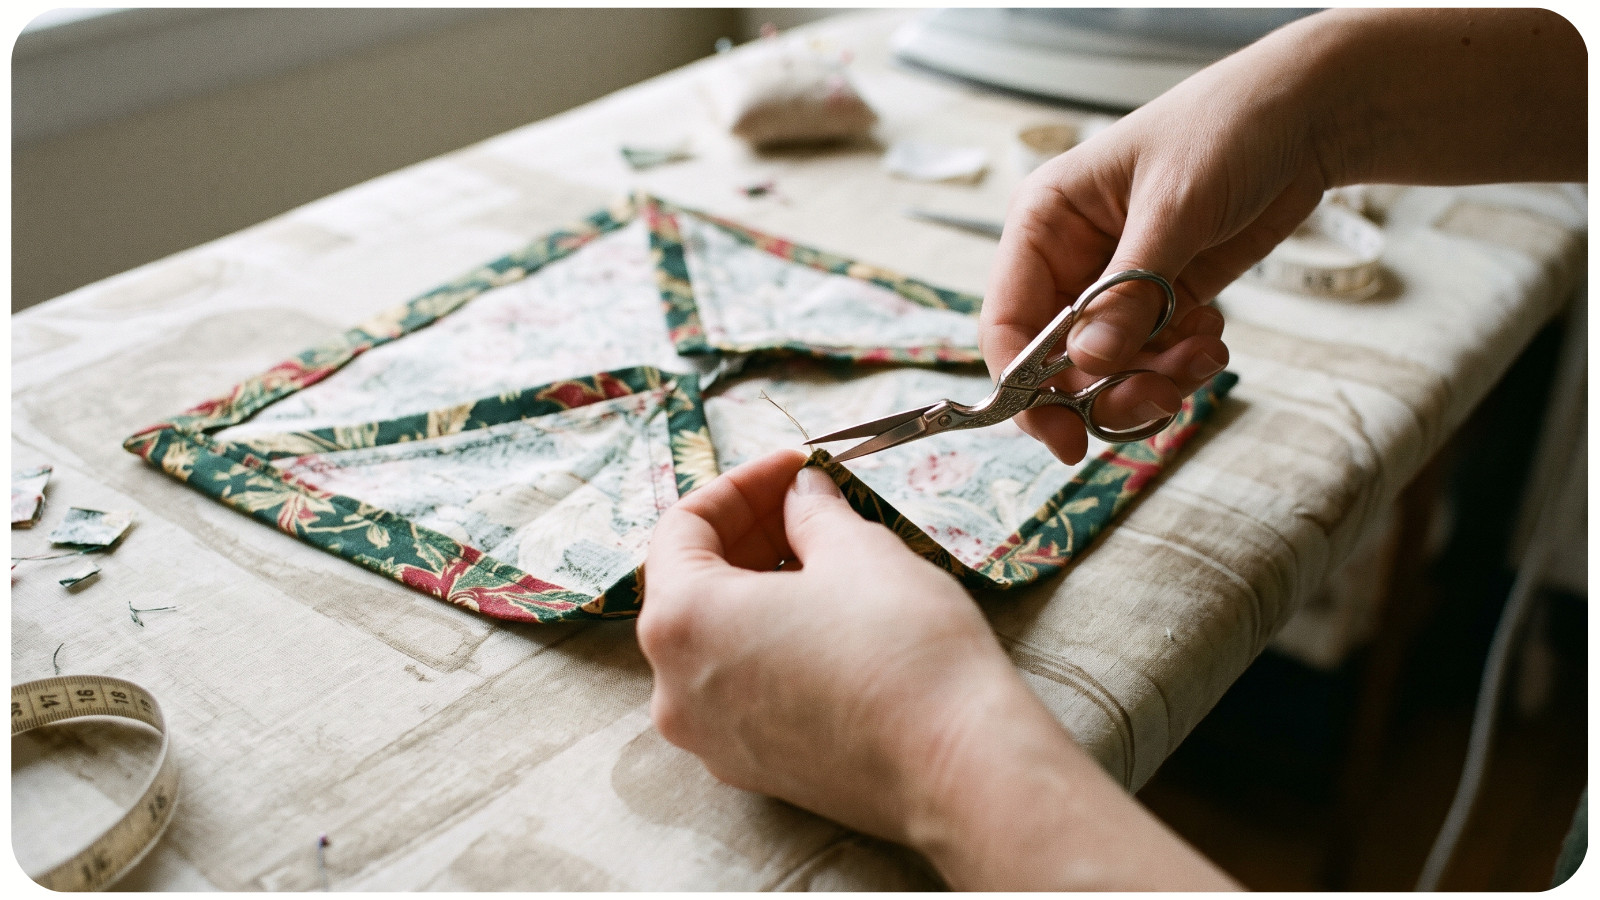
Stitch slowly across the thicker corners. If the machine struggles, stop rather than forcing the fabric. Follow your machine's guidance for sewing over thicker layers; check that the presser foot is level and the needle is suitable.
Press the finished wrap and trim thread tails. Check all four corners for loose raw ends, securing any that escaped the folds. The cloth should lie mostly flat and bend easily enough to knot.
How to Wrap a Gift With Your Finished Cloth
Start with a firm rectangular box while you learn the folds.
1. Position the gift. Lay the cloth with its right side down, shaped like a diamond with one point toward you. Center the box so its edges sit about 45 degrees to the fabric edges.
2. Cover the box. Bring the near corner over the gift. Fold the far corner over it, turning its tip underneath if needed to make a neat edge.
3. Gather the side corners. Draw the left and right corners upward over the box, tucking loose side fabric inward as you go. Keep the first folds covered.
4. Tie a square knot. Pass the left tail over and under the right tail. Then pass the tail now on the right over and under the other tail. Tighten gently and spread the ends neatly.
The box should stay covered without distorted corners or a strained knot. If the tails are too short, use a larger wrap rather than forcing the knot. If they overwhelm the gift, try a smaller one. A stiff, bulky knot may mean the fabric itself is too heavy.
Support the gift from underneath when moving it. Treat the knot as a closure rather than a carrying handle.
Make a Small Batch Before the Holiday Rush
Once one wrap fits well, use its measurements for similar gifts. Work in batches: wash the fabric together, cut the squares, press the first pair of hems on each, then sew. Finish the remaining edges in the same order.
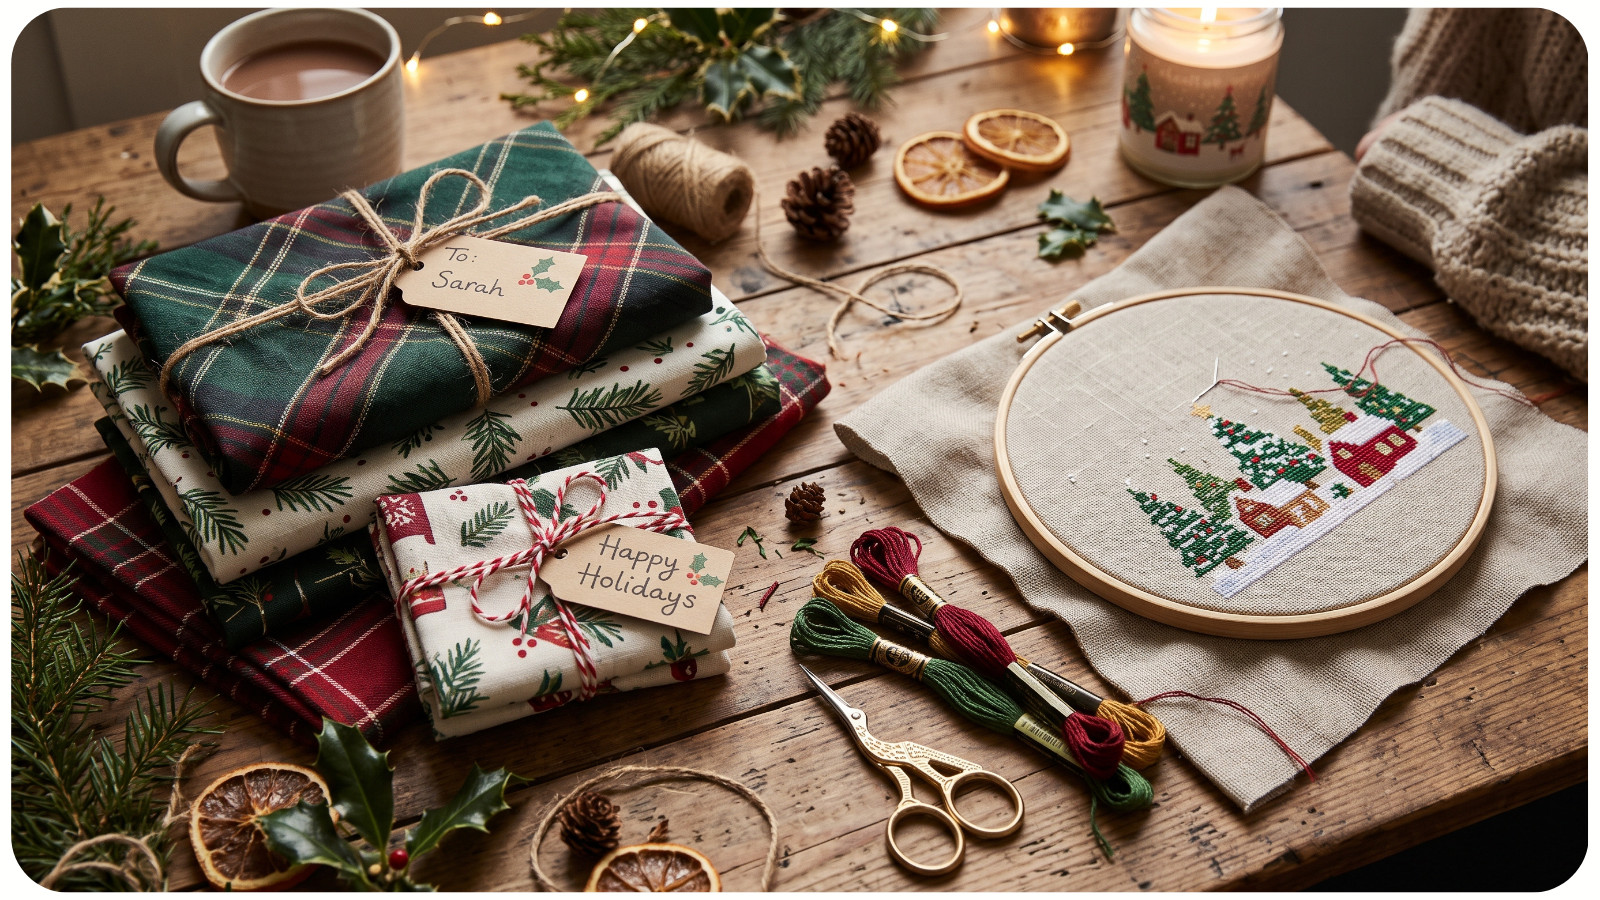
Group the finished wraps by size and store them with your tags. For handmade gifts that are still in progress, check the wrap against the box you plan to use. If your list includes Christmas cross-stitch projects, allow time for finishing and wrapping as well as stitching.
For a no-sew option, use an already hemmed cloth napkin or suitable scarf. Pinking shears can reduce fraying, but they do not seal a woven edge. For repeated washing, use hemmed fabric rather than relying on a pinked edge alone.
Keep Your Gift Wrap Ready for Another Celebration
Add a simple note such as “This wrapping cloth is part of your gift. Please reuse it.” If you are keeping wraps for family use, agree beforehand that they will return to the wrapping basket.
After use, remove tags, check the hems, and wash when needed according to the fabric's care instructions. Repair loose stitches and store the cloth completely dry. Using fabric you already have and keeping it in circulation gives the project a practical purpose beyond one holiday morning.