


Store an unfinished diamond painting flat, design side up, in a clean, dry place away from direct sunlight and heat. Cover exposed adhesive on a self-adhesive canvas with its original liner or compatible diamond painting release paper. If your kit uses glue you apply separately, keep the design level while the glue sets and use a dust cover that stays above the work.
You can stop in the middle of a section. Before you clear the table, protect the area you opened, put the loose drills back in their containers, and move the project on a firm board so it stays flat.
1. Cover the Adhesive Before You Move the Project
Drills are the small resin pieces that form the picture. What goes over the unfinished area depends on whether those drills sit on a factory-applied adhesive or on glue you add yourself. Check the instructions for your kit if you're unsure which type you have.
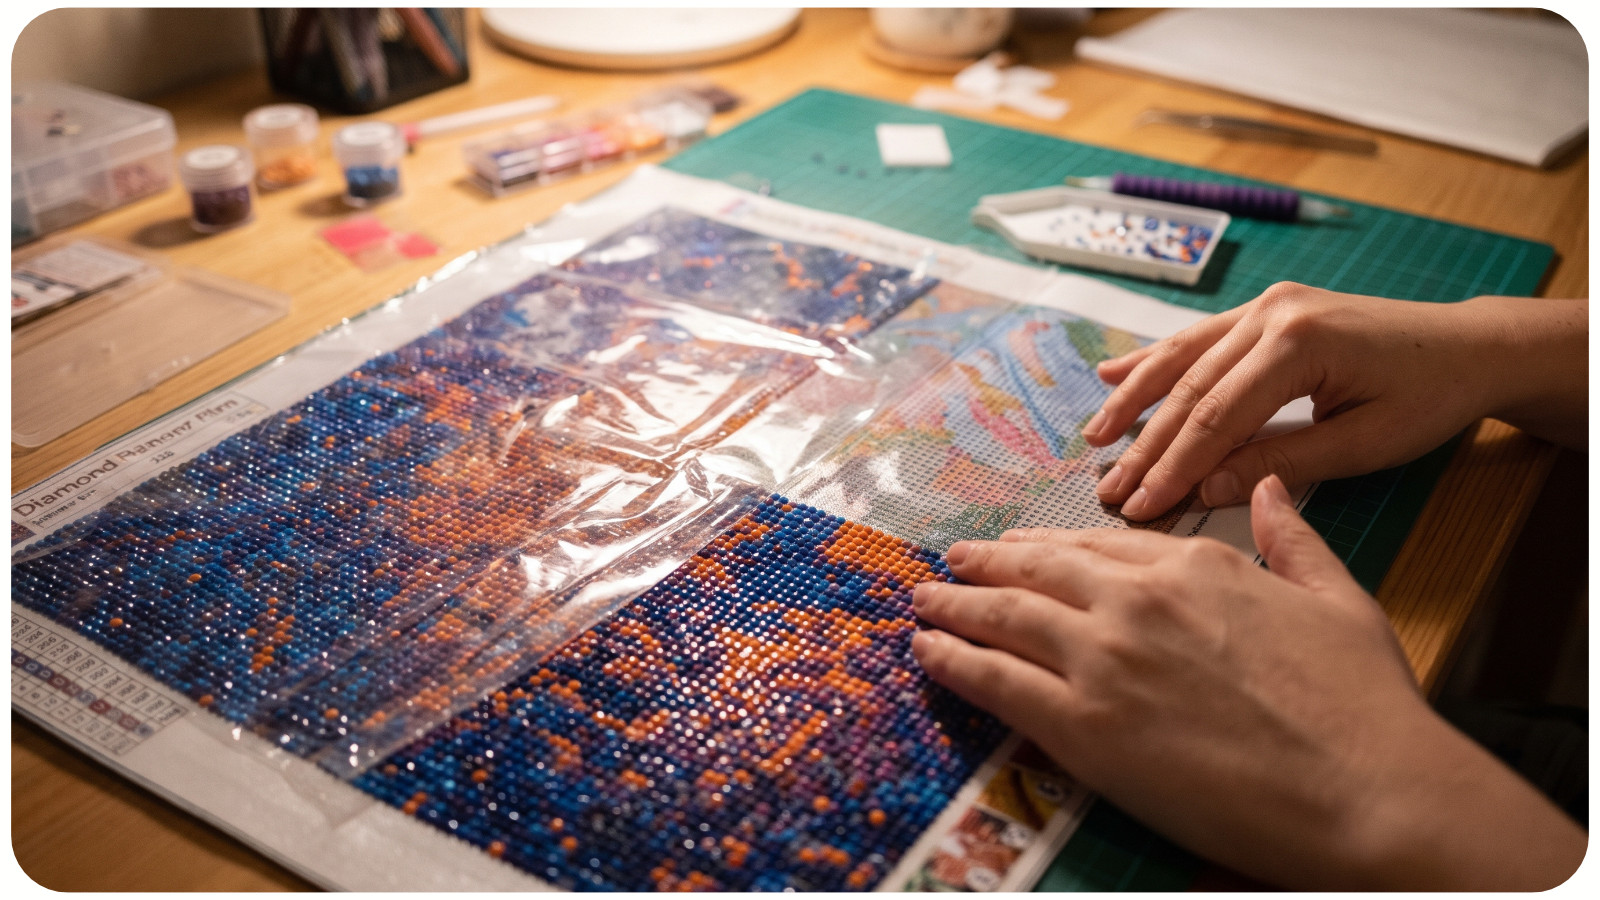
Self-Adhesive Canvas With a Peel-Back Cover
Put the original liner back with the same side facing the adhesive as before. Lower it gently across the open section and look along the last row you placed. A liner can rest on top of the drills and leave a narrow strip of exposed adhesive beside them. Cover that strip with a smaller piece of compatible release paper if the original liner won't sit flat there.
If the original liner is missing or dirty, use clean release paper made for diamond painting and follow its directions for which side goes down. Overlap sheets slightly so the seams cover the adhesive. Keep printer paper and paper towels off the sticky surface, where they can leave fibers. See Diamond Art Club's guide to release paper.
Laminated Print With Separate Glue
Some APS kits use a laminated printed pattern and glue you apply as you work. Near the end of a session, apply glue to an area small enough to finish before you stop. If you have to step away while glue is fresh, leave the work level and follow the kit's setting instructions. To keep dust off, use a clean cover supported above the work with enough clearance for the highest drills. Keep film and release paper off freshly applied glue unless your kit instructions specify a contact cover. See how APS kits with separate glue work.
2. Put Away Loose Drills and Mark Your Place
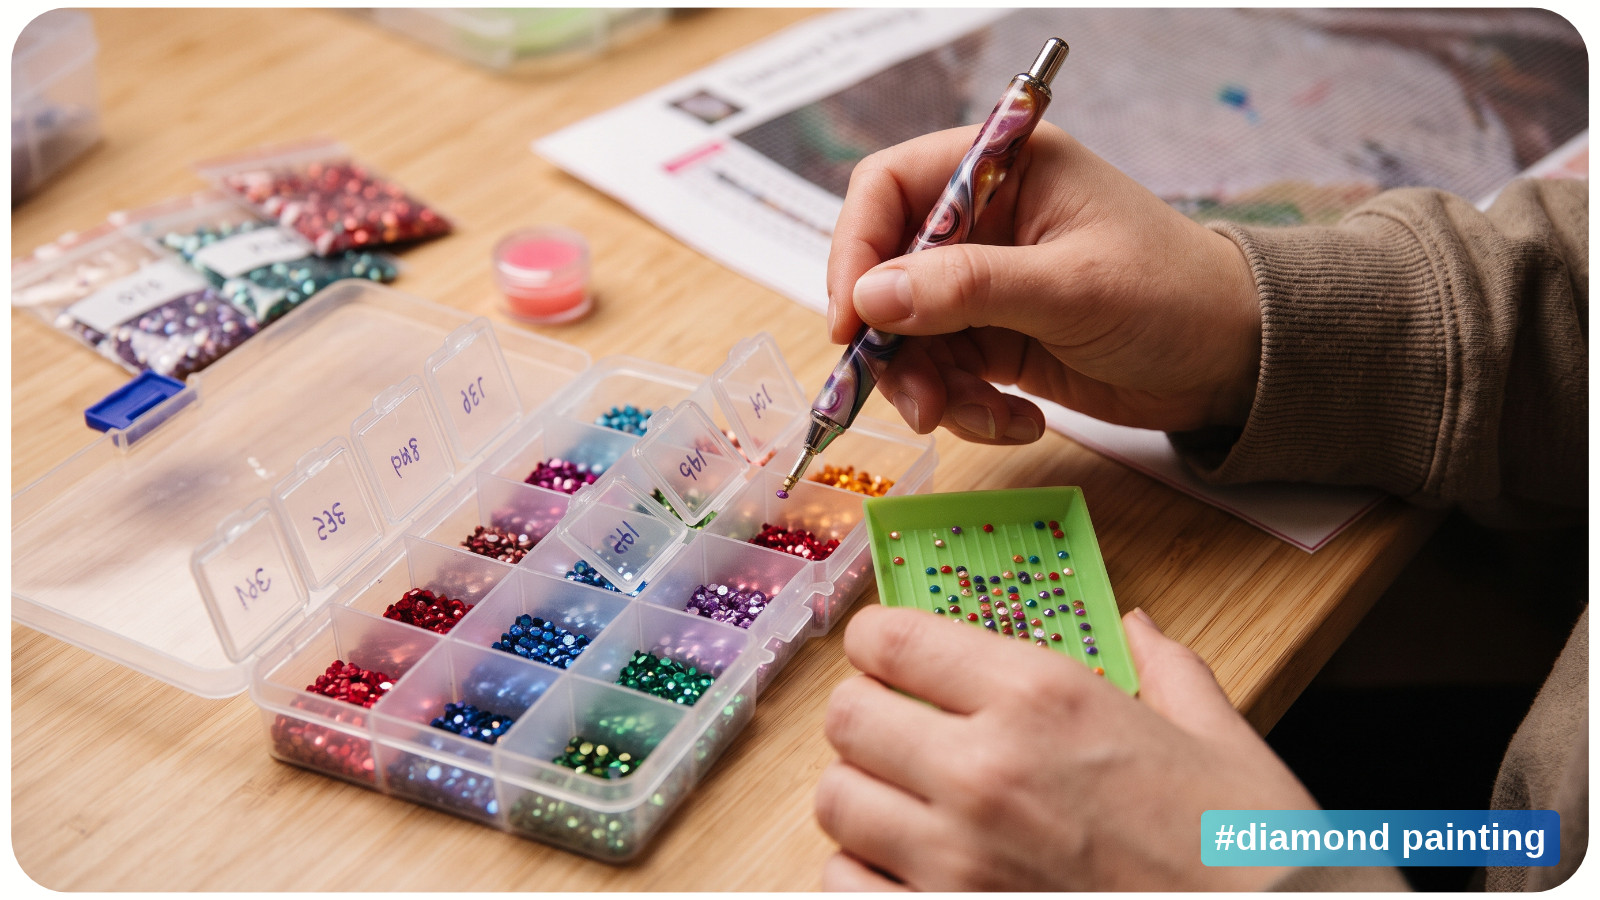
Return loose drills to the correct labeled bags or containers. Match the tray color to its code on the kit's color key while you still remember what you poured. If two colors got mixed, set them aside in a separate bag and sort them in good light before returning them to their containers.
Close each lid or zipper before you clear the table. Keep the color key with the drills, and set the drill case beside the project so its weight stays off the design. See Diamond Art Club's instructions for putting away loose drills.
Stopping midway through a patch of similar colors? Take a close-up photo that shows both the unfinished row and a nearby detail you can recognize. The next time you sit down, you'll know which area to uncover and can check the next symbol against the color key.
3. Store the Whole Design Flat
Set the project on a clean, smooth board that supports it from edge to edge. Carry the board level, especially if you've just applied glue. Measure the board, including any overhang beyond the artwork, before you choose a drawer, shelf, or box.
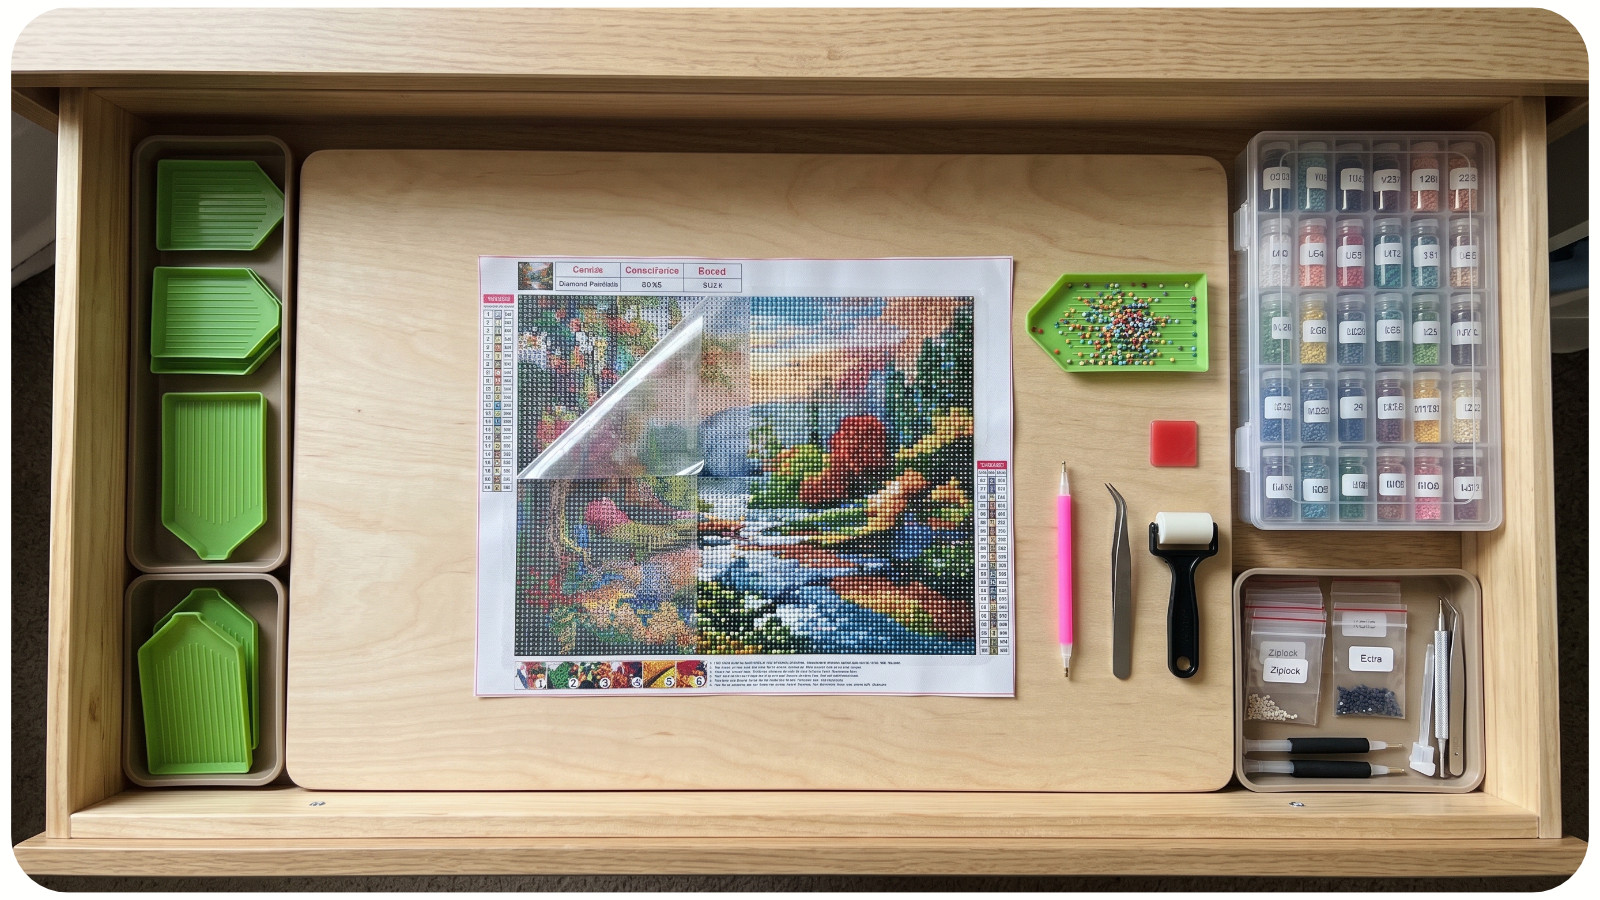
• For a shared table, move the board to a wide drawer or level shelf. Check that the drawer closes without brushing the drills or catching the edges.
• For dust or pet hair, use a clean, shallow lidded box or a rigid under-bed bin. Make sure the lid clears the drills and that the board stays level.
• For an oversized design, use a full-size board on a deep shelf or a rigid art portfolio that can lie flat. Check that the portfolio closes without bending the corners or pressing down on the drill surface.
For a break of several weeks, choose a dry indoor spot away from a sunny window, heat vent, or radiator. Keep other projects, books, and supply cases off the artwork. Leave the color key with the labeled drills so you can restart without sorting everything again. See the Paint by Numbers & Diamond Painting manufacturer's storage guidance.
Can You Roll Up an Unfinished Diamond Painting?
A loose roll is an option for a short move or pause if the manufacturer allows it and the canvas is flexible. Re-cover any exposed factory adhesive first. Guide the canvas around a wide, smooth tube with the drills facing outward, then use a container with enough room to avoid squeezing the roll. Stop if the liner lifts, a crease starts to form, or drills begin to shift.
Keep stiff or laminated prints flat. Choose flat storage if you're unsure whether the base can bend safely or if you see a raised adhesive ridge or loose drills. If a rolled project curls when you take it out, let it rest face up on a flat surface and keep weights off the decorated area. See how to flatten a rolled diamond painting canvas safely.
Check the Surface Before You Start Again
Set the project flat and look at the edge where you stopped. If your kit has a liner, lift just enough to uncover the next working area. A loose strand of hair that you can grasp above the surface can be lifted gently with clean tweezers. If it resists, stop before pulling up adhesive with it.
If you spot an empty cell, check the printed symbol before adding a drill. Small spaces at the corners between round drills can be normal. A missing drill leaves its own symbol uncovered. See how to tell a missing drill from normal spacing.
If a liner pulls up adhesive or several drills won't stay in place, check the kit maker's repair instructions before applying anything to the surface. When the area is ready, uncover just the next section and pour one color into the tray. That makes your next cleanup easier too.